In brief
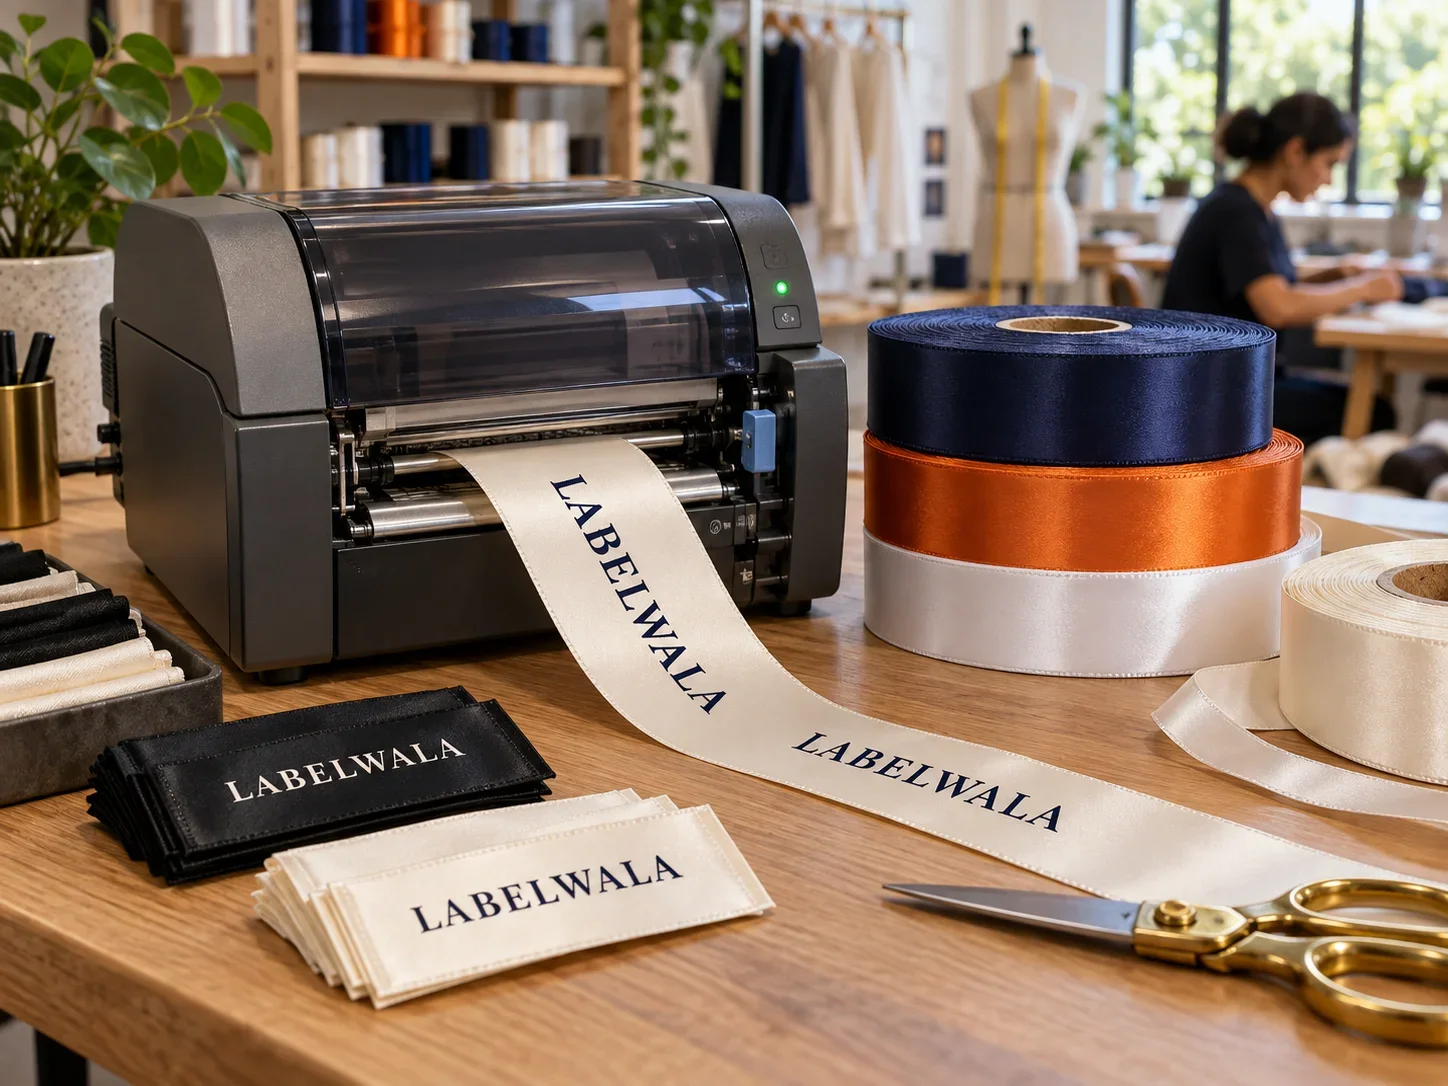
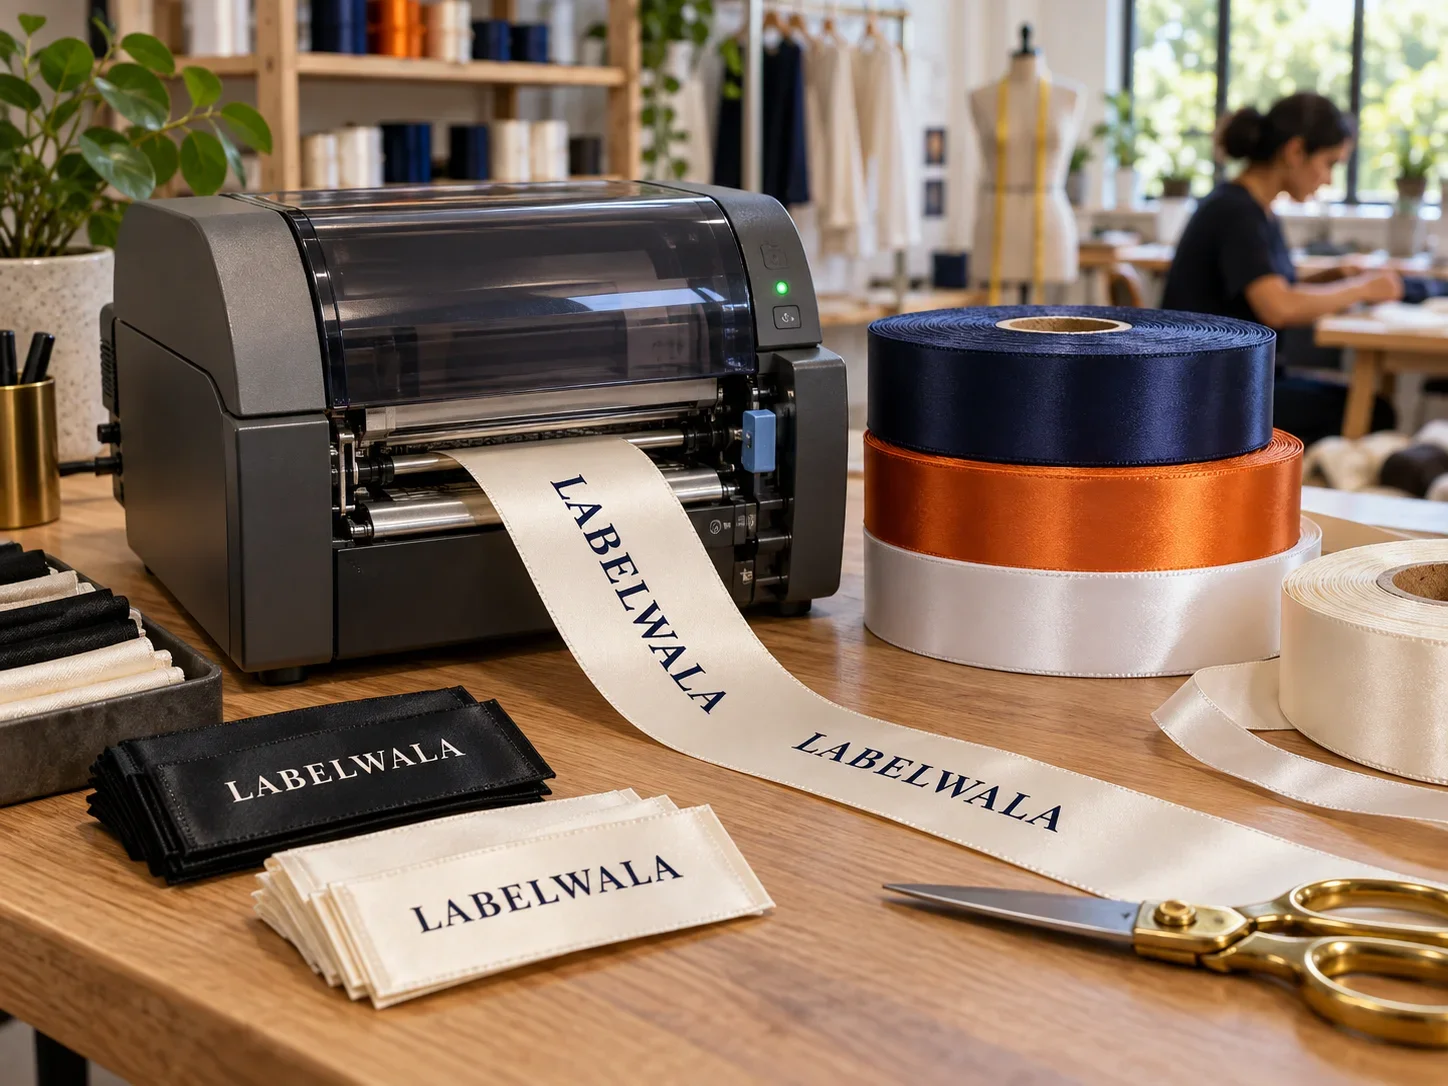
A satin label is printed, not woven: artwork is colour-separated and printed onto polyester satin ribbon, then cured in a heated tunnel so the ink bonds to the fibre. The ribbon is then slit and cut with heated or ultrasonic knives that seal the edges, folded, checked and packed, typically within 5 to 10 working days of artwork approval.
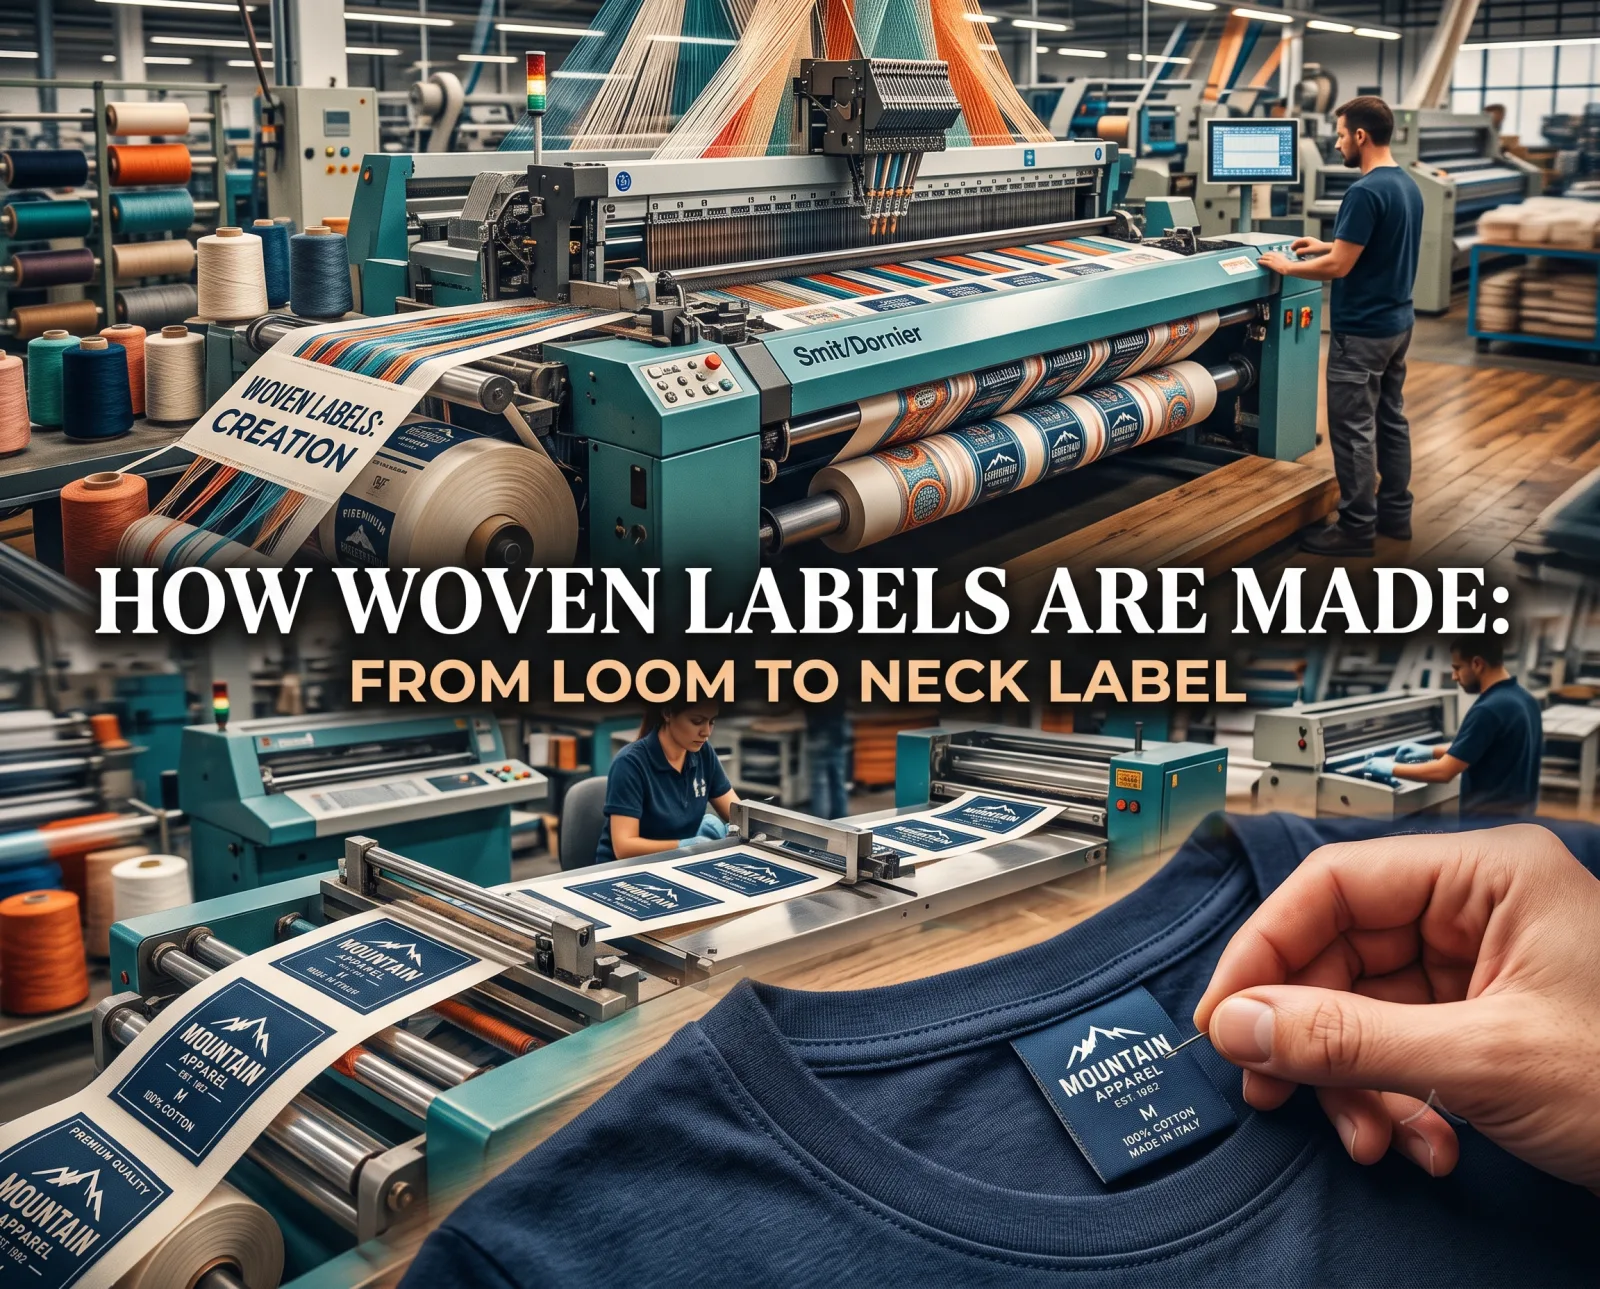
Most people picture the same machine for every clothing label. In reality the two big families are made in completely different factories. A woven label is built on a jacquard loom, thread by thread, with the design woven into the cloth. A satin label is printed: the ribbon already exists, and your logo goes onto its surface.
That single difference explains almost everything about satin: why it handles gradients and photographs a loom can't, why it costs less at low volumes, and why curing temperature matters more than anything else on the spec sheet. Here's the whole process, step by step.
What are the six steps in making a satin label?
Every satin label run, from a 500-piece boutique order to a 100,000-piece export batch, moves through the same six stages.
Satin-weave polyester ribbon is woven and dyed to the base colour, then rolled.
Your logo is vectorised, colour-separated and matched to Pantone references.
Ink is laid onto the ribbon by rotary screen, thermal transfer or digital press.
A heated tunnel bonds the ink into the polyester so it survives washing.
Heated or ultrasonic knives slit and cut to size, sealing the edges as they go.
End-fold, centre-fold, mitre or loop, then counted, checked and packed.
Working days from artwork approval to dispatch, for a standard order.
Approval, not production. Colour sign-off is what usually costs you the week.
Step 1: the satin ribbon itself
Before your label exists, the ribbon does. Satin isn't a fibre. It's a weave structure. In a satin weave the warp threads float over four or more weft threads before tying down, so most of the surface you see and touch is uninterrupted thread rather than a criss-cross grid. That's where the smooth hand and the soft sheen come from.
Label-grade satin ribbon is almost always polyester, because polyester holds dyed colour, doesn't yellow with age and takes repeated washing without breaking down. It arrives at the print floor pre-dyed in the base colour: white and black cover most orders, with a full colour range available if your brand needs it.
Single-face vs double-face. Single-face satin is glossy on one side and matte on the reverse; double-face is glossy on both. If your label folds so the back is visible (a centre-fold neck label, a hanging loop), specify double-face, or the reverse will show a dull face.
Step 2: artwork and colour separation
Your logo file gets prepared for a printing press, not a screen. That means vector artwork with fonts converted to outlines, each colour separated into its own layer, and every colour tied to a Pantone reference rather than "the blue from our website".
This is also where the factory flags problems: a hairline that's too thin to hold, text below the minimum size, or a gradient that will band. Fixing it here costs an email. Fixing it after 20,000 labels are printed costs the run. We cover the specifics in satin label design rules and label artwork setup.
Step 3: printing the ribbon
Three methods dominate, and your run size usually picks for you.
A screen per colour, thick ink lay, best durability and Pantone accuracy. Setup cost per screen makes it the choice for larger runs.
A resin ribbon transfers the image under heat. Sharp, no screens, ideal for care labels, variable data and short runs.
Full colour with gradients and photographic detail, no setup screens, low minimums: the low-MOQ, many-colour option.
Metallic gold or silver pressed onto satin as an accent. Adds a pass and cost, used for premium fashion labels.
Which one you get changes the price, the minimum order and how the label ages. That comparison has its own guide: satin label printing methods.
Step 4: curing, the step that decides everything
Fresh off the press, the ink is sitting on the ribbon. Curing puts it into the ribbon. The printed roll runs through a heated tunnel that drives off the carrier and cross-links the ink into the polyester surface.
Get it right and the print survives the garment. Get it wrong (tunnel too cool, belt too fast, ribbon fed through twice as fast to catch a deadline), and the ink stays on the surface, where it cracks along the fold and rubs away in a few washes. Nearly every complaint about "satin labels fading" traces back to this one step.
You can test curing in ten seconds. Rub a printed sample hard with a dry thumb, then with a damp cloth. Properly cured ink won't transfer or dull. If colour comes off on the cloth, the run was under-cured. Reject it before bulk. More on this in our label wash-testing guide.
Step 5: slitting and cutting
Satin frays viciously. Cut a polyester satin ribbon with a cold blade and the cut end starts shedding threads immediately, and keeps shedding in the wash. So satin labels are never cut cold.
- Hot knife: a heated blade melts and fuses the threads at the cut line. Fast, standard, slightly stiff edge.
- Ultrasonic cutting: high-frequency vibration cuts and seals in one pass, giving the cleanest and softest sealed edge. The mark of a quality satin run.
- Laser cutting: used for shaped labels, rounded corners and die-cut outlines that a straight blade can't produce.
Sample check: tug the short ends of a sample label. A sealed edge holds firm and shows a faint glassy line. Loose threads mean it was cut cold. Those labels will fray inside the garment.
Step 6: folding, checking and packing
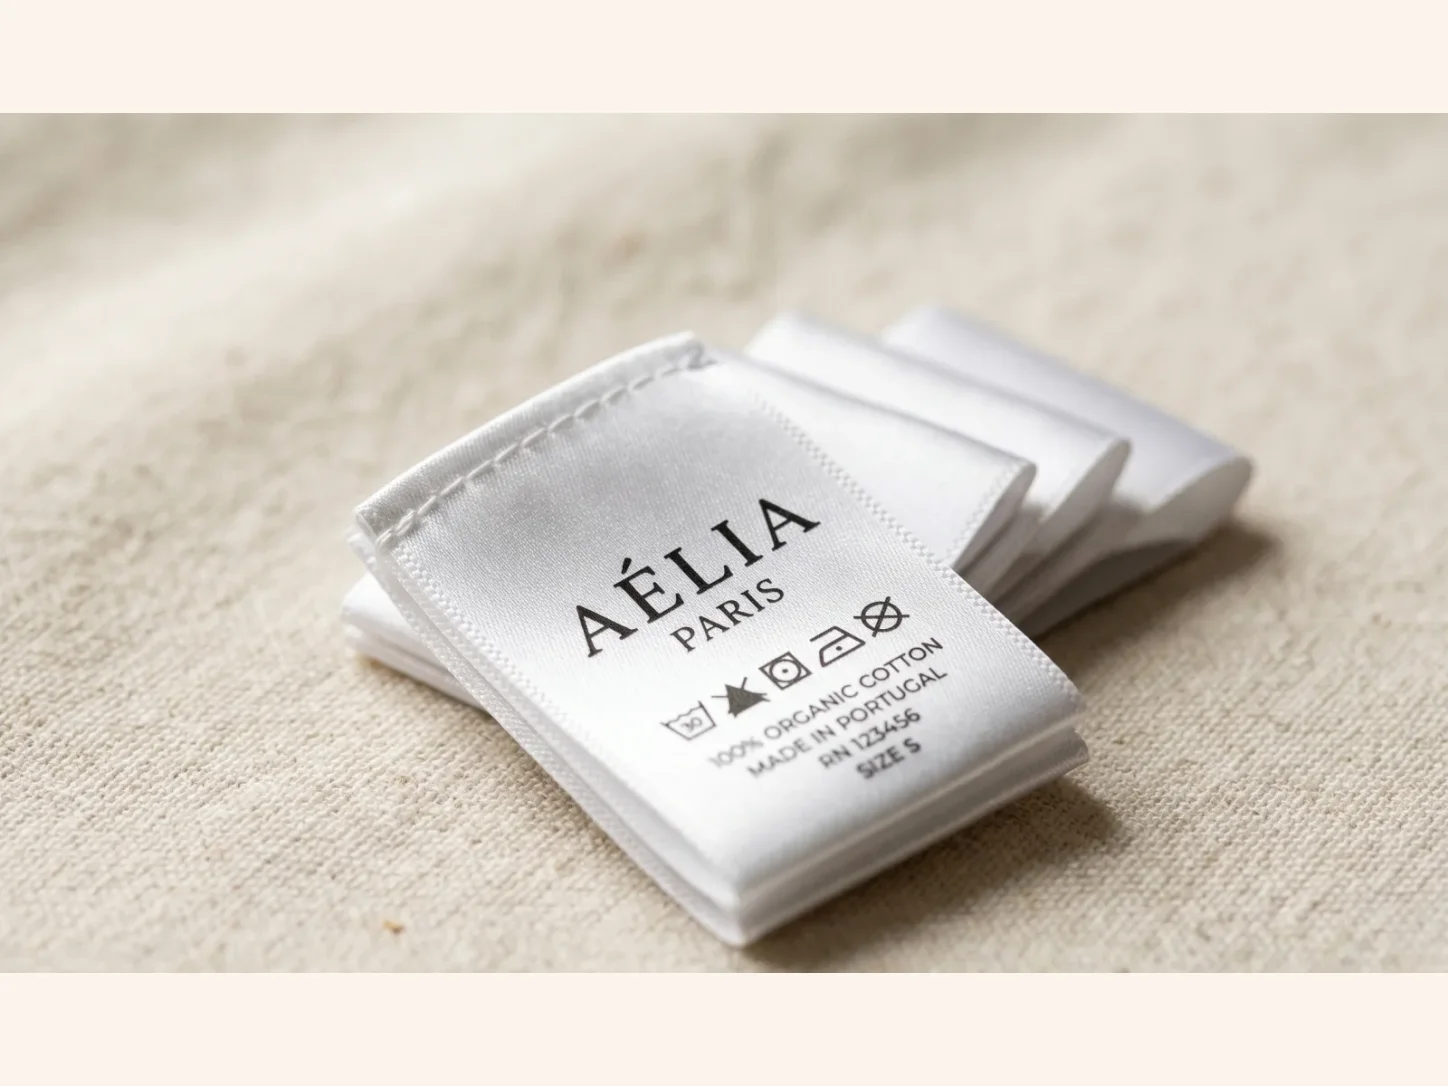
The cut labels are folded to the style you ordered: end-fold for neck labels, centre-fold for hem tags, mitre-fold for a flat finish, loop for a hanging tab. Each fold changes how much of your artwork stays visible, which is why the fold is agreed before the artwork is finalised. See label fold types explained.
Then comes QC: colour against the approved strike-off, print registration, edge seal, fold alignment and count. Labels are bundled in hundreds or thousands and packed flat so nothing creases in transit.
How long does it take to make satin labels?
For a standard Indian order, plan on 5 to 10 working days from artwork approval to dispatch. Printing and curing are quick; setup, sampling and checking take the time. Large runs, unusual base colours or foil passes add days.
Production rarely runs late. Approvals do. Lock your Pantone shades and your fold style before the quote, and the timeline looks after itself.
Why are satin labels priced the way they are?
The steps explain the quote better than any price list, because the cost sits in the ones that happen only once.
Separation, screen preparation and setting up the press are done a single time regardless of how many labels follow. Printing, curing and cutting scale with the length of the run. So a job is a large fixed block plus a small amount per metre, which is why a thousand labels and five thousand labels can be far closer in total price than the numbers suggest.
- Colour count is the largest thing you control, because each colour is a separate screen and a separate pass, set up once.
- Quantity is next, and the curve is steepest at the low end.
- Finishing adds a step. A fold or a special cut is a separate operation rather than something the cutting stage gives you free.
- Reorders cost less, because the separation and screens already exist.
What can go wrong at each step of satin label making?
The process is reliable when it is run properly and each stage has a characteristic failure when it is not. Knowing them is how you read a sample rather than simply admiring it.
- The ribbon. Rolls vary slightly in whiteness and absorbency, so the same ink recipe on a different roll gives a slightly different colour. This is the usual cause of drift between batches.
- Separation. Fine detail lost here is lost permanently. Hairlines thicken and small counters fill, and no later stage recovers them.
- Printing. Ink spread closes up reversed type and small symbols. It shows worst where light type sits on a dark ground.
- Curing. The one that matters most and the one you cannot see. Under-cured ink sits on the surface instead of bonding into the ribbon, looks perfect on delivery and fades within a few washes.
- Cutting. A poor seal leaves a rough or slightly melted edge, which is what a wearer feels at a neck.
- Folding. A fold set off-centre puts part of the artwork on the back of the label.
Only two of these are visible on delivery. That is the argument for washing a sample rather than inspecting one: curing and colour fastness are invisible until the label has been through a laundry cycle, and they are the failures that reach customers.
What does satin label printing ask of your artwork?
Three properties of the process shape what artwork should look like before it is sent.
The ink is translucent. The base ribbon shows through and tints everything above it, so the same ink on a white base and a cream base gives two different colours. On a dark base, light elements usually have to come from the ribbon rather than be printed onto it.
Ink spreads slightly as it lands. That sets a floor on how fine a stroke can be, and the floor is lower for reversed type than for positive type. Check the thinnest part of the mark rather than the overall impression.
The fold happens after printing. So artwork has to be positioned for the folded result, not for the flat piece. Designing on the flat and forgetting the fold is how half a logo ends up on the back of a neck label.
Send vector artwork at the finished size with the fold marked, and say which element must stay legible. That last answer decides more than the rest of the brief combined.
Getting satin labels made at Labelwala
25 years making woven and printed labels in Ahmedabad, Gujarat.
- Quotes: usually within 2 hours on a working day.
- Production: 7-10 days from artwork approval, or 3-5 days on a rush job.
- Minimum order: 1,000 pieces per design.
Ask for the sample on the exact base and fold you intend to order, and wash it before approving. Curing is the step you cannot inspect, and a laundry cycle is the only way to check it.
We are rated 5.0 on Google from 27 reviews.
The short answer
A satin label is printed on ready-made satin ribbon, not woven from scratch. Polyester satin ribbon is dyed and rolled; your artwork is vectorised and separated; ink is applied by rotary screen, thermal transfer or digital press; a heated tunnel cures the ink into the fibre; hot-knife or ultrasonic cutters seal the edges; and the labels are folded, checked and packed. Expect 5-10 working days after approval. The two steps that decide whether you get a good label are curing and edge sealing. Both are testable on a sample in under a minute, so always ask for one. If you'd like to see ours, we'll send printed satin samples before you commit to a run.