In brief
Send vector artwork as an AI, EPS, PDF or SVG file with fonts outlined, colours set in CMYK with Pantone references rather than RGB, and bleed plus a safe area. If you only have a JPG or PNG, it must be at least 300 DPI at the finished label size, not a smaller image scaled up.
Bad artwork is the single most common cause of a disappointing label order. The logo looks blurry because it was pulled off a website. The colour is too bright because it was designed in RGB. A word gets trimmed off because there was no bleed. None of these are the supplier's fault. They're artwork problems, and they're all avoidable.
Get the file right and your bulk run comes out exactly as you pictured. Here's the checklist, in plain English, for anyone who isn't a print designer.
Why should you send vector artwork, not a screenshot?
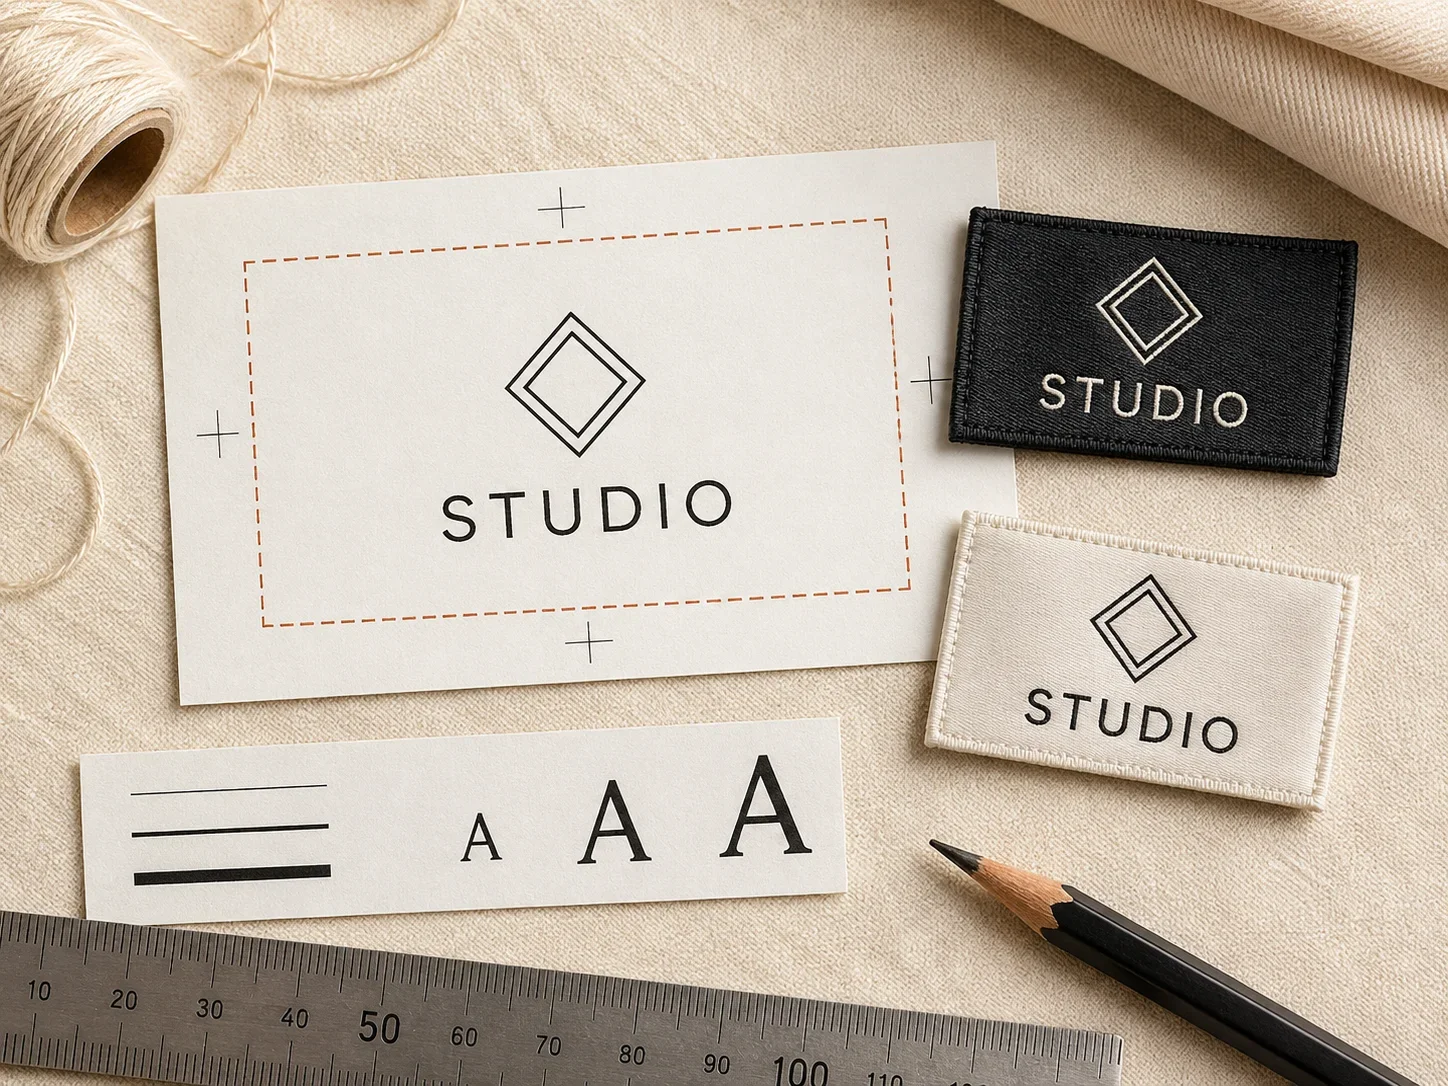
- AI, EPS, PDF or SVG
- Scales to any size, stays razor-sharp
- Essential for small labels & fine logos
- JPG / PNG, made of pixels
- Blurs when scaled up
- Only OK if 300 DPI at final size
The #1 mistake: a low-resolution logo copied off a website. It looks fine on screen but prints blurry at label size. Always start from the original vector logo.
These rules are built into the tool. The free label designer flags type that is too small to weave, keeps the fold allowances honest and exports print-ready artwork at 300 DPI.
What resolution should raster label artwork be?
Vector artwork has no DPI: it scales infinitely, which is why it's preferred. If you must send a raster image, it needs to be at least 300 DPI at the actual finished label size, not a big image scaled down. A logo that's 300 DPI at 5 cm will not be 300 DPI when stretched to fill a larger label.
Why use CMYK and Pantone instead of RGB for labels?
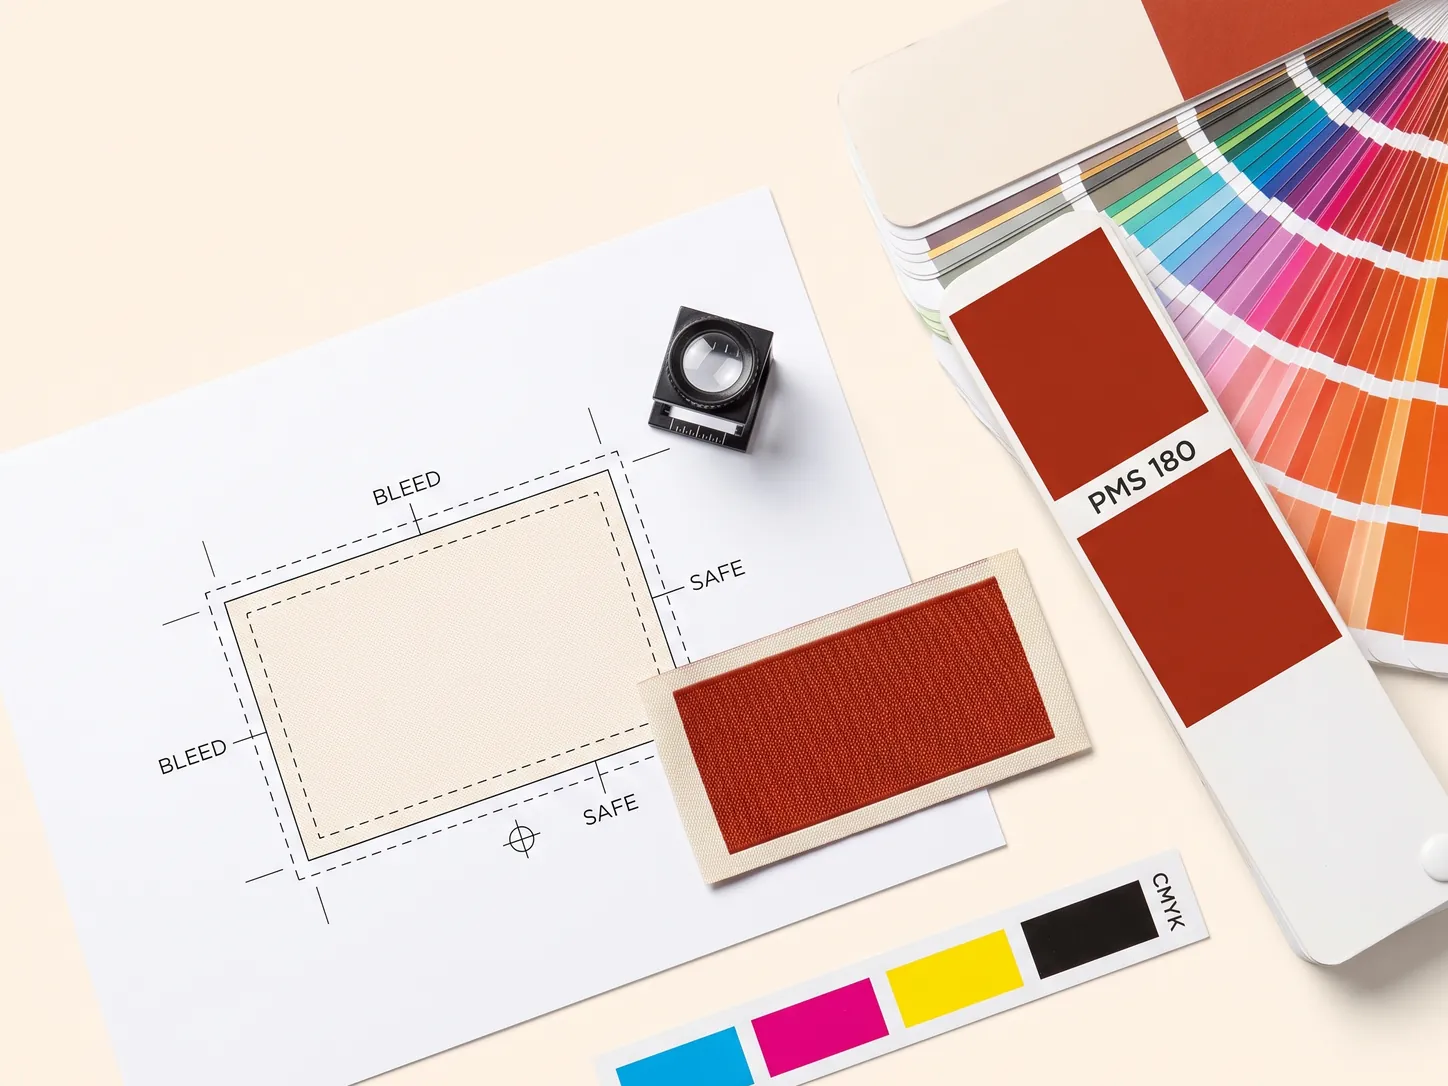
- CMYK is how labels actually print
- Pantone (PMS) locks your brand colour
- Approve a physical sample
- For screens, not print
- Looks brighter than the result
- Leads to "it's not the colour I saw"
For woven labels, colours are matched to thread shades rather than ink, so a Pantone reference plus a physical sample matters even more. Never approve a brand colour from a screen alone.
What are bleed and safe area on label artwork?
Bleed is a small margin (about 2-3 mm) of artwork extending past the cut line, so a slightly-off trim never leaves a white edge. Anything that should reach the edge needs bleed. Keep important text and logos a safe distance inside the cut line so nothing gets trimmed off.
Two simple rules: extend backgrounds past the edge (bleed), and keep logos and text well inside it (safe area). That's most trimming problems solved.
Why should you outline fonts in label artwork?
If you send a file with live text and the supplier doesn't have your exact font, it can reflow or swap to the wrong typeface. Converting text to outlines (curves) or embedding the fonts locks the type exactly as designed. Always outline fonts on final artwork.
What artwork files should you send your supplier?
Vector (or 300 DPI raster at final size), fonts outlined.
Finished size in mm, material and fold.
Pantone references + CMYK artwork.
Quantity and any special finish.
Send a complete brief up front and you'll get an accurate quote and a right-first-time sample, no back-and-forth. For sizes, see our label size guide; for folds, our fold types guide.
Design at the size it will actually be
The most common cause of a disappointing label is not a technical file problem at all. It is that the artwork was designed at screen size and only ever looked at large.
A logo that reads beautifully at 400% on a monitor can be an illegible smudge at 25 mm in the hand. The fix costs nothing: build the artboard at the finished label size in millimetres, and design there. If you must work larger, print the file at 100% on paper, cut it out and hold it against the garment before you send anything.
Two minimums are worth knowing, because they are physical rather than stylistic:
- Woven text starts failing below about 4 mm of letter height. The enclosed gaps inside 8, 6, 0 and R close up because a weave cannot make a gap thinner than a couple of threads. No supplier can weave past this.
- Line weight below roughly 0.5 mm is fragile in almost every method, it drops out on woven, spreads on printed, and lifts on a heat transfer.
Printed labels handle small text far better, which is why care labels are printed. If your mark genuinely needs hairline detail, the honest options are a bigger label, a simplified version for label use, or a printed label instead. Most heritage brands maintain exactly such a simplified lockup.
Bleed, safe area and the fold
Labels are cut and folded, and both operations have tolerance. Artwork that ignores that gets trimmed or creased.
- Bleed: extend any background colour 2-3 mm past the cut line, so a slight shift in cutting does not leave a white sliver along one edge.
- Safe area: keep all text and logos at least 2 mm inside any edge that will be stitched, and further where you can.
- Fold clearance: leave 3 mm clear either side of a fold line. The crease is pressed in during finishing and never comes out, so a letter sitting on it is permanently marked.
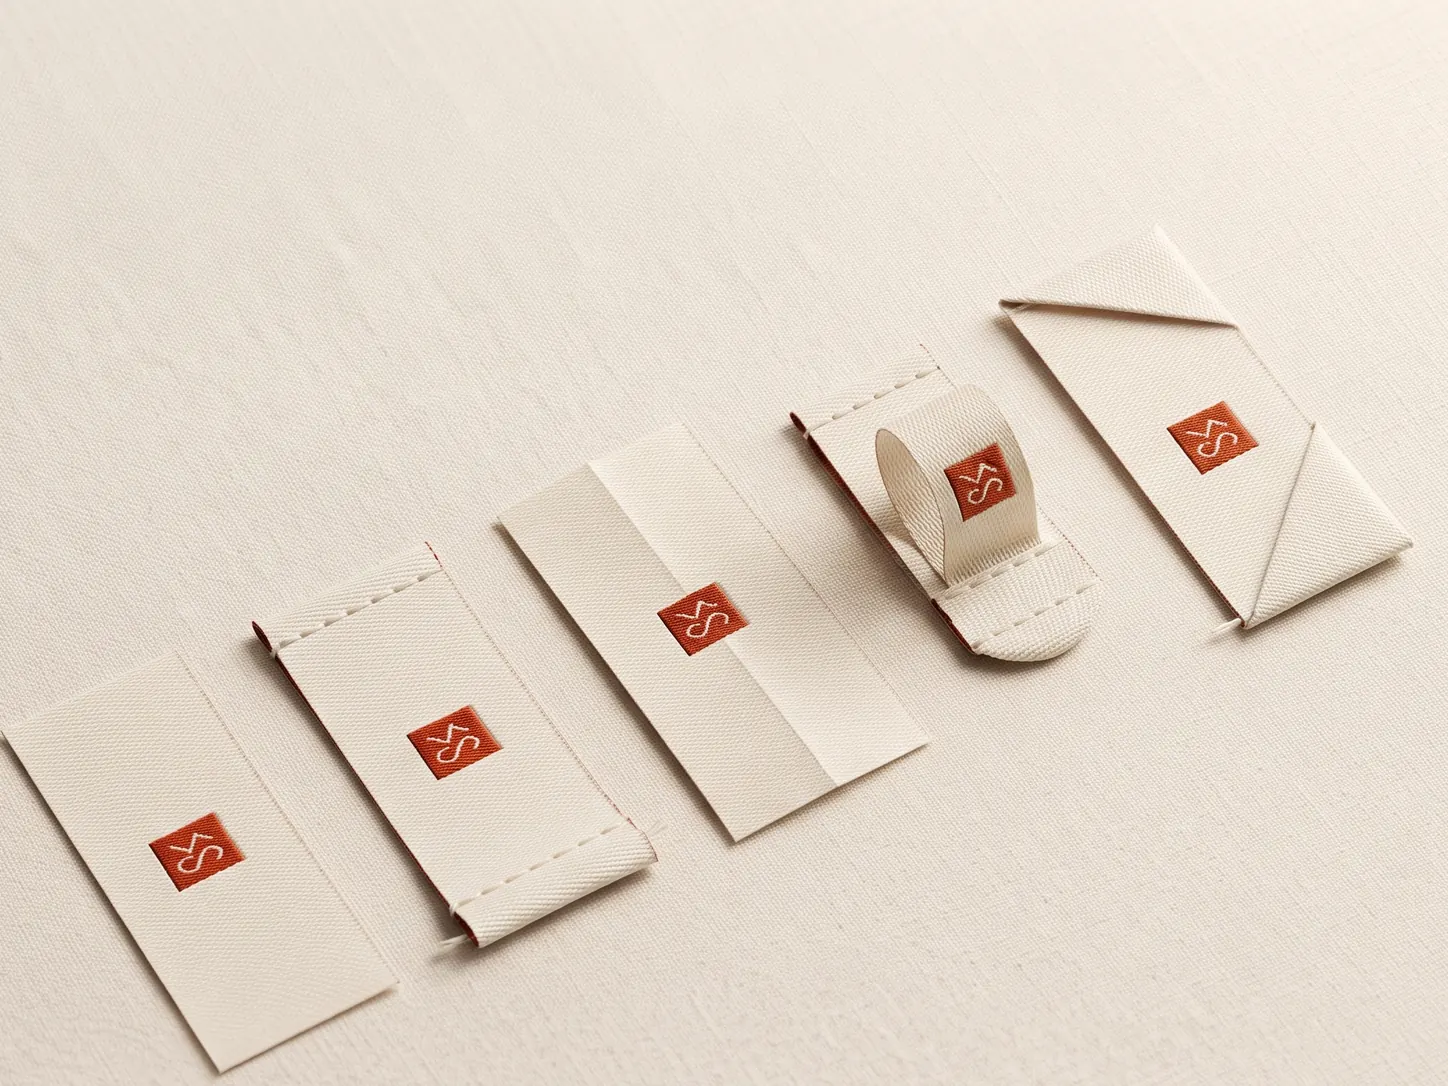
The fold is where artwork most often goes wrong, because on a flat file every panel looks right. On a centre-fold label, treat each half as its own label and keep each face’s artwork within its own half. On a multi-panel fold, alternate panels may need rotating so they read the right way up when opened, ask for the proof shown folded rather than flat, and read it in that state.
The classic error is a hem tag with the logo centred on the flat artwork. Fold it and half the logo is inside the seam. Always position artwork on the finished panel and let the supplier work back to the flat file.
File problems that survive a quick look
A file can be vector and still cause trouble. These are the ones that get past a casual check:
- A raster image embedded inside a vector file. The file is technically an AI or PDF, but the logo inside it is still a low-resolution JPEG. Zoom to 800% and look.
- Live text with fonts not outlined. Opened on a machine without your font, it re-renders in something else, and nobody may notice until the labels arrive.
- Strokes not expanded. A 0.25 pt stroke scales unpredictably and can vanish or thicken when the file is resized.
- Transparency, drop shadows and blend effects, none of which exist in weaving and several of which flatten badly in print.
- RGB images inside an otherwise CMYK file, which is where unexpectedly bright colours come from.
- Hidden layers and stray objects outside the artboard, which can confuse what is meant to print.
- Colours defined differently in different places, so the same brand red appears as two swatches.
Before sending, do one pass: outline the fonts, expand the strokes, delete hidden layers, flatten effects, and confirm every colour is a named swatch. Then reopen the saved file fresh and look at it once more.
Name and version the file
Artwork drift is quieter than colour drift and harder to spot, because nothing looks wrong. The label is simply a slightly different label from last time.
It happens when a file gets rebuilt instead of reused: a designer leaves, the original is not to hand, and someone recreates the logo from a PDF. The result is close, and close is exactly the problem.
- Keep one master file with fonts outlined, so it cannot re-render differently elsewhere.
- Put a version in the filename and never overwrite an approved version in place.
- Record which version was approved against each order.
- Send the file, not a rendering of it. A PDF export of a PDF export loses something each time.
- Store it with the spec sheet and the physical sample, not in one person’s inbox.
If you genuinely need to change the artwork, a new address, an updated composition, treat it as a new version, keep the old one, and expect to sample again. See keeping labels consistent across reorders.
One habit is worth more than any of the individual checks: reopen the saved file on a different machine before sending it. Most artwork faults that survive a careful review are faults that are invisible on the computer the file was made on, because that machine has the fonts, the linked images and the colour settings the file assumes. Somewhere else, they surface immediately.
Before you press send
- Is the artboard at the finished label size in millimetres?
- Are all fonts outlined and all strokes expanded?
- Is every colour a named swatch, in CMYK or Pantone rather than RGB?
- Is there 2-3 mm bleed on any background colour?
- Is all text at least 2 mm inside a stitched edge, and 3 mm clear of any fold?
- Is the smallest text above the minimum for your chosen method?
- Have you zoomed to 800% to check nothing embedded is raster?
- Have you printed it at 100% and held it against the garment?
- Does the filename carry a version?
- Have you said the finished size, the fold and the material alongside the file?
That last one matters as much as the file. Artwork on its own is not a brief. The same logo can become a neck label, a hem tag or a care label, and the supplier cannot tell which from the file.
Sending artwork to Labelwala
We make woven and printed labels in Ahmedabad, Gujarat, and we have been doing it for 25 years, so most artwork problems are ones we have seen before and can flag early.
- Quotes: usually within 2 hours on a working day when the file and spec arrive together.
- Production: 7-10 days once artwork is approved. Rush jobs run 3-5 days.
- Minimum order: 1,000 pieces per design.
- Delivery: across India, depending on destination and consignment size.
If all you have is a low-resolution logo, say so rather than sending it and hoping. Redrawing is a normal step and a quick one when it is planned for; it becomes a week of delay when it is discovered at proofing.
We are rated 5.0 on Google from 27 reviews.
The short answer
Set up label artwork right and your bulk run comes out perfect. Send vector files (AI/EPS/PDF/SVG) or a 300 DPI raster at final size, work in CMYK with a Pantone reference for your brand colour, add 2-3 mm bleed and keep text inside a safe area, and outline your fonts. Give your supplier the artwork, finished size, material, fold, colour references and quantity in one brief, then always approve a physical sample before bulk. Send us your files and we'll flag anything before it goes to production.