In brief
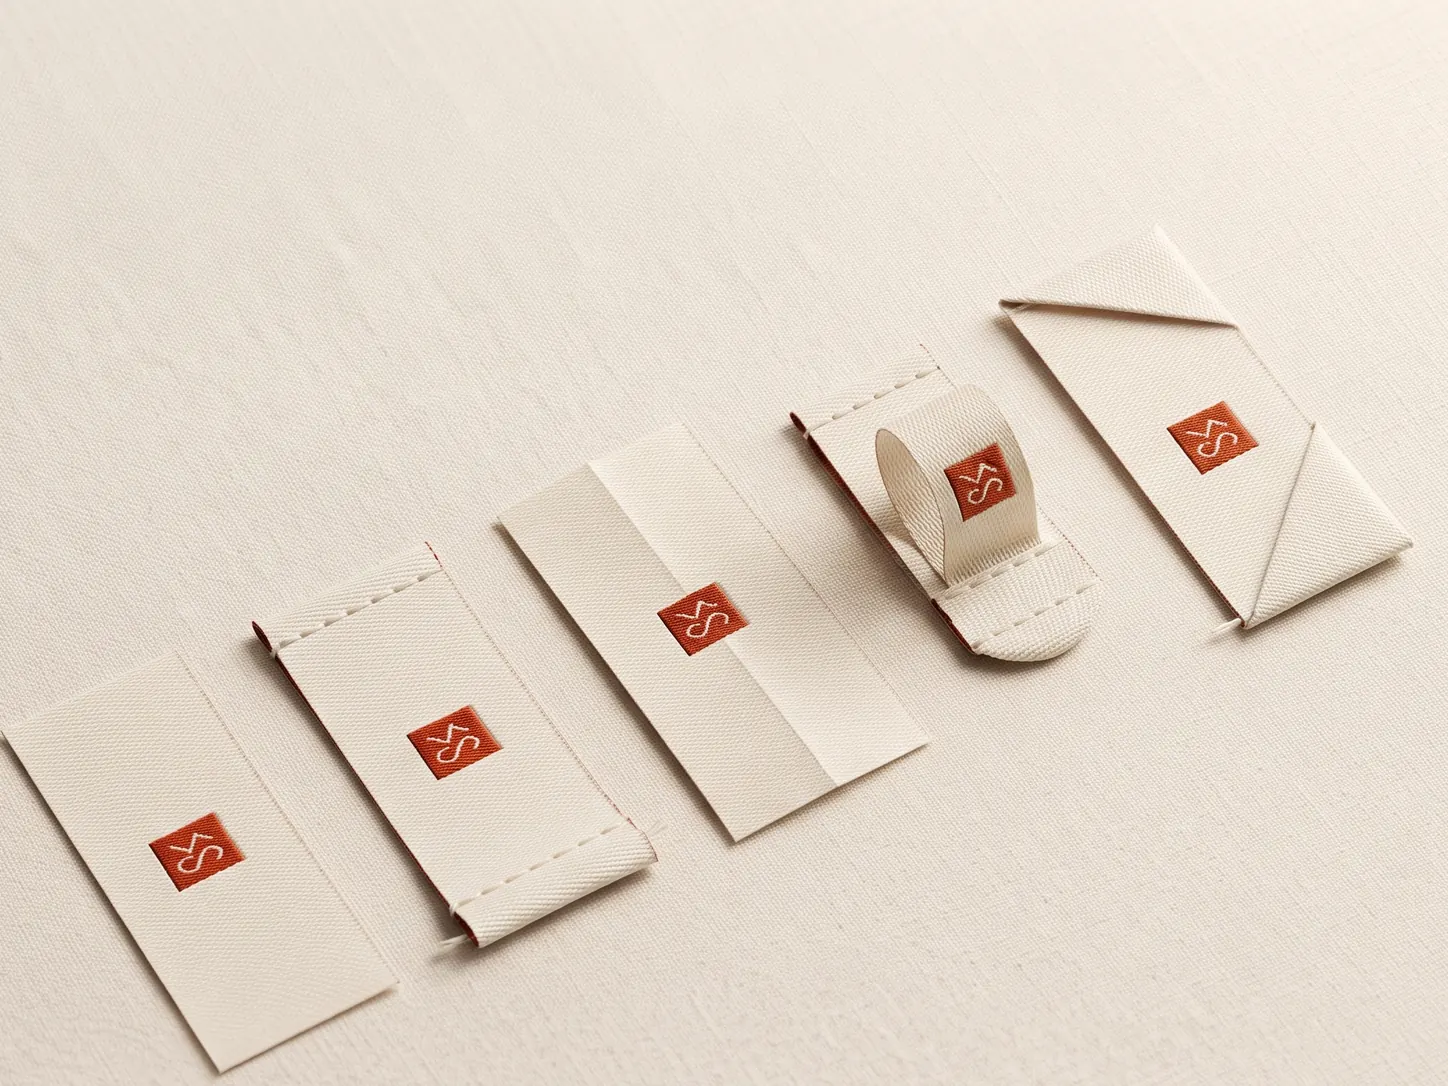
The main label folds are straight-cut, end-fold or die-fold, centre-fold, loop-fold, mitre-fold and manhattan-fold. End-fold hides both raw ends and is the most common neck label fold, centre-fold suits hem tags and size tabs, and loop-fold is stitched at both ends into a seam.
You've picked your label material and designed your artwork, and then the supplier asks: "which fold?" For a lot of first-time buyers, that's a blank. But the fold matters. It decides how the raw edges are hidden, how the label is stitched into the garment, and how it sits against the body.
This is a plain reference to every common label fold, what it looks like, and when to use it. Keep it handy for your next order.
Two things are worth knowing before the list. The fold is dictated by how the garment is constructed, not by how the label looks. A label meant to be caught in a seam is awkward to attach to a finished panel, and the other way round. And the fold determines the flat size that actually has to be made, which is why it comes up at quote stage rather than as a finishing detail. Get those two right and the rest is mostly preference.
What is a straight-cut label?
The simplest option: a flat label with sealed or heat-cut edges and no fold at all. Stitched on all four sides or heat-pressed. Best for heat-transfer labels, simple flat labels and printed care labels where a clean flat piece is all you need. The most economical starting point.
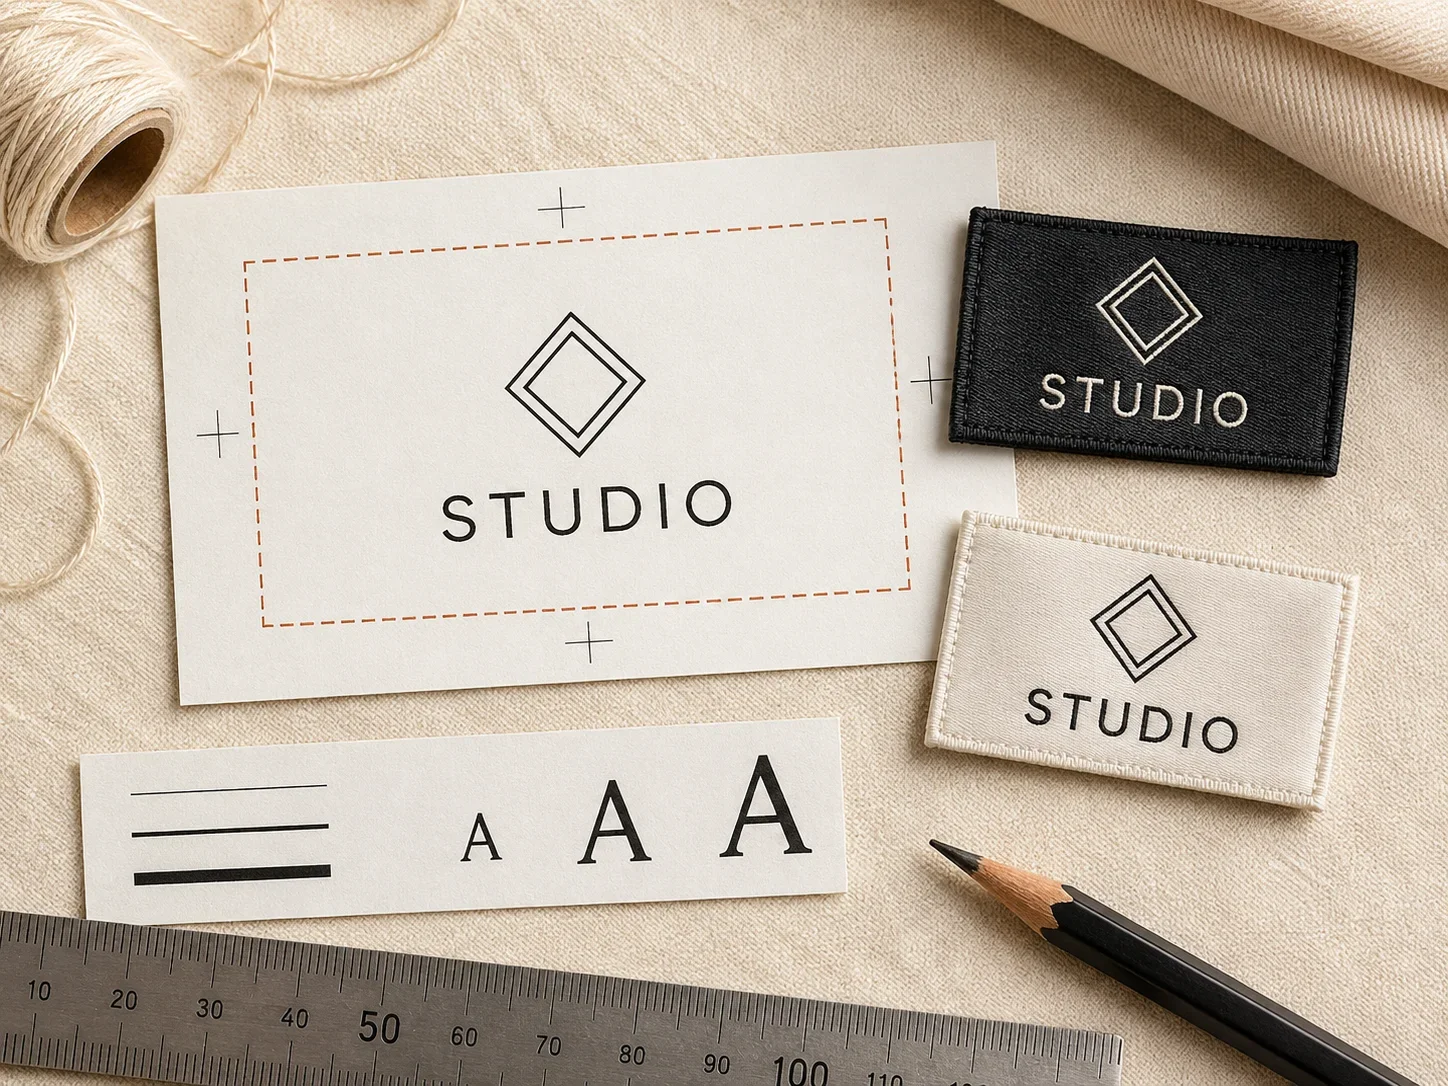
See this fold with your own artwork. The free label designer draws the flat piece, the turn-under and the visible face at true size, for every fold on this page.
What is an end-fold or die-fold label?
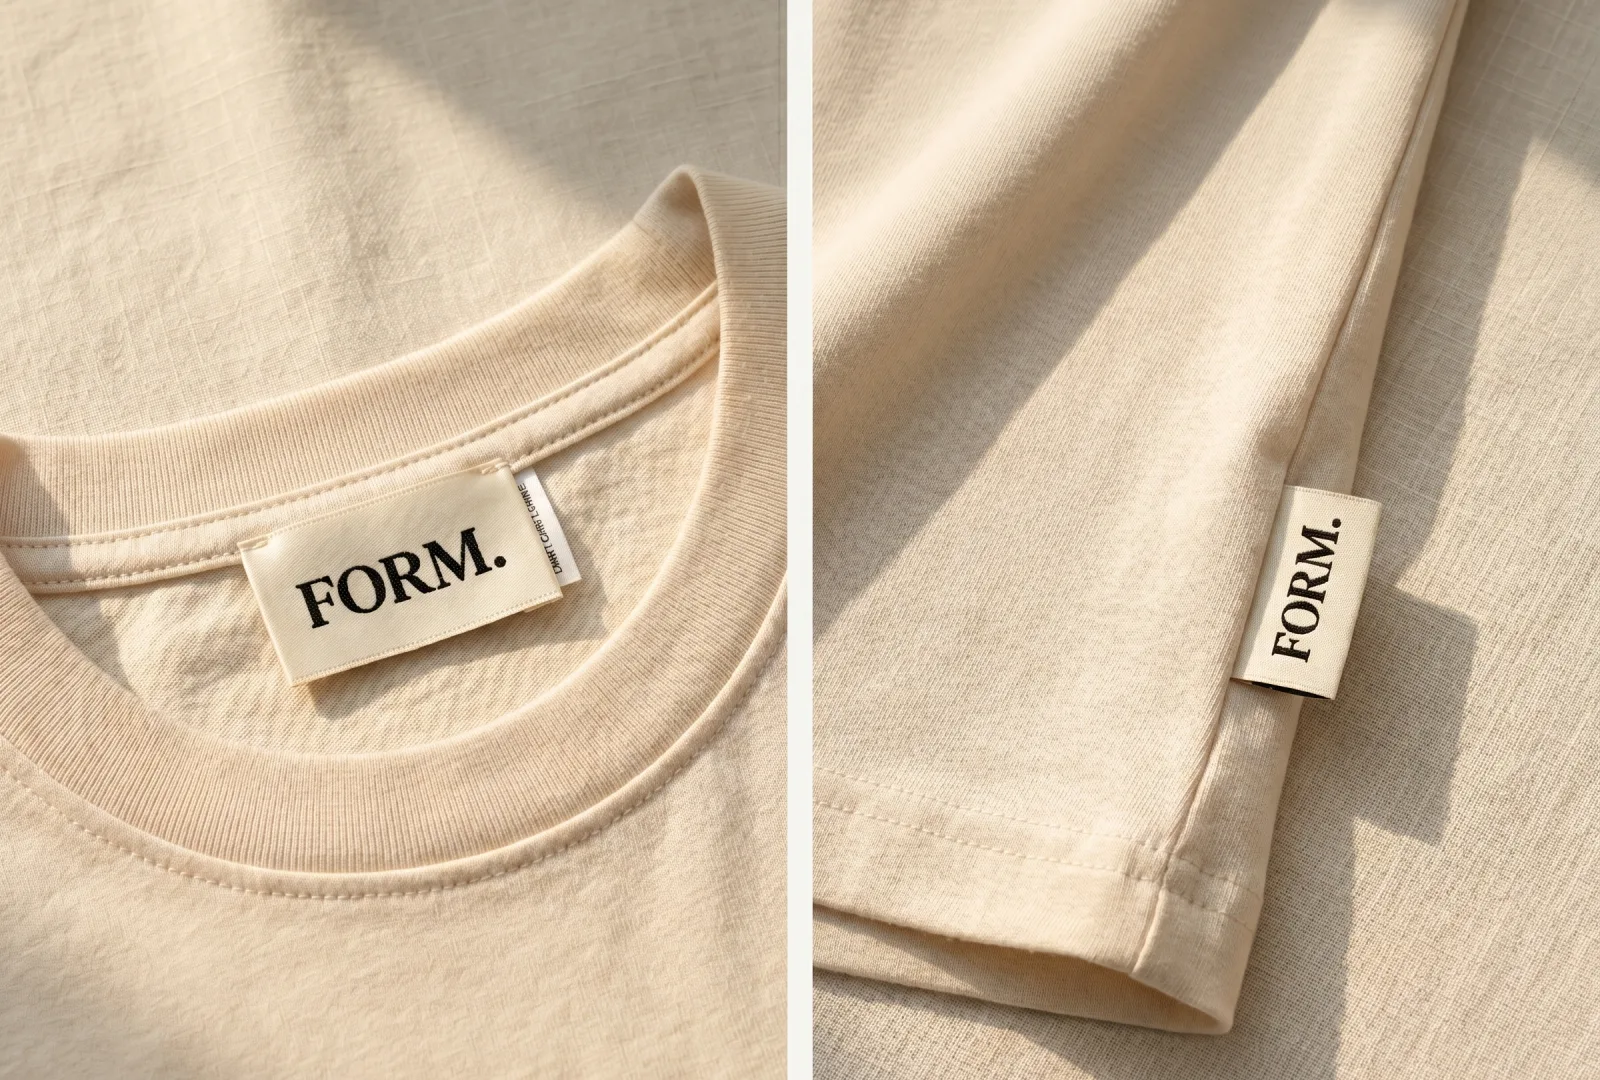
- Both short ends folded under to the back
- Raw edges hidden, label lies flat
- Stitched top & bottom (or all four sides)
- Centre-back neck brand labels
- The most common fold
- Clean, finished, professional look
If you're not sure, end-fold is the safe default for a neck label: it hides the edges and sits flat and comfortable.
Folds also get decided by default more often than they should. A supplier asks, the buyer says "whatever is standard", and the label arrives folded to suit the factory not the garment. It is worth two minutes of thought, because it is one of the very few label decisions that cannot be changed at all after the run has been made. A colour can be adjusted on the next order and a size can be revised; a folded label can only be replaced.
What is a centre-fold label used for?
Folded in half along its length so the design can show on both sides, then stitched into a seam or hem. Common for hem tags, side-seam labels and size tabs where both faces may be seen. Because it folds in half, the artwork is usually mirrored or repeated so it reads correctly whichever side shows.
Loop-fold (loop label)
Folded so both ends meet and are stitched together into a seam, leaving a neat loop of label sticking out. Popular for size tabs and small brand tabs at the hem, waistband or side seam. An economical way to add a small, visible brand or size tab.
What are mitre-fold and Manhattan-fold labels?
- Mitre-fold: ends folded at an angle (like a picture-frame corner) for a neat, slightly decorative edge; a refined detail on premium labels
- Manhattan-fold: a folded finish that presents the label at an angle or raised profile for a distinctive look
These add a decorative edge. Mitre and manhattan folds cost a little more than a simple fold but give a refined, considered finish: nice touches for premium and designer labels.
How does the fold change the size you order?
This is the practical reason the fold question comes early, and the single most common source of a first sample arriving at the wrong size. The fold decides how much material disappears, so the piece that gets woven is bigger, sometimes much bigger, than what you see in the garment.
| Fold | Flat piece needed | Example |
|---|---|---|
| Straight cut | Same as finished | 40 mm visible → 40 mm cut |
| End fold | Add 5-7 mm at each short end | 40 mm visible → about 52 mm cut |
| Centre fold | Roughly double the visible height | 20 mm visible → about 45 mm cut |
| Loop fold | Double the height, plus both ends into the seam | 20 mm visible → about 50 mm cut |
| Mitre fold | Similar to end fold, corners turned at an angle | 40 mm visible → about 52 mm cut |
So when you tell a supplier "30 × 40 mm", say whether that is the finished size you want to see or the cut size to be made. On a centre-fold label those two numbers differ by more than half, which is exactly how a brand ends up with a neck label half the height they pictured.
The safest brief states both together: "30 × 20 mm finished, centre fold". Your supplier can then confirm the cut size, and the sample comes back right the first time.
Where the artwork can and cannot go
Every fold creates space that is production rather than branding. Artwork that strays into it either disappears or gets a permanent crease through it.
- Leave at least 2 mm between any text and an edge that will be stitched.
- Leave 3 mm clear either side of a fold line. The crease is pressed in during finishing and never comes out, so a letter sitting on it is permanently marked.
- On a centre fold, treat each half as its own label. Keep each face's artwork within its own half of the flat file, and remember the back face may need to be rotated to read correctly.
- On a loop fold, keep the logo well clear of both ends, since both disappear into the seam.
- On an end fold, the turned-under portion is invisible. Do not put anything there expecting it to show.
Folds are where artwork most often goes wrong, and it is nearly always the same mistake: the logo is centred on the flat piece rather than on the face that will show. Fold it and the part that was central disappears into the seam. Lay the design out on the finished panel and let the supplier calculate the flat file back from it.
Fold decides how the label feels
A folded edge is soft. A cut edge is not. That single difference matters more than the material does when the label sits against skin.
A straight-cut label has sealed edges on all sides, and on synthetics that seal is made by melting, which leaves a firm and sometimes slightly sharp edge. Perfectly fine in a side seam or a pocket bag; noticeably scratchy at the back of a neck. An end fold or centre fold replaces those cut edges with soft folded ones, which is why the same material in the same design can be comfortable or irritating depending purely on the fold.
This is why the answer for kidswear and next-to-skin garments is usually a folded label in a soft material, and why "the label scratches" is more often a fold problem than a material problem. If a customer complains about a scratchy neck label, check the fold before changing the cloth.
Material limits which folds work
Not every fold suits every cloth, and a supplier will usually steer you if the combination is awkward.
- Thick, high-density damask resists tight folds and adds bulk. A centre fold in heavy damask makes a stiff double-thickness tab, which is fine at a hem and unpleasant at a neck.
- Satin and lighter taffeta fold easily and lie flat, which is why they dominate neck labels.
- Printed cotton tape folds softly but frays if a cut edge is left exposed, so it wants a fold rather than a straight cut.
- Fine and sheer garment fabrics show label bulk through the cloth, which is where the mitre fold earns its cost by reducing thickness at the corners.
The general rule: the thicker the label material, the more a fold costs you in bulk and stiffness. On a heavy material, consider a straight cut in a hidden position rather than a fold in a visible one.
The same fold has several names
Terminology varies between factories, which is why buyers get confused comparing two quotes. These are the common synonyms:
- End fold, die fold, end-fold, tuck fold, book fold.
- Centre fold, center fold, half fold, book-cover fold in some mills.
- Loop fold, loop label, hanger loop, folded loop.
- Straight cut, flat cut, no fold, heat cut, laser cut.
- Mitre fold, miter fold, mitred corner.
If a quote names a fold you do not recognise, ask for a diagram or a photograph of a sample instead of assuming. It takes a minute and it removes the risk of comparing two quotes that are not for the same thing.
How do label folds affect cost?
Folding is a finishing operation, so it adds a little to the label price, but the bigger effect is indirect and often missed.
A centre-fold or loop-fold label uses roughly twice the material of the visible panel, because the hidden half still has to be woven. That, rather than the folding itself, is why a folded label costs more than a straight cut of the same visible size.
Decorative folds, mitre, manhattan, add a further finishing step and cost more again. They are worth it where the edge is visible and the brand is positioned on detail; they are invisible money inside a seam.
Against all of that, folds are still a small line in a label quote. Material, size and colour count move the number far more, so it is rarely worth choosing an uncomfortable fold to save on price.
Common mistakes
- Quoting one size without saying whether it is finished or cut, and receiving a label half the expected height.
- Centring a logo on the flat artwork of a centre-fold label, so half of it folds into the seam.
- Letting text sit on a fold line and getting a permanent crease through a letter.
- Choosing a straight cut for a neck label to save money, then dealing with a scratchy edge.
- Specifying a centre fold in heavy damask for a neck position.
- Assuming two quotes use the same fold because they use the same word.
- Picking the fold on looks rather than asking the garment maker how the seam is actually sewn.
That last one is worth taking seriously. The fold has to suit how your garment is constructed. A label meant to be caught in a seam is awkward to attach to a finished panel, and vice versa. Ask whoever is sewing the garment before you finalise it.
Choosing a fold with Labelwala
We make woven and printed labels in Ahmedabad, Gujarat, and we have been doing it for 25 years. Fold is one of the things we most often end up recommending, because buyers know the look they want and not the construction that produces it.
- Minimum order: 1,000 pieces per design.
- Quotes: usually within 2 hours on a working day.
- Production: 7-10 days once artwork is approved. Rush jobs run 3-5 days.
- Delivery: across India, depending on destination and consignment size.
Tell us the garment, the position and the finished size you want to see, and we will tell you which fold suits it and what flat size that needs. That order, position first, fold second, size third, avoids most of the back-and-forth at sampling.
We are rated 5.0 on Google from 27 reviews.
Quick reference: which fold, where
End-fold (die-fold): flat, clean, edges hidden.
Centre-fold or loop-fold: both sides or a neat loop.
Straight-cut: simple flat piece in a side seam.
Mitre or manhattan: a decorative angled edge.
The short answer
The main label folds are straight-cut (flat, no fold), end-fold / die-fold (ends tucked under, the standard for neck labels), centre-fold (folded in half so both sides show, for hem tags), loop-fold (a protruding loop, for size tabs), and mitre / manhattan (decorative angled edges). Match the fold to the placement: end-fold at the neck, centre or loop at the hem, straight-cut for care labels, mitre for a premium edge. Fold has a small effect on cost, size, material and colours matter more. Tell us where the label goes and we'll recommend the fold and send a sample.