In brief
Ink wicks along satin threads, so keep positive text at 1.5 mm cap height or more, reverse text at 2 mm, line weights at 0.25 mm, and extend bleed 2 mm past the finished edge. Keep artwork 2 to 3 mm inside the edge, design around the fold, send vector files and approve a strike-off on the real ribbon.
Designers usually arrive at satin relieved. After the hard limits of a jacquard loom (no gradients, a handful of colours, chunky minimum strokes), a printed satin label feels like being handed a printing press.
It nearly is. But satin is still fabric, and ink behaves differently on threads than it does on coated paper. These are the rules that separate artwork that comes back looking like your file from artwork that comes back looking soft.
Why does ink wick on satin?
Satin's face is smooth because the weave floats long threads across the surface. Smooth is not the same as sealed. When ink lands, it spreads a fraction of a millimetre along those threads before it sets.
At 10 point text you will never see it. At 4 point, that same spread thickens every stroke and starts closing the holes in letters like a, e, g and 8. Every rule below is, in one way or another, a consequence of this single fact.
These rules are built into the tool. The free label designer flags type that is too small to weave, keeps the fold allowances honest and exports print-ready artwork at 300 DPI.
How small can type and strokes go on satin?
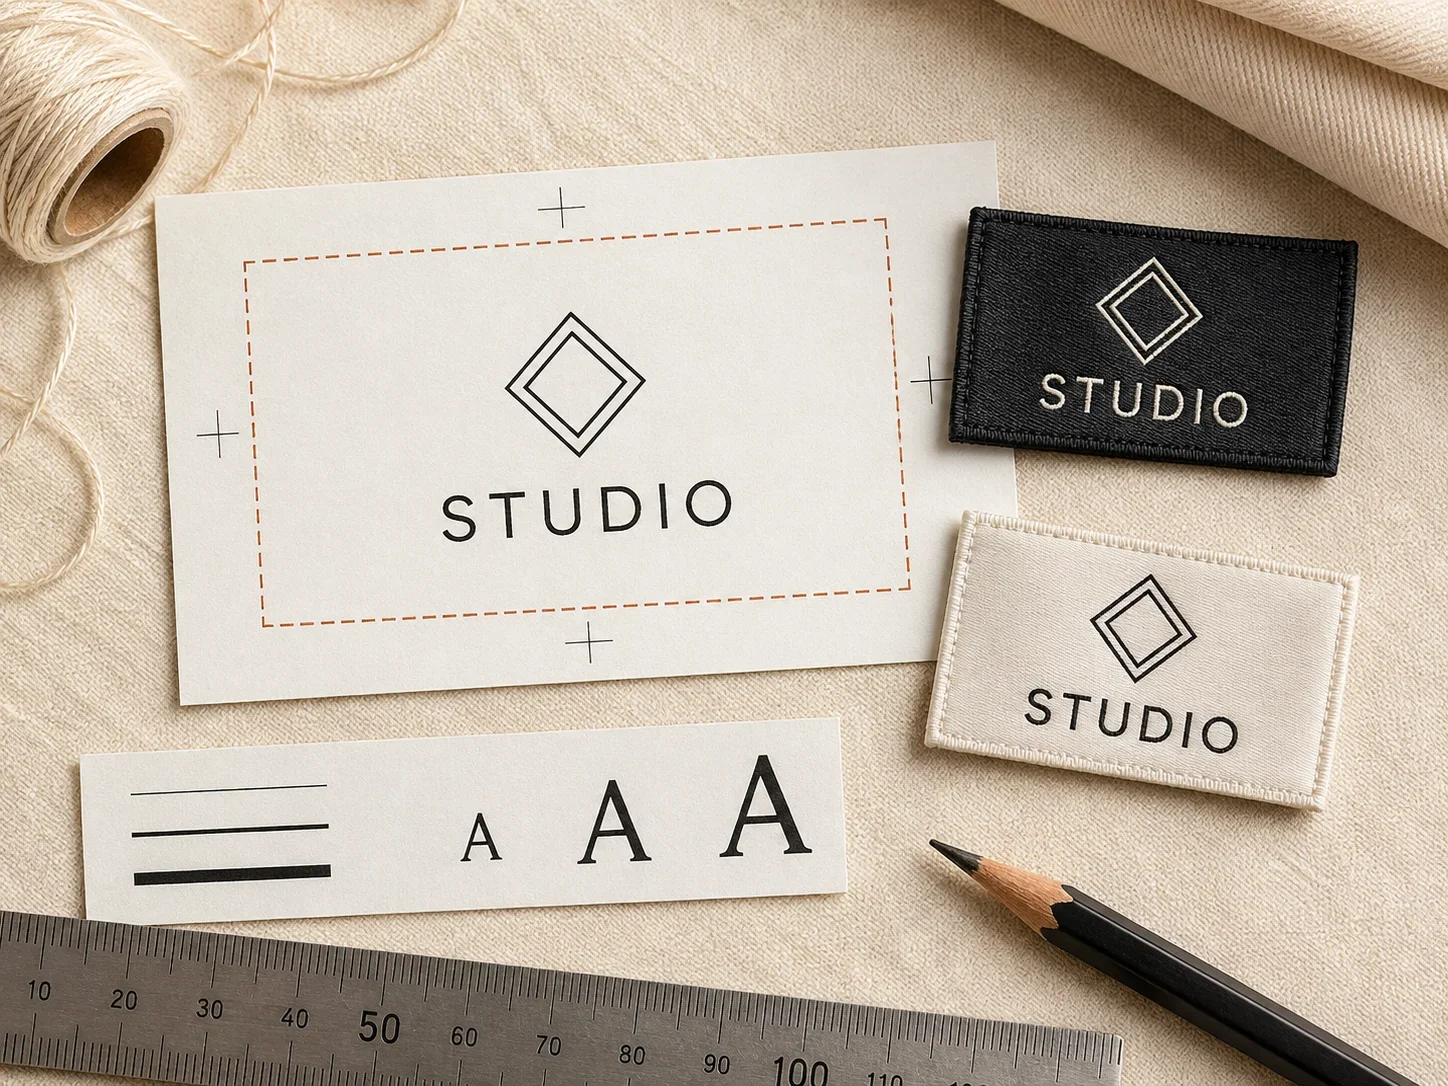
Keep positive text, dark ink on light ribbon: at 1.5 mm cap height or above, roughly 5 to 6 points depending on the face. Reverse text needs about 2 mm, because the ink spreading inwards eats the letterforms from both sides.
Typeface choice matters as much as size. A face with open counters and even, moderately weighted strokes survives; a high-contrast display serif with hairline joints does not, because the hairlines either disappear or blob. Ultra-light weights are the single most common cause of a disappointing satin sample.
Quick test: print your artwork at final size on a home printer and look at it from 30 cm. If anything is already hard to read on paper, it will be worse on fabric. Paper is the easy surface.
How do you print reverse type on dark satin?
White on black is a great look and the hardest thing on the job. White ink has to be opaque enough to cover a dark ribbon, which means a heavier lay or a second pass. Where the coverage is thin, white reads grey.
- Go one weight bolder than you would on white ribbon.
- Increase the size. 2 mm cap height is the floor, not the target.
- Delete hairline white rules. A 0.15 mm white line on black will look broken.
- Judge on cloth, not on screen. A monitor shows white as pure light; ink never is.
On digital presses, colour on dark ribbon also needs a white under-base first, or CMYK inks go muddy. More on that in satin label printing methods.
Can satin print gradients, halftones and photographs?
Here is where satin genuinely beats woven, with one condition attached.
- Smooth gradients and soft shadows
- Photographic and illustrative artwork
- Unlimited colours at no extra cost
- Fine multi-colour detail like a crest
- Gradients: each screen prints one solid colour
- Fine halftones, they go coarse on fabric
- Photographs of any kind
- Long colour lists. Every colour is another screen
So before you design a gradient in, confirm which press the job is quoted on. A gradient in a screen-printed quote is a conversation waiting to happen.
How much bleed and safe area does satin need?
Ribbon feeds through the press with a small amount of lateral drift, and it's cut with a heated blade. The finished edge therefore lands within a tolerance, not on an exact line.
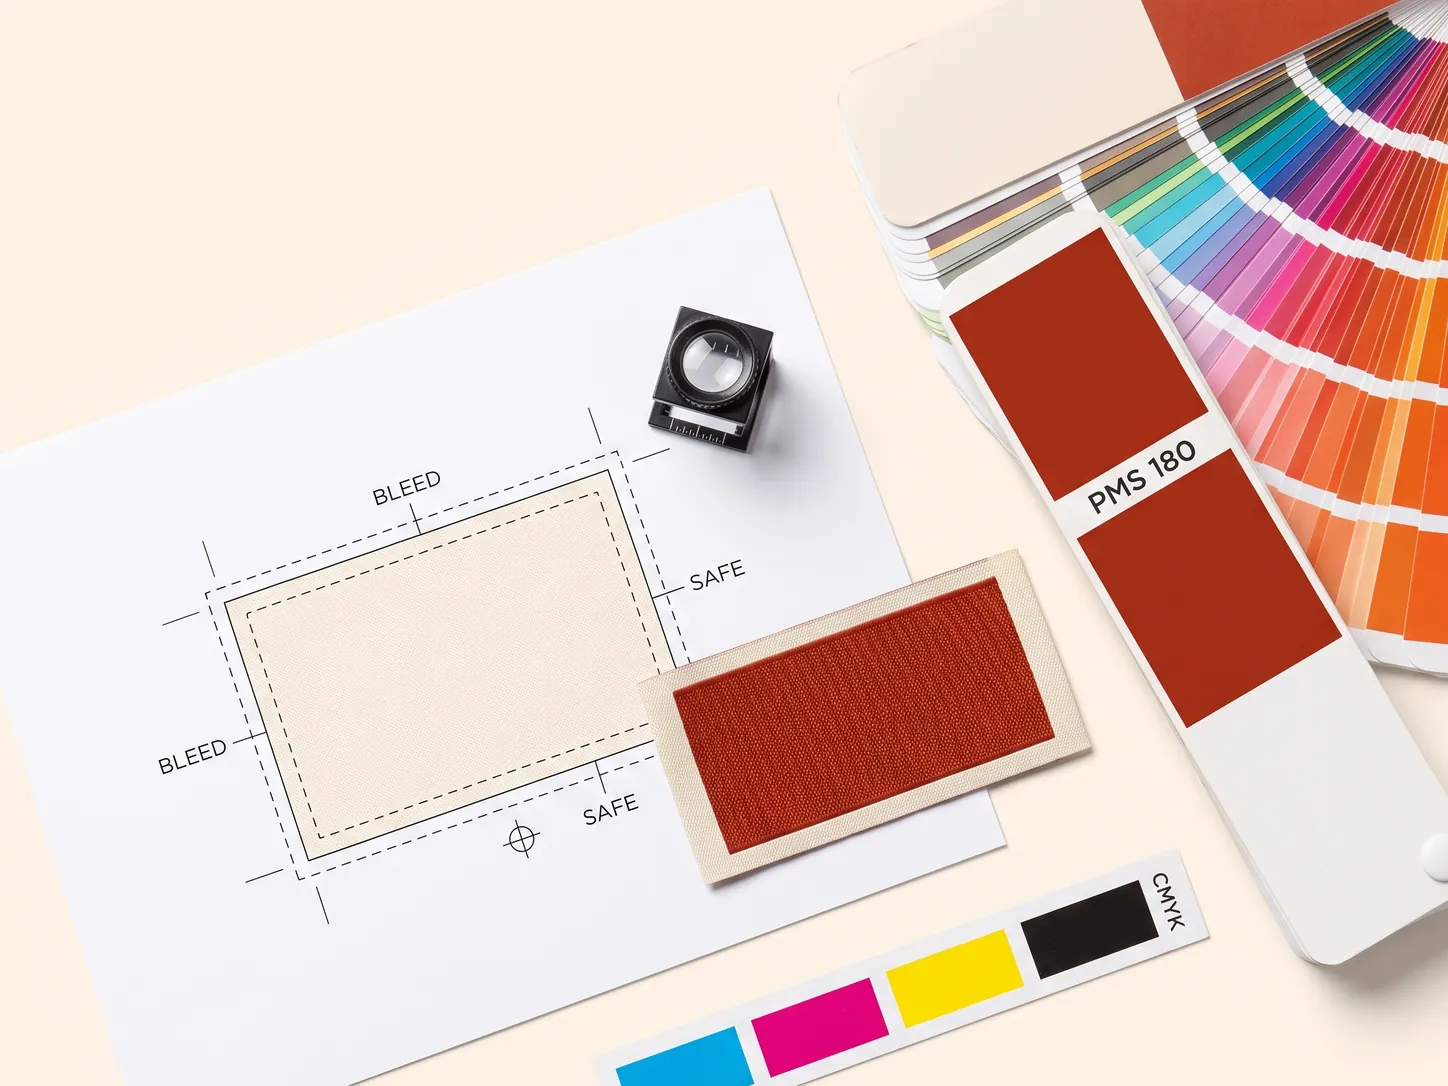
- Bleed: extend background colour at least 2 mm past the finished edge on all sides.
- Safe area: keep all text and logo elements 2-3 mm inside the finished edge.
- Avoid thin borders. A 1 mm frame around the edge of a label advertises every millimetre of drift. If you want a border, make it generous or drop it.
Full-bleed dark backgrounds are unforgiving. A black label with no bleed shows a white ribbon sliver on one edge, and it looks like a defect even though it's an artwork issue. Always bleed dark backgrounds.
Why design for the fold, not the flat?
Your artwork is a flat rectangle. Your label is not. It's end-folded, centre-folded, mitre-folded or looped, and the fold hides part of what you designed.
Decide the fold type before you finalise artwork, then lay the design out around it:
- End-fold: both short ends turn under. Keep artwork clear of roughly 5-7 mm at each end.
- Centre-fold: the label folds in half. Your design occupies one half. Design it at that size, not the full ribbon length.
- Loop fold: both faces are visible and the fold sits at the top. Nothing important crosses the fold line.
Text crossing a fold line is the most common avoidable defect on a first satin order.
What to actually send
Pre-press needs artwork it can separate and scale. That means:
Vector AI, EPS or PDF built at final label size, fonts outlined, colours as Pantone references, bleed included, and any genuine photo at 300 DPI.
Screenshots, website JPEGs, low-res PNGs with a white box behind them, or a Word file with the logo pasted in.
The general file-prep rules apply here too: see how to set up your label artwork.
Prove it on a strike-off
Every rule above is a guideline; your specific typeface, ribbon and press are the actual test. That's what a strike-off is for: a physical sample on the real ribbon, off the real press.
When it arrives, check it in this order: is the smallest text readable at arm's length, is reverse type solid white rather than grey, is there unprinted ribbon at any edge, and does the fold land where you expected? Approve only when all four pass. The wider sampling sequence is in how to order custom labels.
Every design problem is cheap on a strike-off and expensive on 20,000 labels. The sample stage is not a formality. It is the whole quality control system.
Design for the reorder, not just the first run
Artwork that looks right once is a lower bar than artwork that reproduces the same way in two years, and the difference between them is mostly record-keeping decided at the design stage.
- Keep a working vector file, not just the export sent to production. A reorder that starts by rebuilding artwork pays the full setup and lead time again.
- Record the ink recipe and the base ribbon reference alongside the Pantone. The Pantone states the target; those two reproduce it.
- Keep the approved strike-off. It carries colour, sheen and hand together, which no file does, and it is the reference every later batch is judged against.
- Note the finished size and the fold in the file itself, so nobody has to reconstruct them from a previous invoice.
Judge each new batch against the original strike-off rather than against the batch before it. Comparing against the previous run lets small differences accumulate one step at a time until two seasons hanging side by side no longer match, with no single batch ever having been wrong.
Colour on satin is not colour on paper
Most colour disappointment on satin traces back to one assumption: that a Pantone reference means the same thing on a ribbon as it does on a page. It does not, and the reasons are worth knowing before you approve anything.
- The ink is translucent. The base ribbon shows through and tints everything above it. The same ink on a white base and a cream base gives two different colours.
- The surface is directional. Satin has a sheen that changes with the angle you view it from, so a colour that reads correctly flat under a lamp reads differently on a hanging garment.
- Pantone was formulated for paper. Textile ink chemistry, a woven substrate and a different drying process together make an exact match a target rather than a promise.
- White is not an ink you can rely on. On a dark base, a white element usually has to come from the ribbon rather than be printed onto it.
The working method is straightforward. Quote the Pantone to communicate the target, ask for a strike-off on the exact base ribbon you will use, and approve the colour from that physical piece under ordinary light. Then record the ink recipe and the base reference, not just the Pantone, because those two are what reproduce it on the next order.
Decide what has to be legible, then cut the rest
A satin label is small, and every element on it competes with every other for the same few square centimetres. The most useful design step is deciding what genuinely has to be readable and treating everything else as optional.
For a neck label the hierarchy is usually the brand mark first, the size second, and nothing else. For a care label it is the symbols first, the composition second, and the origin third. Once that order is settled, the small text that was fighting for space either drops out or moves to a second label, and both are better outcomes than shrinking everything until nothing reads.
- Give the first element real space. If the mark is the point of the label, let it be the only thing at that size.
- Split rather than shrink. Two labels each carrying half the content cost less than one unreadable label reprinted.
- Drop the decoration first. Rules, borders and ornaments consume the margin that keeps type readable.
- Test at arm's length. Print the artwork at true size, hold it where a person would, and read it. Anything you cannot read there will not improve in production.
Common mistakes
- Approving colour from a monitor rather than a strike-off on the actual base ribbon.
- Setting type below the minimum the process can hold and expecting it to sharpen in production.
- Reversing fine type out of a dark ground, where ink spread closes the letterforms.
- Sending a gradient or a soft shadow to a screen-printed job.
- Designing on the flat and forgetting the fold, so half the artwork ends up on the back.
- Filling the label edge to edge and then complaining that it feels stiff.
- Specifying five colours where three would read identically at label size.
- Recording only the Pantone, then finding the reorder does not match.
Getting satin labels made at Labelwala
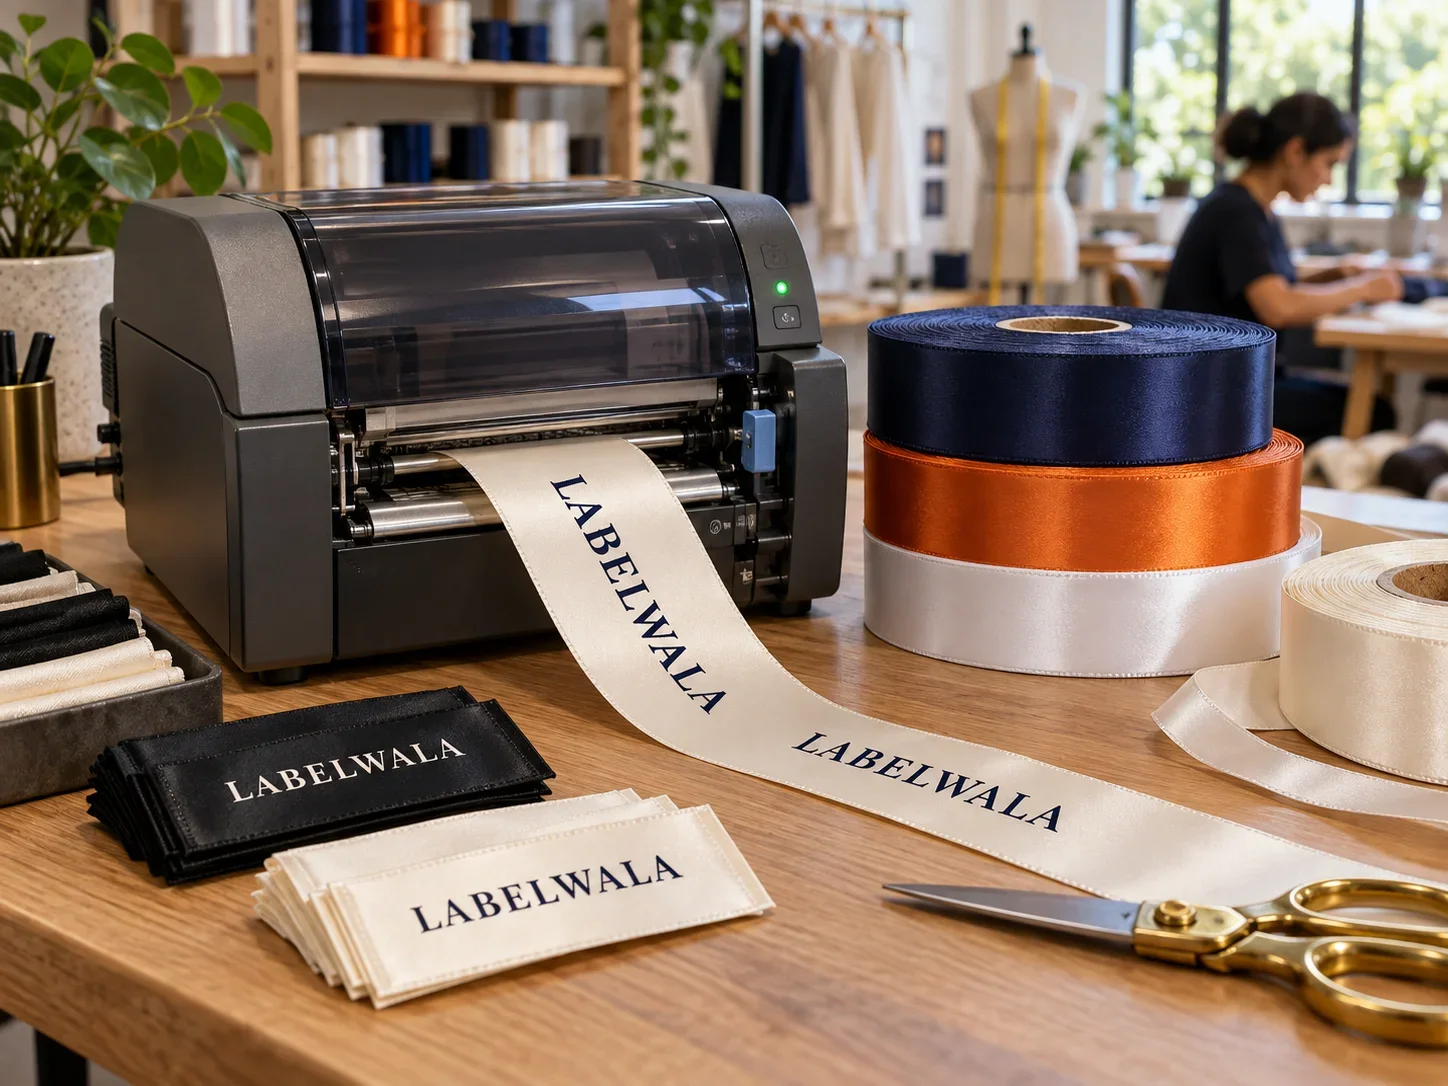
We have been weaving and printing labels in Ahmedabad, Gujarat, for 25 years.
- Quotes: normally back inside 2 hours if you send the brief on a working day.
- Production: 7-10 days once artwork is approved. Rush jobs run 3-5 days.
- Minimum order: 1,000 pieces, counted per design rather than per order.
Send vector artwork at the finished size with the fold marked, and say which element has to stay legible. That last answer decides more of the design than anything else on the brief.
We are rated 5.0 on Google from 27 reviews.
The short answer
Satin prints far more than a loom can, but ink still wicks into fabric. Keep positive text at 1.5 mm cap height and reverse text at 2 mm, lines at 0.25 mm or heavier, and skip ultra-light typefaces. Reverse type on dark satin should be bolder and bigger than you think. Gradients and photographs work on digital presses only. Never on screen. Bleed backgrounds 2 mm past the edge and hold text 2-3 mm inside it. Design around the fold before you finalise the layout. Send outlined vector art at final size with Pantone references, then prove all of it on a physical strike-off before bulk. Send us the file and we'll check it for free.