In brief
The Labelwala label designer draws a label as the flat piece that comes off the loom, not as the finished face: an end-fold label typed as 40 x 20 mm is shown as the 56 x 20 mm piece with its two 8 mm turn-unders hatched, and every one of the eleven folds has its own flat layout, hatched areas and size limits. Artwork is placed on the design face, so changing the fold redraws the piece around it; the back of a centre fold is designed upright; and the print check flags anything within 2 mm of a stitched edge or 3 mm of a fold.
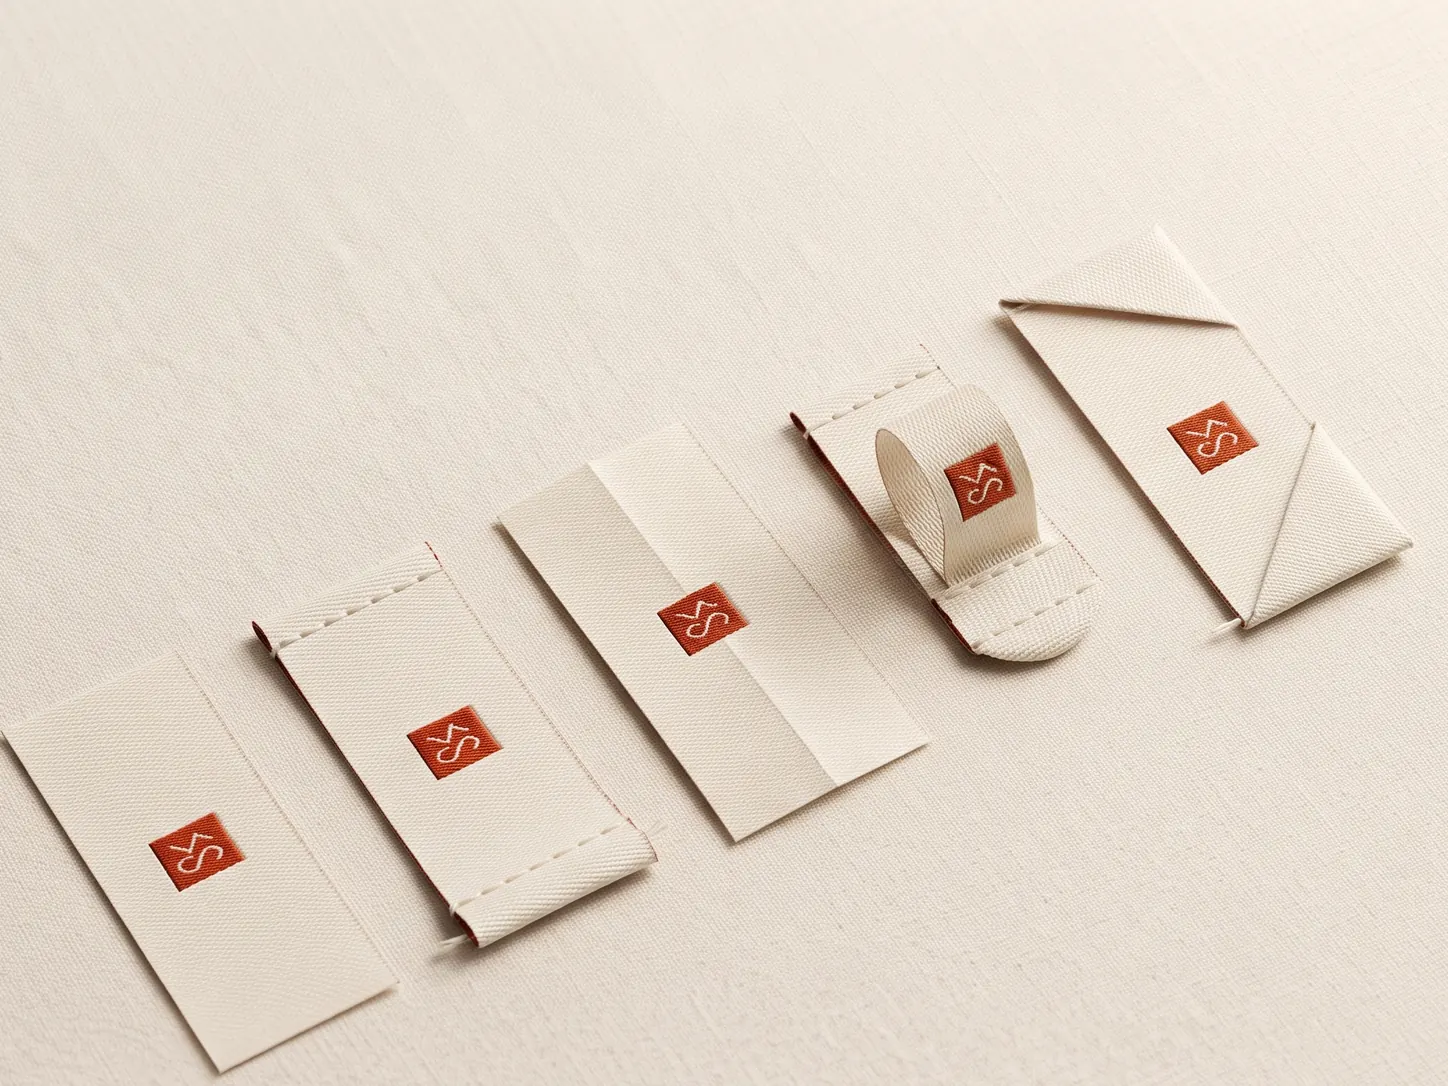
A woven label is made flat and folded afterwards. The loom weaves a strip, the strip is cut into pieces, and each piece is folded and pressed into the finished label. The part you see on the garment is the design face; the rest of the piece is turned under, sewn into a seam or creased. Artwork that ignores that is the most common reason a label comes back from a factory looking different from the file: the file was the face, the factory had to invent the rest.
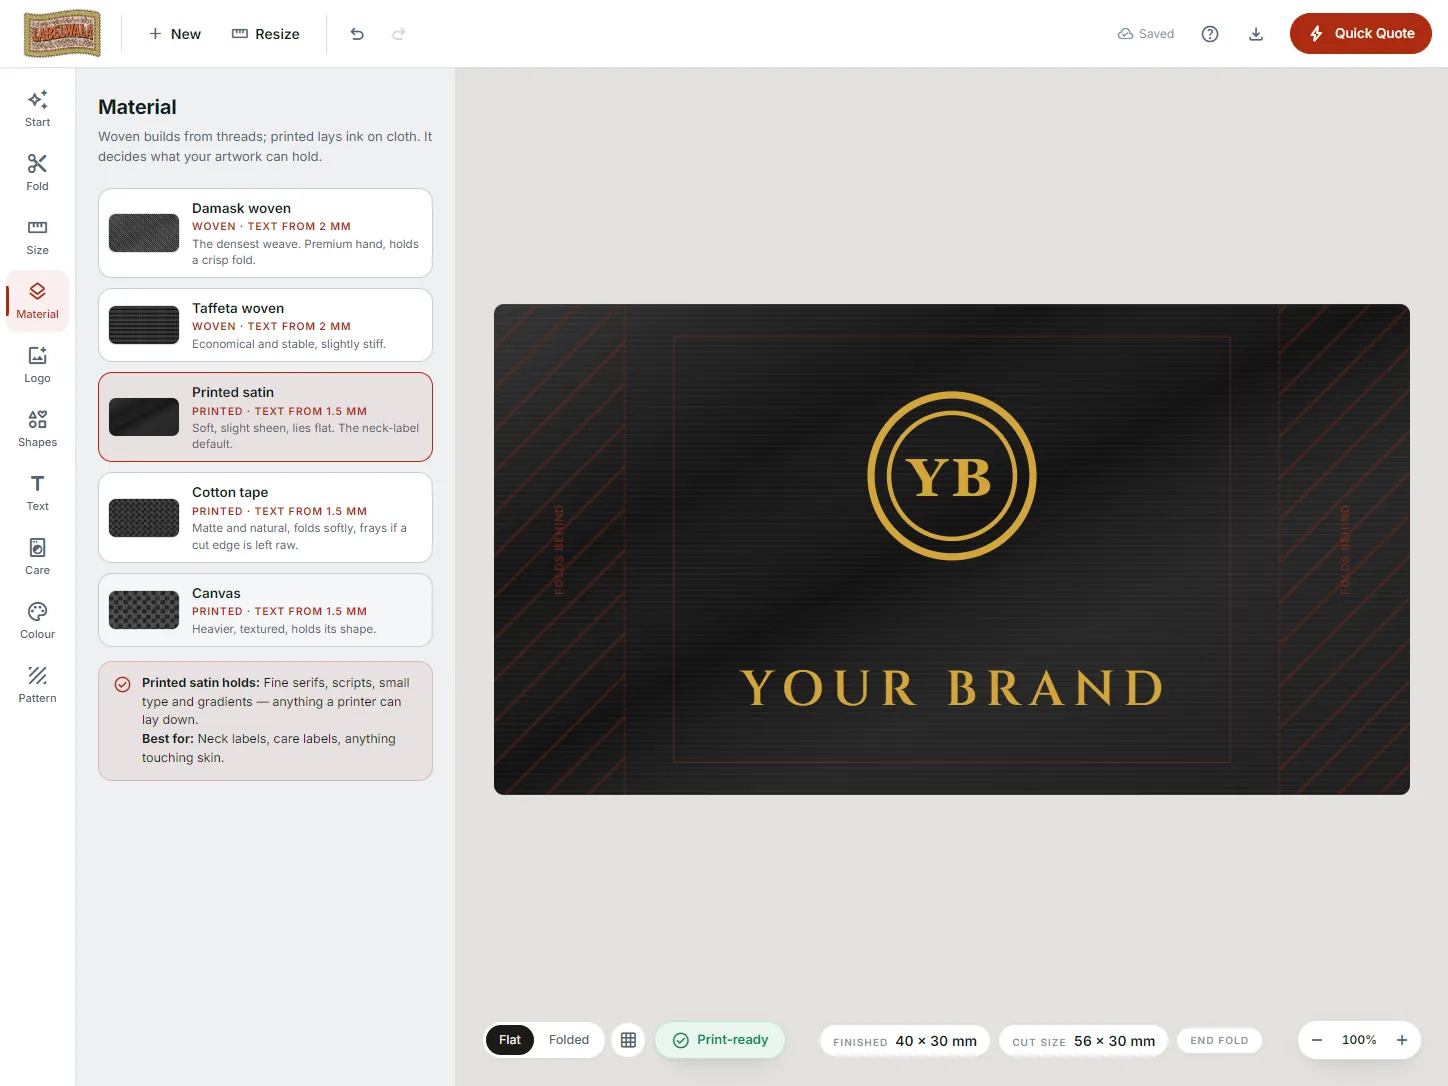
The designer's canvas is the whole piece. Type a finished size, choose a fold, and the canvas becomes the flat piece for that fold, with the areas that will be hidden drawn in hatching and both the finished and the cut size shown under the label. Our fold types guide explains what each fold is for on the garment; this article is about what each fold looks like on the canvas and what that means for your artwork. The designer is free, at labelwala.store/online-free-clothing-label-design-tool.
Finished size, cut size and the 8 mm turn-under
Two sizes describe every folded label. The finished size is what shows on the garment. The cut size is the flat piece, which is the finished size plus whatever the fold adds. The designer always shows both, because the quote, the loom and the folding machine all work from the cut size, and the garment factory works from the finished one.
The turn-under we use is 8 mm on each folded end. So:
| You type (finished) | Fold | Canvas draws (cut) | Hatched |
|---|---|---|---|
| 40 x 20 mm | End fold, left and right | 56 x 20 mm | 8 mm at each end |
| 40 x 20 mm | End fold, top and bottom | 40 x 36 mm | 8 mm at top and bottom |
| 40 x 20 mm (visible face) | Centre fold | 56 x 40 mm: two faces plus a turn-under at each end | 8 mm at each end, crease line across the middle |
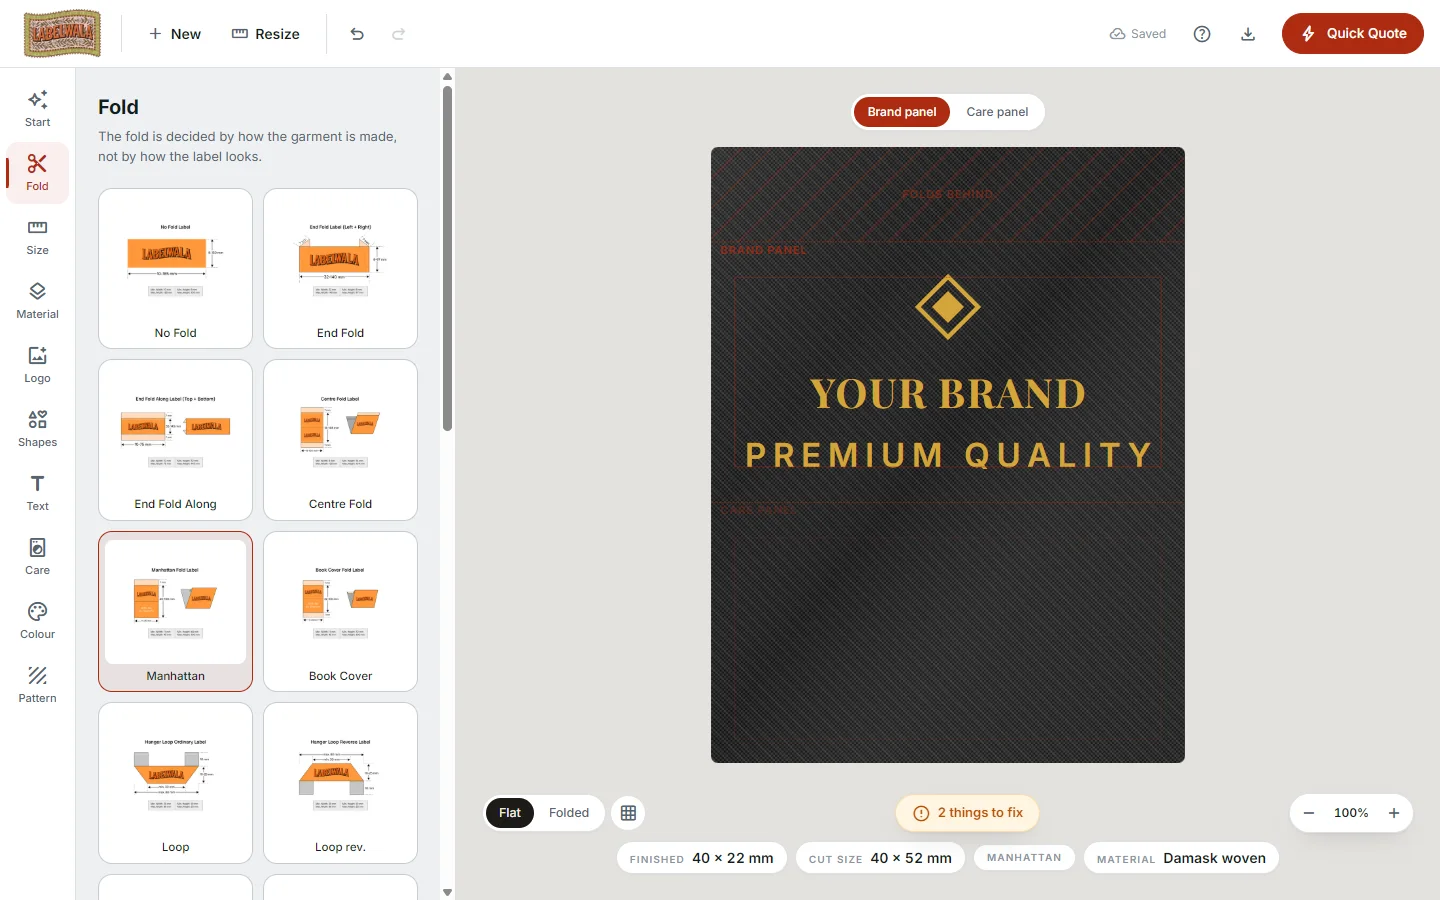
| 40 x 22 mm (visible face) | Manhattan fold | 40 x 52 mm: brand panel and care panel one above the other, plus the top turned under | 8 mm at the top, crease between the panels |
| 40 x 20 mm | No fold | 40 x 20 mm | None; 2 mm stitch margin only |
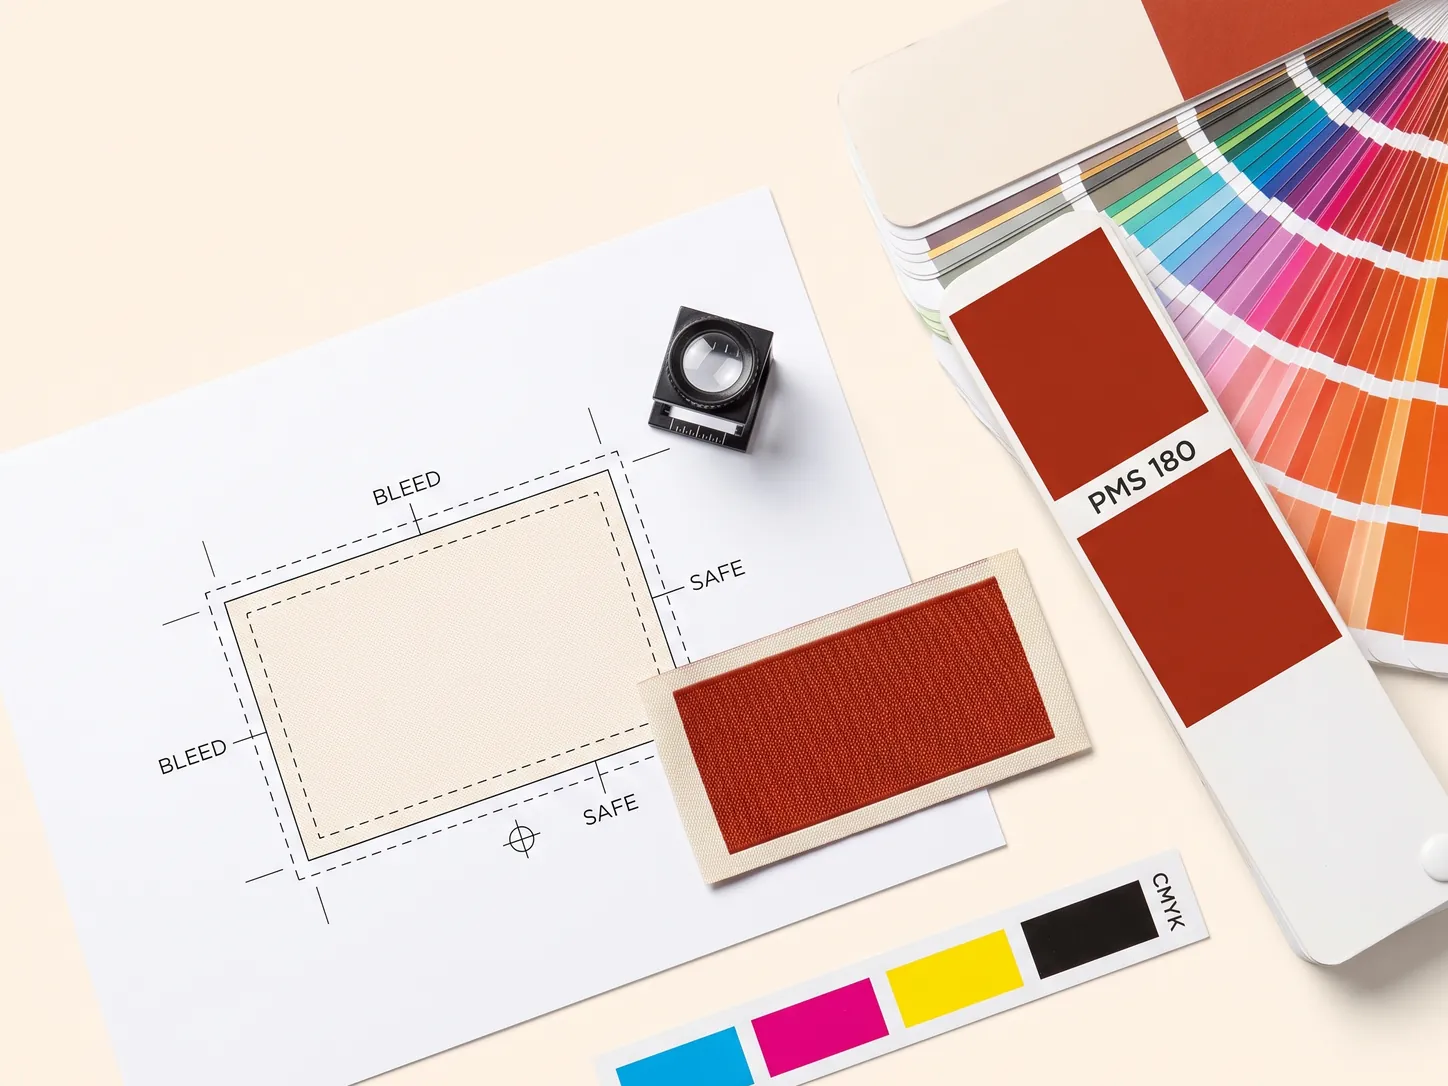
The hatched areas are where artwork cannot go. On the loom they are woven in the ground colour; on the garment they are folded under or inside the seam. The designer's print check flags any text or logo that overlaps them, and the 2 mm margin from a stitched edge and 3 mm from a fold line are checked at the same time, because a fold is never exactly on the crease line and stitching takes the outer 2 mm of any edge. Our guide to setting up label artwork covers bleed and safe area in general; on this canvas they are drawn rather than described.
The eleven folds on the canvas
| Fold | Flat piece the canvas draws | Design panels | Finished size range | Where it is used |
|---|---|---|---|---|
| No fold (straight cut) | The finished size, cut all round | One; margin only | 10 to 185 x 8 to 130 mm | Patches, badges, four-side stitched labels |
| End fold, left and right | 8 mm turned under at each end | One face between two hatched ends | 18 to 126 x 8 to 97 mm | The standard neck label |
| End fold, top and bottom | 8 mm turned under at top and bottom | One face between two hatched edges | 10 to 75 x 18 to 131 mm | Tall labels, side seams |
| Centre fold | Two faces side by side with a crease between, ends turned under | Front and back, both upright | 8 to 100 x 8 to 82 mm | Hem tags, size tabs, brand front with care on the back |
| Manhattan fold | A brand panel above a care panel, with the top turned under | Front (brand) and back (care), below a hatched top | 11 to 45 x 17 to 50 mm | Loop-in-seam labels |
| Book cover fold | Two faces that open like a cover, ends turned under | Outer and inner | 11 to 45 x 16 to 50 mm | Care booklets, two-language labels |
| Hanger loop, ordinary / reverse / even | A trapezoid face with seam tabs at each end | One face between two hatched tabs | 30 to 70 x 10 to 25 mm | Coat and jacket hanging loops |
| Laser-cut round | A circle | One; margin inside the cut | 8 to 85 mm diameter | Badges, emblems |
| Laser-cut free shape | The contour of the artwork, 1 to 10 mm out | One; the artwork defines the cut | 8 to 140 x 8 to 85 mm | Kids' labels, mascots, badges |
The size ranges are the limits of the loom and the folding machine for that fold's flat piece, and the designer enforces them: a Manhattan fold cannot be made 60 mm wide, and the size panel will not let you type it. The limits come from the same fold diagrams that our label guide shows, which are the production spec.
End fold: the neck label, and why the ends are hatched
End fold is the fold most people design, usually without knowing it. The two short ends of the piece are turned under by 8 mm and the label is stitched through those turned ends, so the finished label has clean folded edges at left and right, and free edges at top and bottom. On the canvas that is one design face with a hatched band at each end.
- Centre the artwork on the face, not the piece. The face is 40 mm of a 56 mm piece; a logo centred on the whole piece is centred on the face too, but a logo aligned to the left edge of the piece is under the turn-under.
- Keep 3 mm clear of the hatched band. The fold lands close to the line, not on it.
- Top and bottom are stitched only if you four-side stitch. The default end fold is stitched at the ends, so the top and bottom need only the 2 mm margin; if the garment factory will stitch all four sides, tell us and keep text 3 mm from those edges as well.
- Top-and-bottom end fold is the same construction rotated: the hatched bands move to the top and bottom, and it suits tall labels in a side seam.
Centre fold: two faces, and the back is designed upright
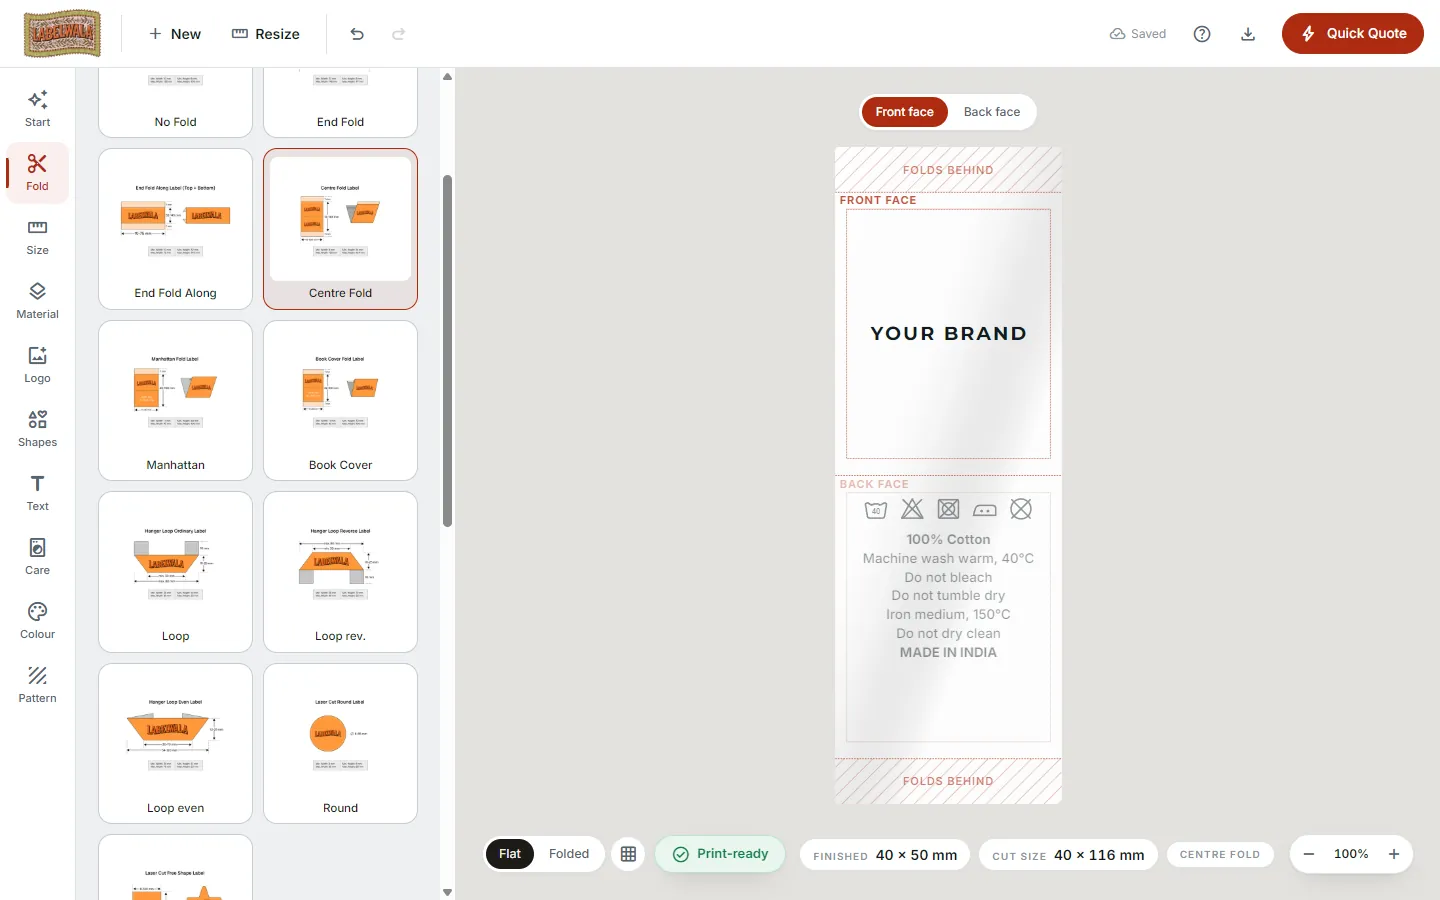
A centre-fold label is a piece twice the height of the finished label, folded in half so that the two faces sit back to back, with the open ends caught in a seam. It is the hem tag, the size tab and the two-sided brand-and-care label. On the canvas the designer draws the two faces side by side with the crease between them, and both ends hatched for the turn-under.
The detail that confuses everyone who has drawn one by hand: on the woven strip, the back face has to be rotated 180 degrees relative to the front, so that when the piece is folded both faces read the right way up. The designer does not make you draw it rotated. Both faces are designed upright, the way you read them, and the rotation is applied as a prepress step when we set the loom. Design the back the way you want to see it, and leave the flip to us.
- Brand on the front, care on the back is the classic use, and the care-family templates have it laid out.
- Keep both faces clear of the crease by 3 mm. A hem tag's fold is handled every time the garment is worn, and a logo that straddles it wears first.
- Size tabs are a small centre fold: the size on the front, the back plain or repeating it, tucked under the neck label.
Watch the canvas change. Open any brand template, change the fold from end fold to centre fold, and the piece redraws with a second face beside the first while your logo stays on the front. Then switch to Manhattan and the top turns under instead.
Manhattan, book cover and the loops
- Manhattan fold turns the top of the piece under, so the label is caught in a seam by its folded top, and the rest of the piece is two panels one above the other: a brand panel that becomes the front and a care panel that folds behind it. The canvas shows the hatched band at the top, then the brand panel, then the care panel, with a toggle above the canvas to switch between them; a 40 x 22 mm label is drawn as a 40 x 52 mm piece. It is limited to 45 x 50 mm finished, because a larger piece hangs badly. Put the brand on the brand panel and the care text on the care panel, and keep both clear of the crease between them.
- Book cover fold is two faces that open like the cover of a book, with the ends turned under, used for care booklets and two-language labels. The canvas shows the outer and the inner face. Design the outer as the cover, the inner as the page, and keep both clear of the spine crease.
- Hanger loops, ordinary, reverse and even, are a trapezoid face with a seam tab at each end, sewn into the back neck of a coat or jacket as the loop it hangs from. The canvas draws the trapezoid and hatches the two tabs. The face is narrow (10 to 25 mm) and long (30 to 70 mm), so a wordmark runs along it; an emblem rarely fits.
No fold and laser cut: the whole piece is the face
The no-fold label and the two laser-cut finishes have no turn-unders, so the canvas is the finished piece with only the 2 mm margin drawn. They are the patches and badges.
- No fold is a straight-cut rectangle, stitched on four sides or heat-sealed. It goes up to 185 x 130 mm, the largest piece the designer allows, for back patches and workwear.
- Laser-cut round is a circle from 8 to 85 mm across; the canvas is the circle with the margin inside it, and the artwork should respect the circle rather than square off inside it.
- Laser-cut free shape cuts along the outline of your artwork, 1 to 10 mm outside it, so the canvas shape is whatever you draw. A mascot or a logo becomes its own label. Keep the outline simple: every inside corner is a place the cut can catch.
Our edge finishes guide explains what a laser cut, an ultrasonic cut and a folded edge each feel like on the garment.
What the print check does with the fold
The print check reads the canvas, not just the artwork, and three of its warnings come from the fold:
- Artwork on a hatched area. A logo or text line overlapping a turn-under, seam tab or crease. Fix: move it onto the face, or go up a size.
- Inside the margin. Within 2 mm of a stitched edge or 3 mm of a fold. Fix: nudge it in; the check shows the margin line.
- Type below the floor after a resize. Shrinking a label to fit a fold's limit shrinks the text with it; if it drops below about 2.8 mm on woven or 2.1 mm on printed, it is flagged. Fix: a bigger size within the fold's range, or fewer words.
Switching folds re-runs the check, because a fold that had no top turn-under may now have one. The habit that saves the most reprints: change the fold first, then place the artwork, and read the check once more before Quick Quote.
Picking the fold for the garment
| Label | Fold | Typical finished size |
|---|---|---|
| Neck label, shirts and tees | End fold, left and right | 45 x 15 mm to 55 x 20 mm |
| Neck label, hoodies and knits | End fold, left and right | 60 x 25 mm to 70 x 30 mm |
| Hem tag, hem flag | Centre fold | 20 to 25 mm wide, 40 to 60 mm flat |
| Size tab | Centre fold | 15 to 20 mm visible |
| Side-seam care label | End fold top and bottom, or a loop | 30 x 60 mm to 30 x 80 mm |
| Brand front, care back | Centre fold | 40 x 20 mm per face |
| Loop in a side seam | Manhattan fold | 30 x 40 mm |
| Two-language care | Book cover fold | 40 x 40 mm per face |
| Coat hanging loop | Hanger loop | 50 x 15 mm |
| Chest or sleeve patch | No fold, or laser-cut | 50 to 80 mm |
For the full reasoning on each, see the fold types guide, the end fold guide and the centre fold guide.
Folded labels made at Labelwala
We make woven and printed labels in all eleven finishes in Ahmedabad, Gujarat, and we have been doing it for 25 years. The designer's fold layouts are the same diagrams our production works from, so the flat piece you see is the flat piece we cut.
- Minimum order: 1,000 pieces per design.
- Quotes: we usually reply within 2 hours on a working day, from the spec sheet the designer attaches.
- Production: 7-10 days once artwork is approved. Rush jobs run 3-5 days.
- Sample: a sample preview before any run, with the fold and placement confirmed.
- Delivery: across India and worldwide.
If you are not sure which fold the garment needs, send a photo of the garment or an old label on WhatsApp and we will tell you the fold, size and material, or design it with you in the tool. We are rated 5.0 on Google from 27 reviews.
Common mistakes on the fold
- Designing the finished face in another app and leaving the factory to add the turn-unders.
- Aligning a logo to the edge of the piece instead of the edge of the face.
- Text within 3 mm of the crease on a centre fold.
- Drawing the back of a centre fold upside down to "help", when the designer wants it upright.
- Ignoring the cut size on the quote and comparing it with another supplier's finished size.
- Choosing Manhattan for a 60 mm label and wondering why the size panel refuses.
- A wide emblem on a hanger loop's narrow face.
- Switching folds after placing the artwork and not re-reading the print check.
- Inside corners on a laser-cut free shape.
- Four-side stitching a label whose text sits in the top and bottom 2 mm.
Fold checklist before Quick Quote
- Fold chosen for where the label sits on the garment?
- Finished size inside the fold's range, and the cut size noted for the quote?
- Artwork centred on the design face, not the whole piece?
- Nothing on a hatched turn-under, seam tab or crease?
- 2 mm from stitched edges, 3 mm from folds?
- Both faces of a centre fold designed upright?
- Stitching method (ends only or four sides) known, and margins set for it?
- Print check re-read after the last fold or size change?
- Spec sheet shows the fold, finished and cut sizes you expect?
- Garment factory told the finished size and the fold, in the same words?
What we would recommend
Choose the fold before you place anything, let the canvas draw the flat piece, and design on the face it shows you, clear of the hatching by 3 mm. For a neck label that is end fold at 45 to 70 mm wide; for a hem tag or size tab, centre fold with both faces designed upright; for a seam loop, Manhattan; for a patch, no fold or laser cut. Read the cut size as well as the finished size, and re-run the print check whenever the fold or size changes.
A label designed on the flat piece is a label the factory does not have to reinterpret, which is the whole reason the canvas is drawn that way.