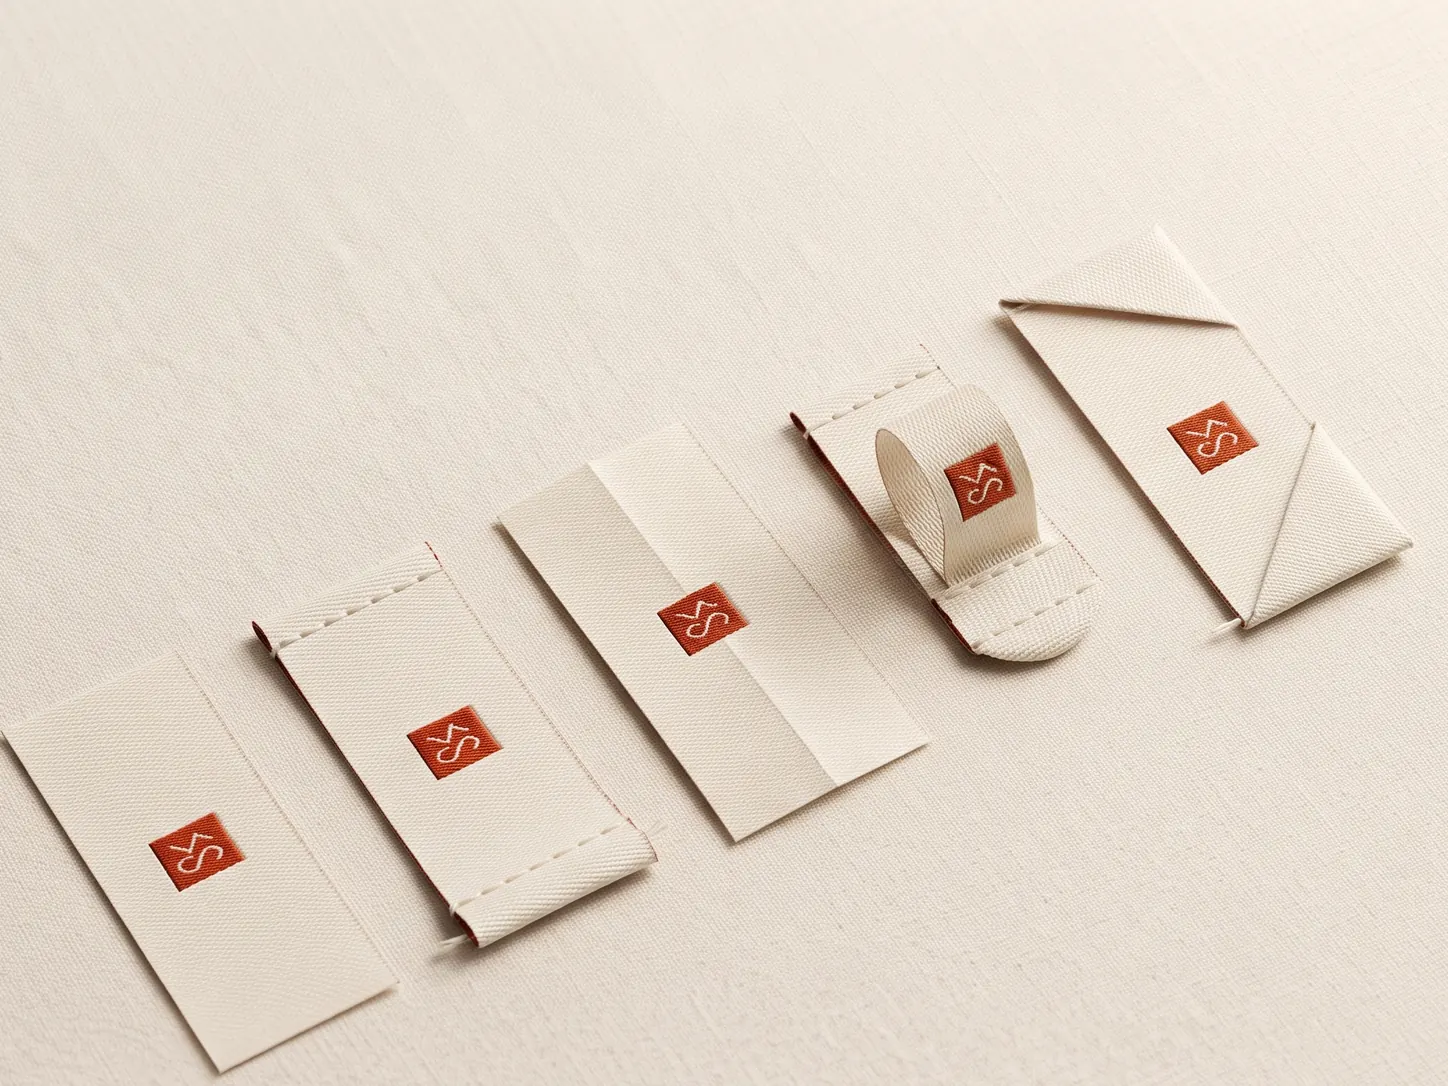
In brief
An end fold label, also called a die-fold label, has both short ends folded to the back before stitching, hiding the raw edges so it lies flat. It is the usual choice for centre-back neck labels, stitched along the top and bottom edges, and you should specify both the unfolded size and the finished visible size when ordering.
An end fold label, also called a die-fold label, is a clothing label where the two short ends are folded to the back side before the label is stitched onto the garment. The fold hides the raw side edges and gives the label a clean, retail-ready finish.
If you are ordering a centre-back neck label for shirts, kurtas, denim, kidswear, uniforms or fashion garments, end fold is usually the safest and most professional choice.
Folded ends
Both short edges fold under to the back so no raw edge is visible.
Flat finish
The label sits flat against the garment and looks neat at the neck.
Retail look
A polished finish for branded neck labels and premium apparel.
What does end fold mean?
In simple terms, end fold means the left and right ends of the label are tucked underneath. The visible face of the label shows only the main artwork area, while the fold allowance stays hidden behind the label.
This is different from a straight-cut label, where the edges are cut and sealed but not folded. Straight-cut is fine for care labels and patches, but end fold gives neck labels a softer, more finished appearance.
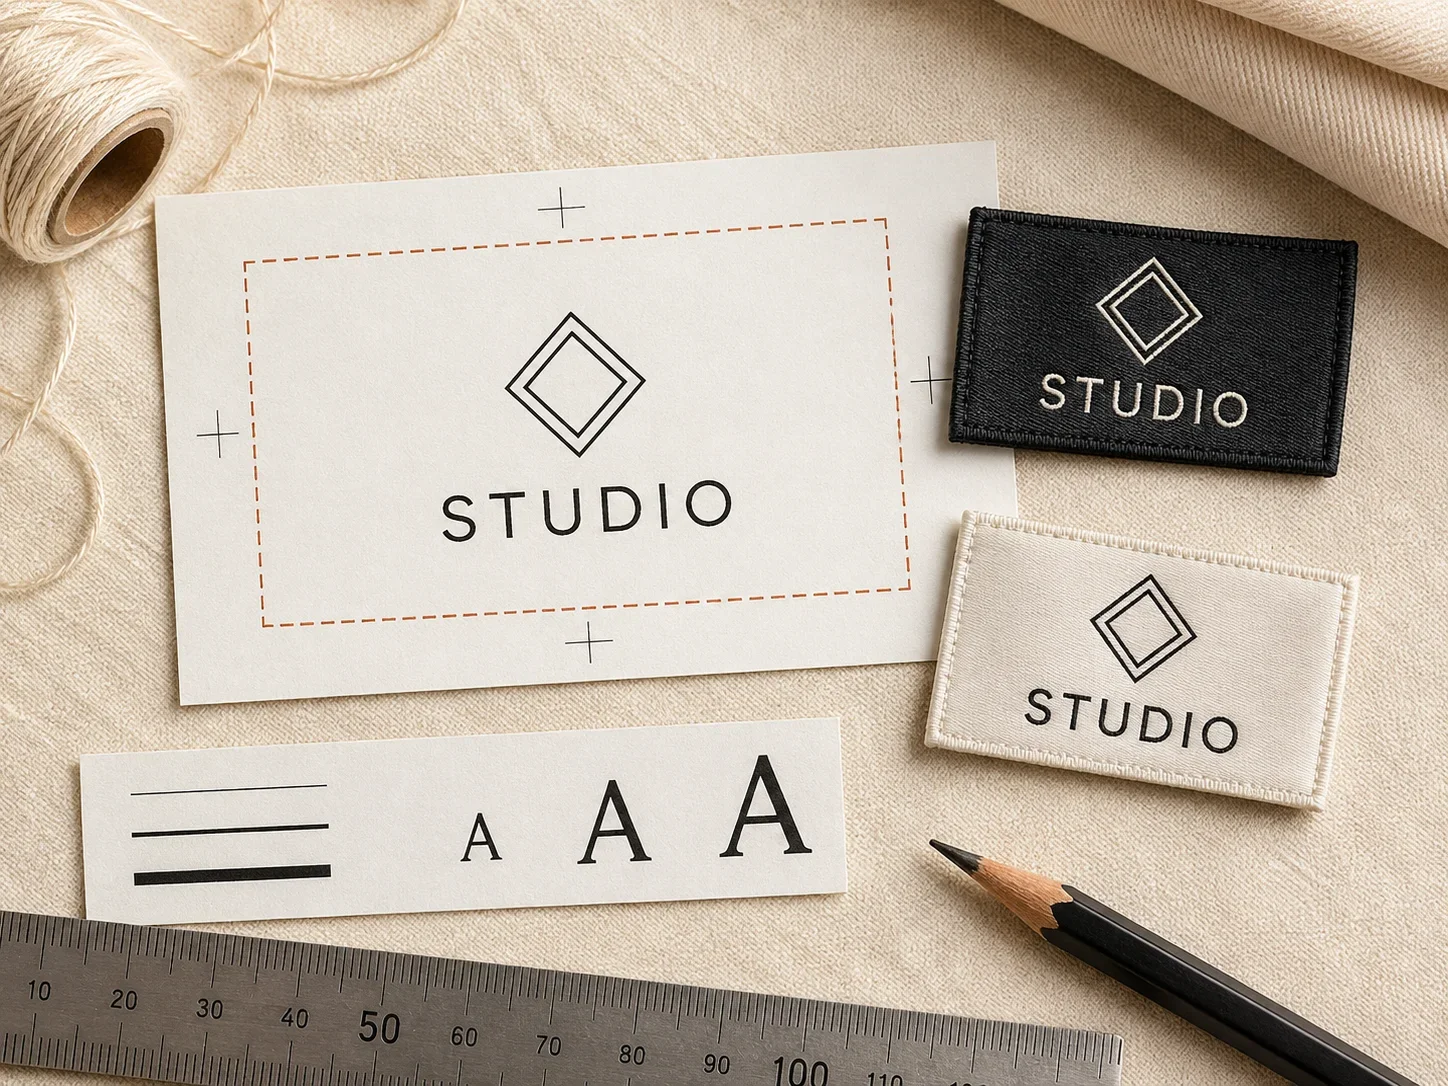
See this fold with your own artwork. The free label designer draws the flat piece, the turn-under and the visible face at true size, for every fold on this page.
How is an end fold label made?
The label is first produced at its unfolded width. The supplier then turns the left and right ends to the back by an agreed fold depth. After folding, the middle section becomes the finished face that the customer sees inside the garment.
This is why two dimensions matter. The unfolded size includes the hidden fold allowance. The finished visible size is the area available for your logo, brand name, size or country-of-origin line. Asking for only one size can lead to a label that is narrower than expected after folding.
Think of it this way: the ends are for attachment, the centre is for branding. Keep important content in the centre and let the folded ends do their quiet job behind the label.
Where are end fold labels used?
- Centre-back neck labels for shirts, T-shirts, kurtas, jackets and dresses
- Brand labels inside denim, trousers, uniforms and schoolwear
- Premium woven labels where the side edges should not show
- Printed satin labels that need a clean boutique-style finish
They are most effective where a label sits directly against the wearer, especially at the centre back of the neck. The tucked ends remove the sharp visual edge you would see on a flat label. For labels that need to hang out from a side seam or hem, a centre fold or loop fold is usually a better match.
When should you choose end fold?
Choose an end fold when the goal is a clean label that stays inside the garment and carries your main brand identity. It works particularly well for neck labels with a logo on the front and a small size or short message below it.
- Choose end fold for a polished neck label with hidden side edges.
- Choose centre fold for a hem tab, side-seam label or size tab where two faces may be visible.
- Choose straight cut for care instructions, barcode labels and labels stitched on all four sides.
- Consider a soft printed satin label when comfort and fine artwork matter more than a woven texture.
How is an end fold label stitched?
Most end fold labels are stitched along the top and bottom edges. This keeps the folded side edges hidden and allows the label to lie flat. Some brands also stitch all four sides for extra hold, especially on heavier garments or workwear.
For soft garments, thread tension matters. Too much tension can ripple the label or make the neck area uncomfortable. A good sample helps confirm the fold, stitch line and comfort before bulk production.
Top and bottom stitching is the usual choice
For most neck labels, two horizontal stitch lines are enough. They secure the label while keeping its face clean. The stitch line should sit inside the folded attachment area, never through a delicate logo, small lettering or an intentional border.
Match the construction to the garment
Lightweight jersey and babywear need a soft base material and careful thread tension. Denim, outerwear and uniforms can use a firmer woven label and a stronger stitch. On stretch fabric, test the label after the garment is stretched; the label should not pull the neckline out of shape.
How do visible and unfolded sizes differ?
Start with the amount of information that must fit on the label. A short logo can be compact. A logo, brand name, size and a second line of text need more visible width and height. Do not shrink type just to fit a small finished space: legibility is part of the product quality.
- Ask for the finished visible width and height of the front face.
- Ask for the unfolded width and height, including both turned ends.
- Confirm the depth of each fold and where the stitch lines will fall.
- Approve artwork at actual size, not only as a large screen preview.
A compact label may be right for a kidswear size tab, while a main neck label should give the logo enough breathing room. The right dimension is the one that reads clearly once it is folded and sewn into the actual garment.
What are the artwork rules for end fold labels?
The biggest mistake is placing logo text too close to the sides. Because the ends fold behind the label, artwork needs a safe area.
- Keep logo, text and borders away from both short ends
- Confirm the finished visible size, not only the unfolded size
- Avoid thin border lines near the fold area
- Ask for a preview showing fold allowance and stitch area
Simple rule: when you order, say both sizes clearly: unfolded size and finished visible size. Example: 50 mm x 25 mm unfolded, finished visible width after fold approx. 40 mm.
Keep the important artwork away from the folds
Place the logo and any small text in the middle of the finished face. A thin outline around the full width of the unfolded label can disappear into the folds or look uneven after sewing. For the same reason, avoid placing a letter, icon or size mark on the edge of the visible zone.
Design for real-world reading
Use clear, readable type at the final label size. Very fine strokes, tiny gaps in letters and overly detailed icons can be lost in a woven construction or soften in a print. A simple mark with enough contrast is more durable and more legible than a crowded design.
Common end fold label mistakes
- Ordering only by unfolded size: the finished branding area becomes smaller than expected.
- Putting the logo against the edge: the fold or stitch can make it look off-centre.
- Using a thick material for a soft neck: the fold can feel bulky against skin.
- Approving a digital proof only: a screen cannot show comfort, texture or stitch tension.
- Ignoring the garment colour: a label that looks good on white fabric may not give enough contrast on a dark neckline.
End fold vs centre fold vs straight cut
Use end fold when the label should lie flat and look polished, especially at the neck. Use centre fold when both sides of the label need to show, usually for hem tags or side-seam tabs. Use straight cut when you want a simple flat label, care label, heat-press label or a label stitched on all sides.
Which materials work best for end fold labels?
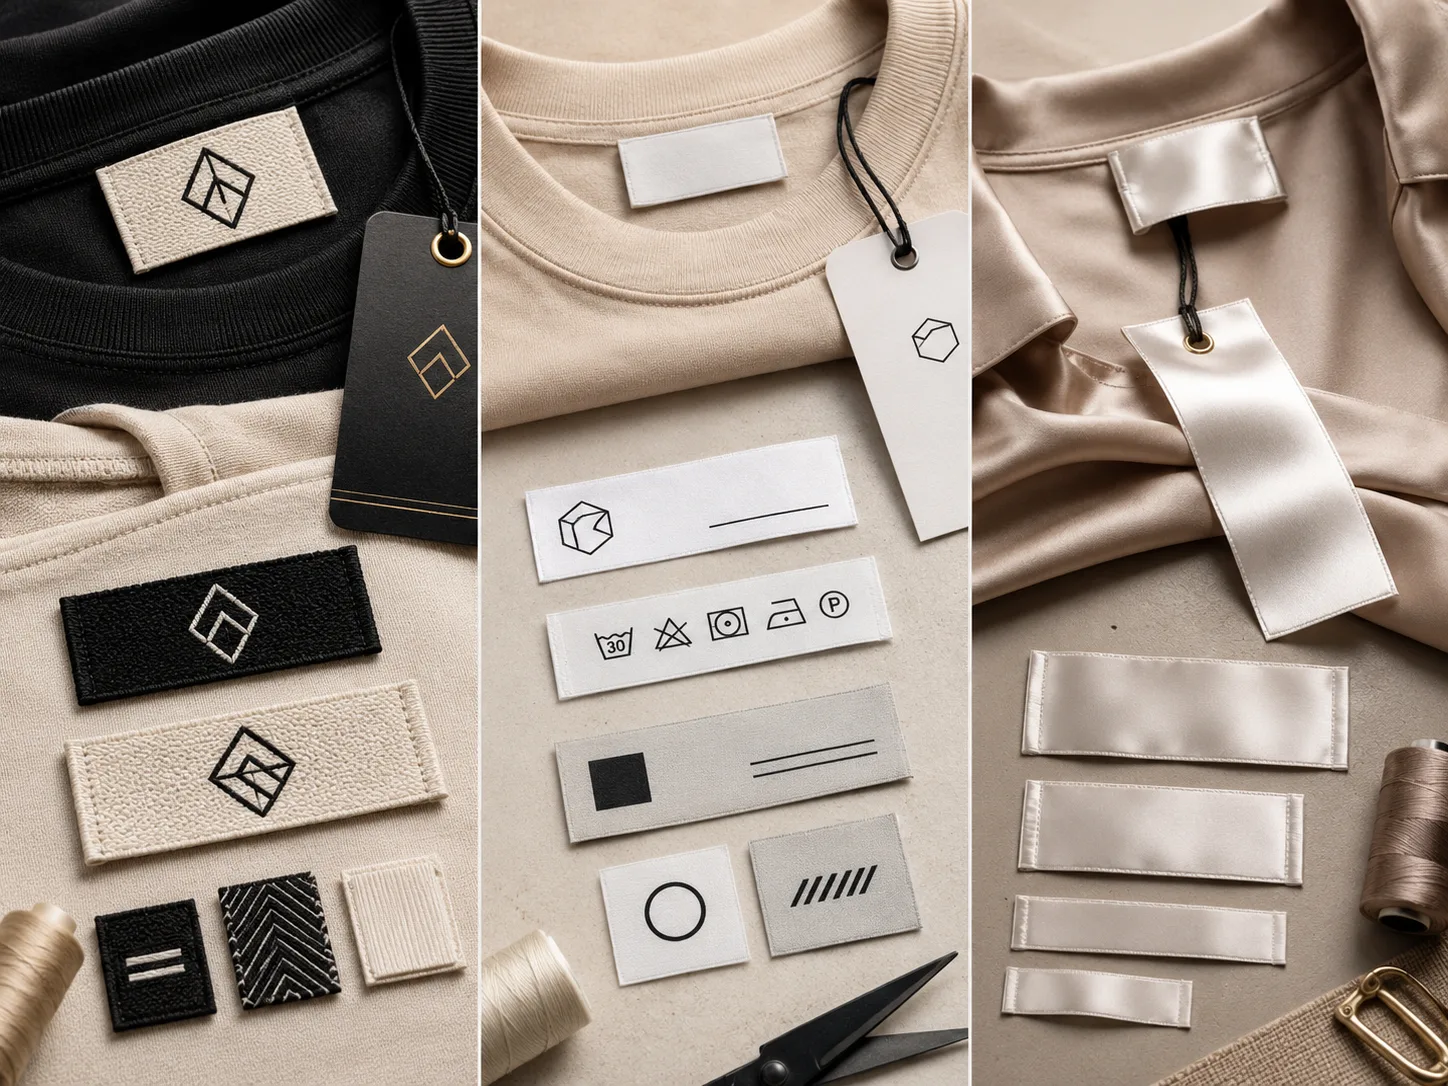
End fold works well with woven labels, printed satin labels, damask woven labels and some cotton labels. The right material depends on the garment, artwork and the feel you want at the neck.
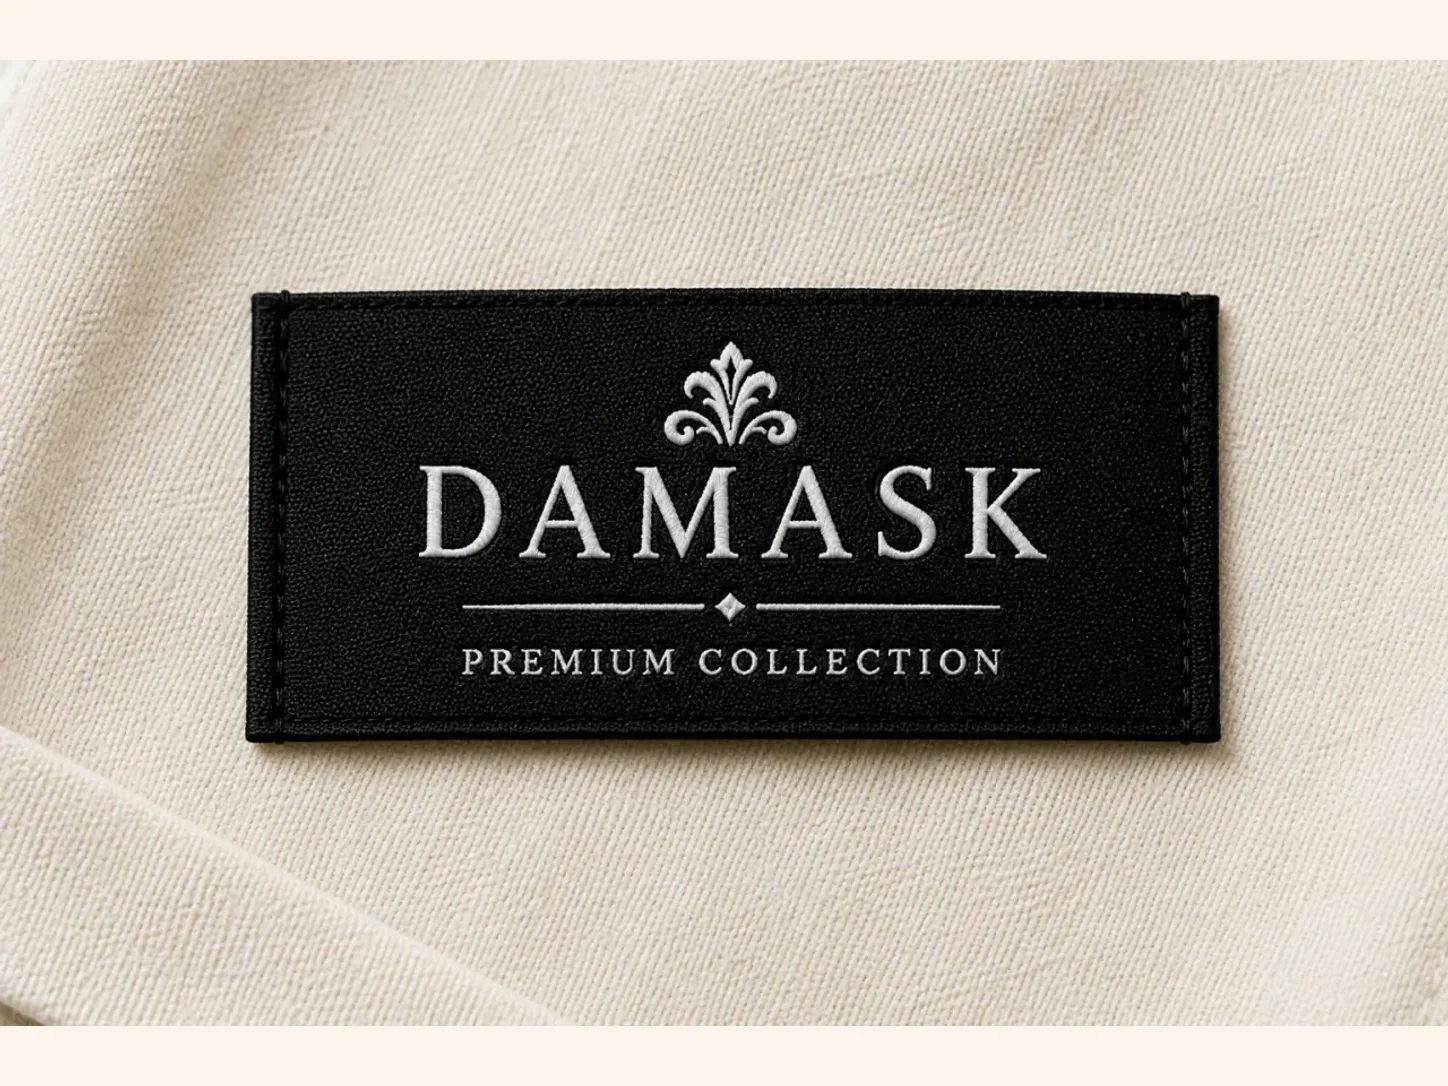
- Damask woven: a fine, detailed woven surface for a premium logo and solid colours.
- Printed satin: soft and smooth, a good choice for detailed artwork, gradients or more colours.
- Cotton: a natural, matte look for brands that want a quieter, craft-led finish.
- Taffeta: practical for information labels, but check the hand-feel before using it directly at the neck.
For a very thick label, fold bulk should always be checked in a sewn sample. A premium material is only premium when it still feels good to wear.
Is end fold more expensive?
Only slightly, because folding adds a finishing step. The bigger price drivers are material, size, colour count, weave density and quantity. For most clothing brands, the cleaner finish is worth it for neck labels.
What should you check before approving a sample?
A sample is the moment to catch problems before they become a full production run. Place it in the intended garment and look at it from the wearer’s point of view as well as from the inside.
- Does the logo sit in the visible centre after both ends are folded?
- Is the text readable at normal viewing distance?
- Are the fold depths even and the edges fully hidden?
- Do the stitches sit straight without cutting through the artwork?
- Does the label lie flat after washing or stretching the garment?
- Is the material comfortable against the neck for the intended customer?
How to brief your supplier
A clear brief makes production faster and helps the first sample come back right. Share the logo file, garment photo or placement note, material preference, finished visible size, unfolded size if known, fold type, quantity and delivery requirement.
For an end fold label, write plainly: “End fold on left and right, stitched top and bottom, finished visible size ___ mm x ___ mm, to be placed at centre back neck.” Add whether the label is for adult apparel, kidswear, uniforms or a particularly soft fabric. This gives the production team the practical information they need.
The fold that works on a finished garment
Most folds assume the label goes in while the garment is being made. The end fold is the one that does not, and that is the clearest reason to choose it.
Because both raw ends are already turned under, an end fold label can be stitched straight onto a completed panel. Nothing has to be unpicked, no seam has to be opened, and no raw edge shows afterwards. That makes it the correct fold for anything applied after manufacture: labels added to bought-in blanks, brand tags stitched onto finished garments, and any job where the person attaching the label is not the person who made the garment.
- Applied to a panel, an end fold is stitched along both folded ends or all the way round, and it lies flat either way.
- Caught in a single seam, only one end needs folding. Say which one, because a label folded at the wrong end has to be remade.
- On a hem or a side seam, it sits neatly without the hanging drop a centre fold gives you.
The corollary is worth stating too: if the label is going into a collar seam on a garment you are having made, a centre fold is usually the better answer. The end fold earns its place where the garment is already finished.
What does the fold fix, and what does it not?
It is easy to assume a fold improves the whole label. It improves two edges out of four, and knowing which two prevents a specification that solves the wrong problem.
The folded ends are soft and closed. No raw edge, nothing to fray, nothing sharp. That is the benefit and it is real.
The two long edges are cut and sealed. They are firmer than the cloth around them, and on a next-to-skin position they are what a wearer notices. The fold does nothing for them at all.
So if the complaint you are trying to solve is comfort at a bare neck, the answer is a thinner, softer base material, not a different fold. If the complaint is a raw end showing on an applied label, the end fold is exactly right. The two problems get discussed together and they have different fixes.
Final recommendation
Choose an end fold label when you want a flat, finished, professional neck label with hidden side edges. Share your logo, finished size, garment placement and quantity with your supplier. Ask for the sample preview to show the fold allowance before production starts.