In brief
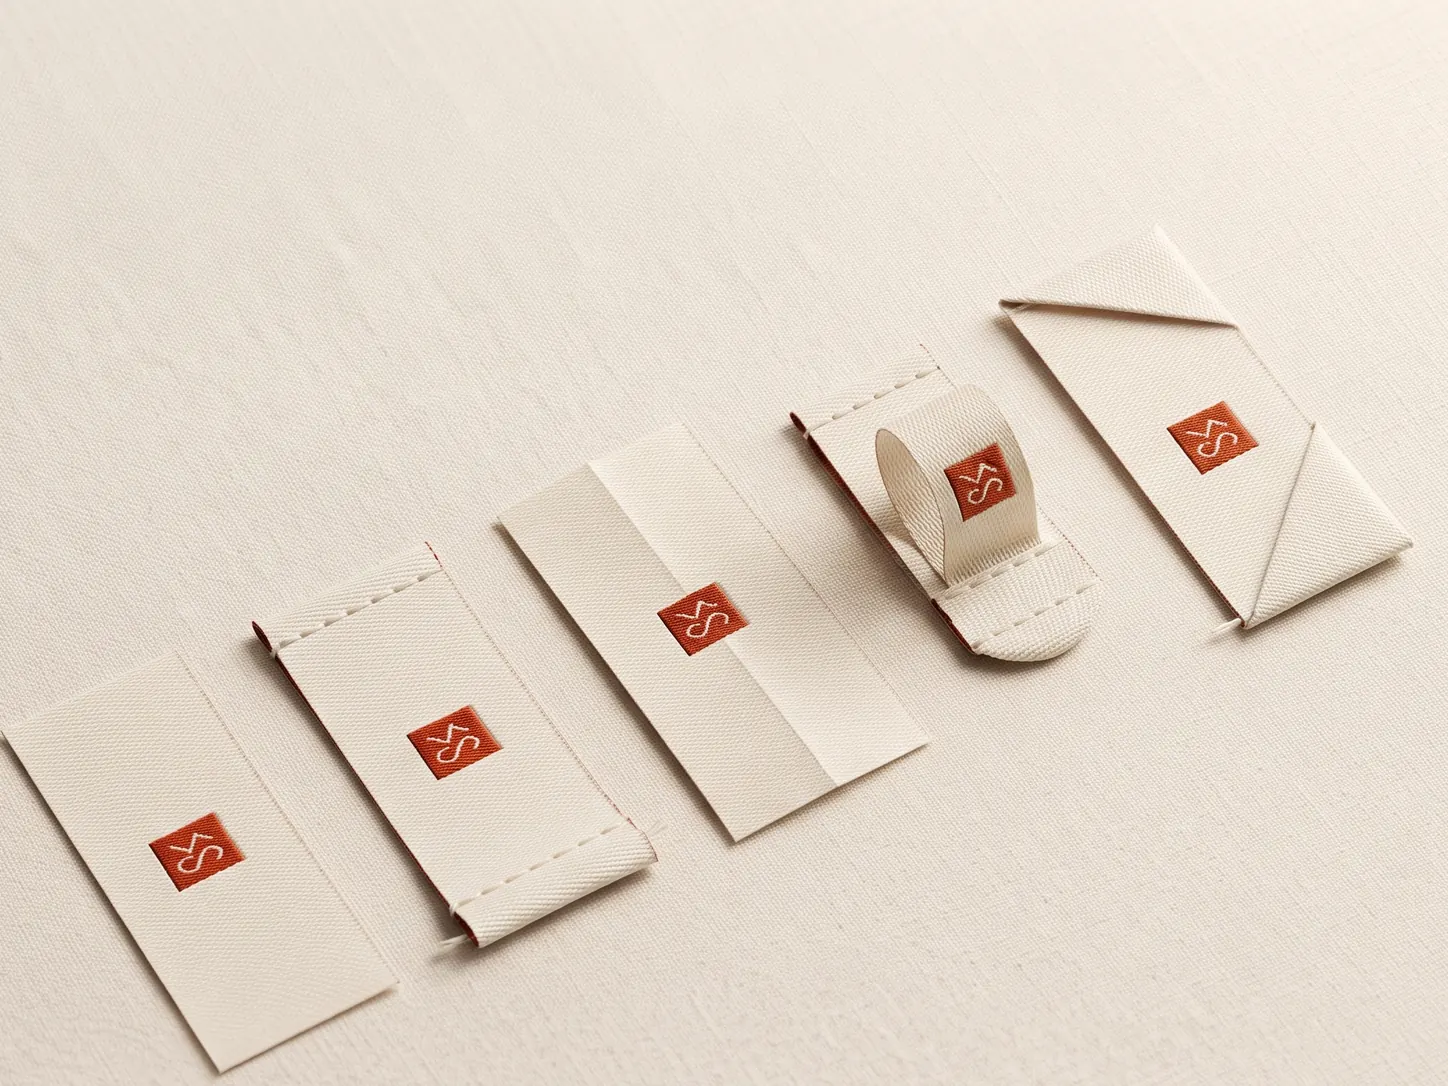
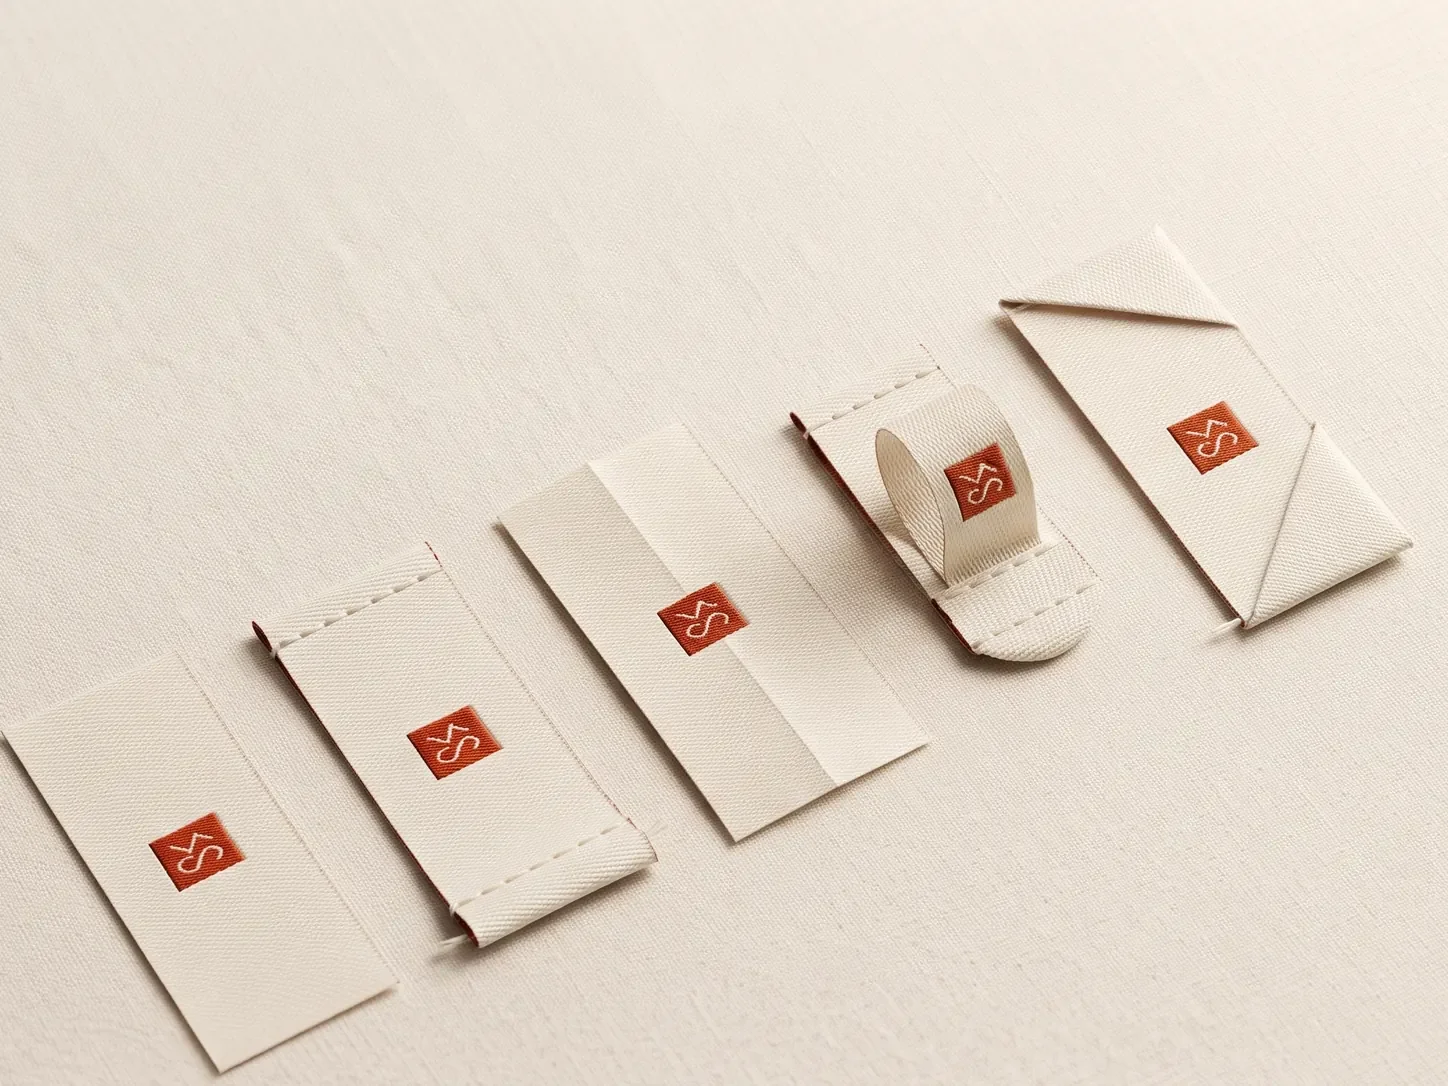
Every centre fold label is a strip folded in half at its midpoint so that two faces hang on either side of the fold, which is caught inside a seam, hem or binding. It suits side-seam tabs, hem labels, pockets, bags and caps where both faces show; for a centre-back neck label an end fold gives a cleaner result.
Labelwala has made centre fold labels in Ahmedabad since 2000, quotes within 2 hours on a working day, and ships to more than 20 cities across India and more than 15 countries.
The centre fold label, also written as a centre-fold or center-fold label, is a strip that is folded in half at the middle before it is sewn into a garment. The fold becomes the attachment point, while the two halves hang on opposite sides of the seam. Fold allowances assume polyester satin or woven tape, which moves under 1% in a hot wash; untreated cotton tape can shrink 3 to 5%, so allow for it.
Unlike an end fold label, which hides both short ends and lies flat, a centre fold is designed to show two faces. That makes it especially useful when the label is seen from the front and back of a side seam, hem or pocket.
Midpoint fold
The strip bends at the centre, creating two equal or intentionally different faces.
Two-sided view
Both faces can carry branding, a logo, a size mark or a short message.
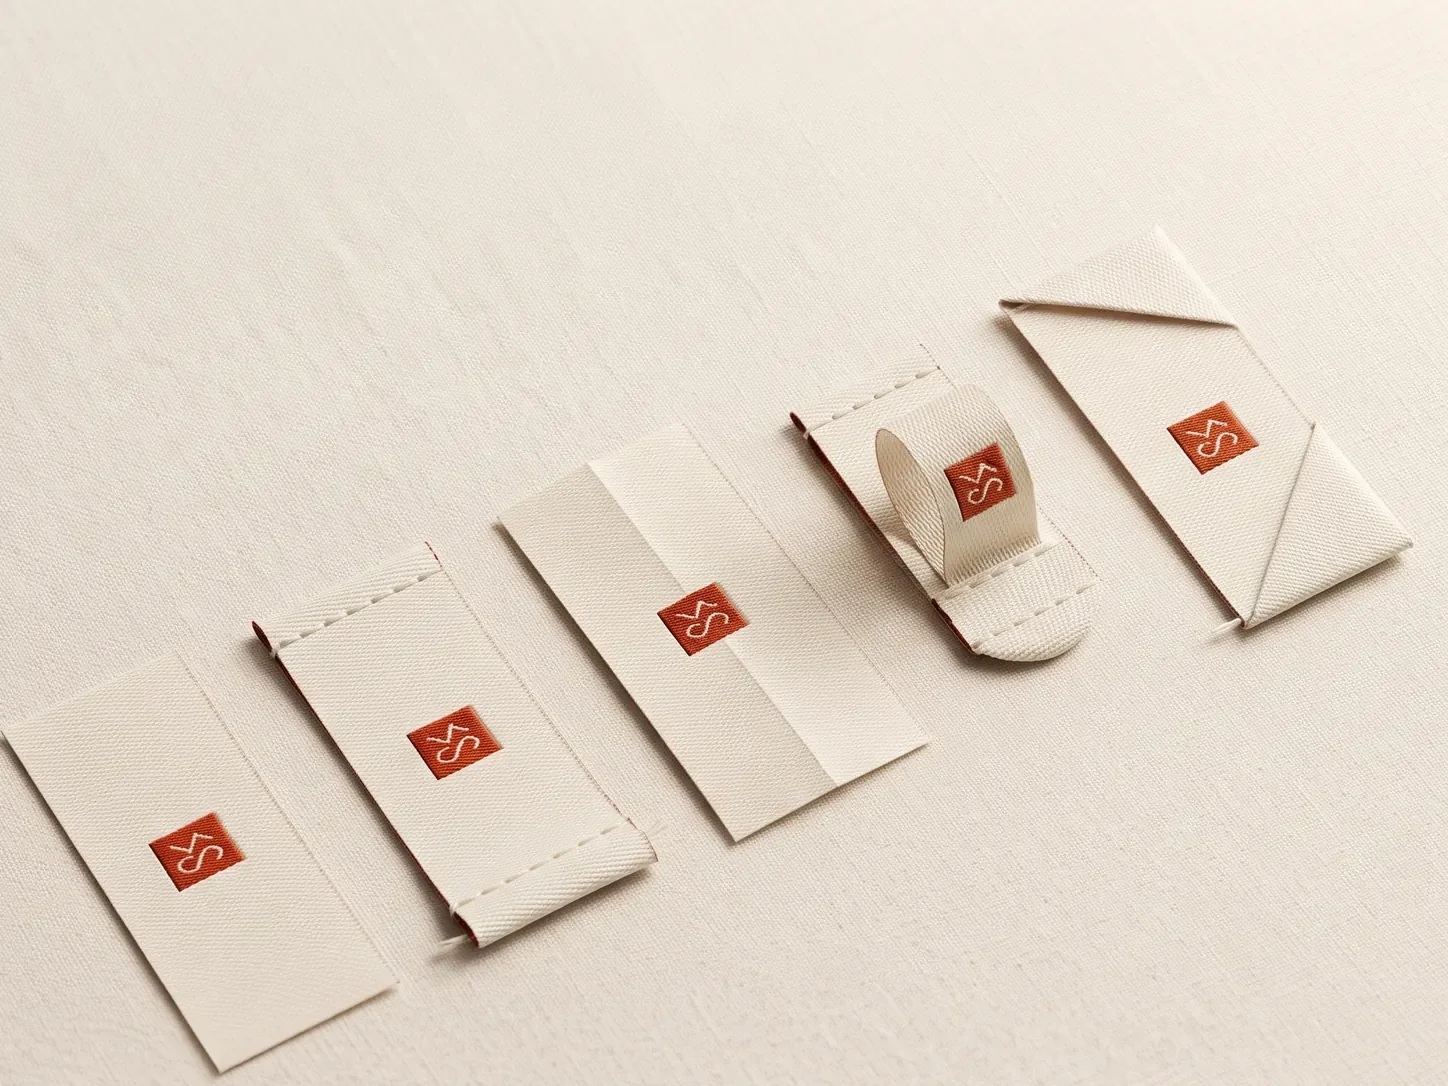
Seam attachment
The folded allowance is caught inside a seam, hem or binding for a tidy tab.
What does centre fold mean?
In simple terms, the label is made as one longer strip, then folded exactly at its centre. One half becomes the front face and the other half becomes the back face. The fold line is normally placed into the garment seam, so the stitch secures the label without a separate visible attachment line.
The two faces do not have to be identical. A brand may repeat its logo on both sides, put the logo on one face and a size or country-of-origin line on the other, or use one side for a small seasonal message. The important point is to plan both faces before the loom or printer begins production.
Put simply: an end fold hides the label's side edges; a centre fold uses the middle as the hinge. The fold goes into the seam, while the two faces remain visible outside it.
Preview this fold with your own artwork: the free label designer draws the flat piece, the turn-under and the visible face at true size, for every fold on this page.
How is a centre fold label made?
The supplier first produces the label as an unfolded strip. The artwork is arranged across two face areas with a clear centre fold position between them. After cutting and edge finishing, the strip is folded at that mark and checked for alignment before it is supplied for sewing.
There are three measurements to confirm: the unfolded strip size, the finished face size and the fold or seam allowance that disappears into the garment. If only the folded size is given, the supplier may not know how much material is needed for the attachment.
Where are centre fold labels used?
- Side-seam brand tabs on T-shirts, shirts, hoodies, denim and outerwear
- Hem labels that hang slightly below a garment edge
- Pocket, cuff and waistband branding where two faces can be seen
- Small labels on bags, caps, towels, blankets and other textile accessories
- Kidswear and streetwear where a visible woven tab is part of the design language
Centre fold is most useful when the label should be visible from more than one angle. It is less suitable when the goal is a perfectly flat centre-back neck label. For that job, an end fold or a carefully finished straight-cut label usually gives a cleaner result.
What are the artwork rules for centre fold labels?
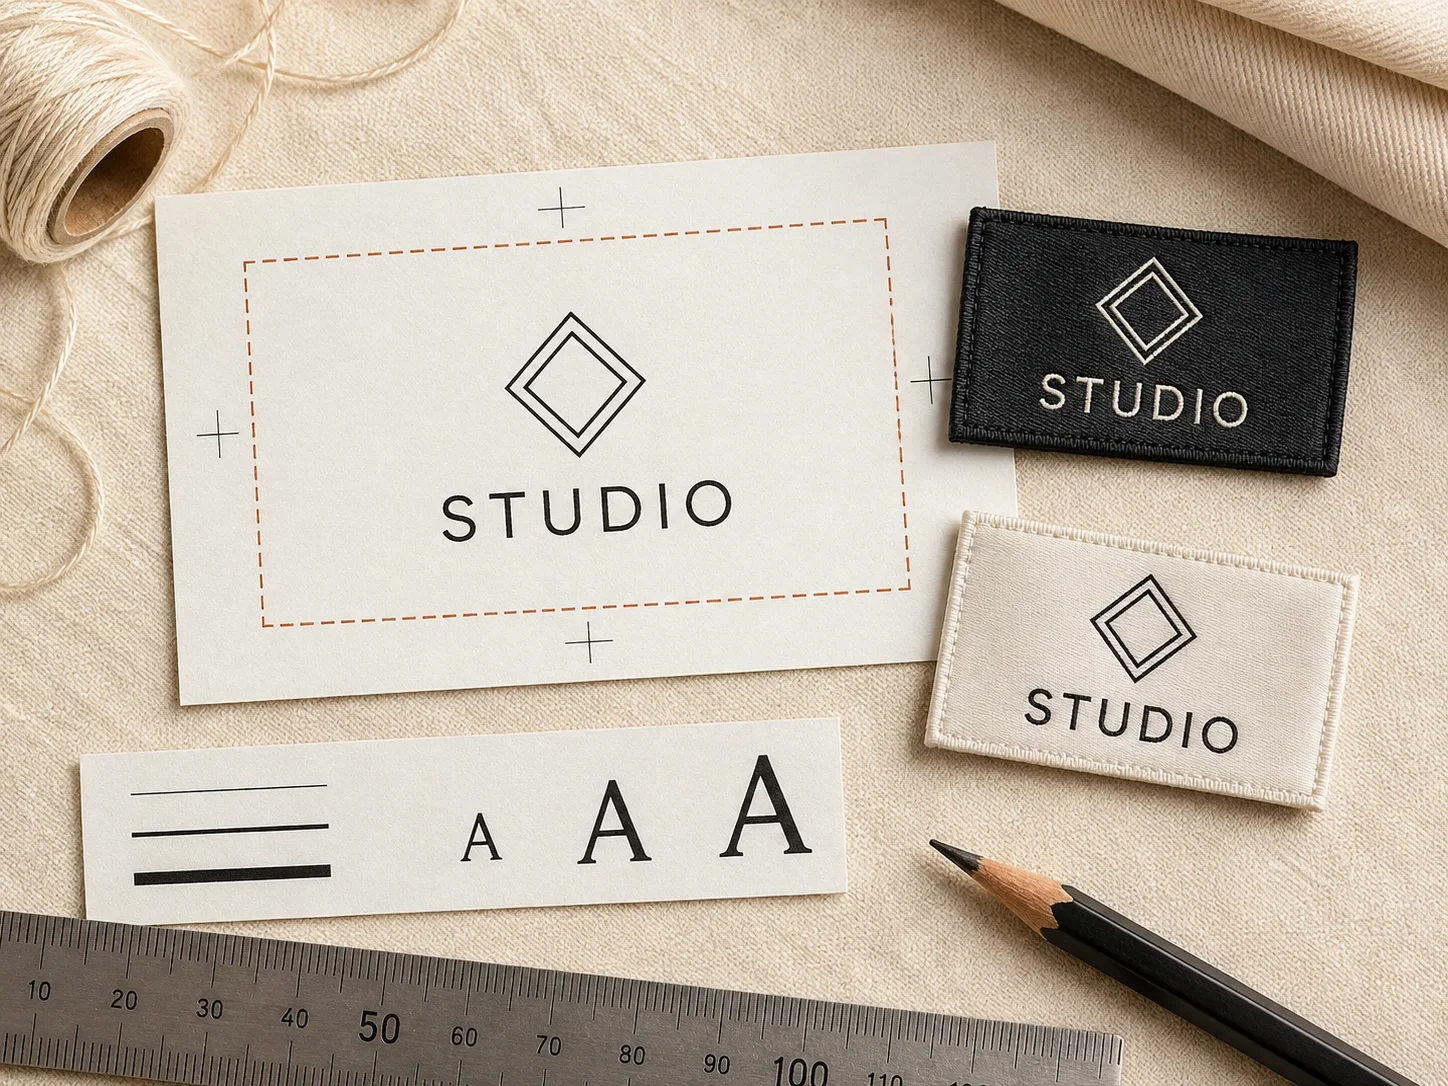
Prepare the artwork as two separate faces, not as one design that happens to be split in half. Mark the centre fold clearly in the artwork file and tell the supplier which direction the label should face when sewn into the garment.
Keep the fold line clear
Do not place fine lettering, a thin border or an important part of a logo directly on the fold. The fold creates a small radius, and the stitch or seam can hide a little of the inner edge. Keep critical artwork inside the safe area of each face.
Choose between matching and different faces
Repeating the same logo on both faces is the safest option for a label that may twist. Different faces can add useful information, but only when the label's final orientation is controlled. For a side tab, a logo on one face and a short brand message on the other can work well.
Check direction and upside-down risk
Both faces should read correctly when the label hangs naturally. A sewn sample is important because the label can rotate or flip depending on the seam. Approve the physical sample, not only a flat artwork proof.
How do folded and unfolded sizes differ?
Start with how large the finished tab should look on the garment. A small side tab may need only a logo. A wider hem label may need a logo, size, collection name or a second face with care or origin information.
- State the finished face width and height for each visible half.
- State the unfolded strip width, including both faces and the centre allowance.
- Confirm whether both faces are equal or whether one is intentionally shorter.
- Specify how much of the fold will disappear into the seam or binding.
- Approve a to-scale sewn sample before ordering the production quantity.
Do not make the type too small just to preserve a tiny tab. A label that is technically detailed but unreadable at normal viewing distance is not doing useful branding work.
How is a centre fold label stitched?
The folded centre is inserted into the seam allowance before the seam is closed. The sewing line catches the folded section, leaving the two label faces outside the seam. On a hem or binding, the same principle applies: the fold is hidden inside the construction and the tab drops out from the edge.
Stitch density and thread tension should match the garment. A lightweight jersey needs a soft label and a careful seam so the tab does not pull the fabric. Denim, canvas and workwear can accept a firmer woven label and stronger construction.
Place the fold where the garment can support it
Every centre fold needs a stable seam or edge. Avoid placing it on a loose single-layer area unless you are using a separate bar tack or attachment stitch. The fold should sit squarely in the seam, not diagonally across it.
Check the hang and twist
After sewing, inspect whether both faces hang at the same height and whether the label twists. A small turn can be intentional, but an uneven fold or a trapped corner makes the label look poorly finished.
Centre fold vs end fold vs straight cut
- Choose centre fold for a two-face tab at a side seam, hem, pocket or accessory edge.
- Choose end fold for a flat, polished centre-back neck label with hidden short edges.
- Choose straight cut for care labels, size strips and labels stitched flat on all four sides.
- Choose a loop-style construction when the label needs to hang more freely from a seam or attachment point.
The best fold is decided by how the label will be seen and attached, not by the label material alone. A woven damask, satin or taffeta label can all be made into a centre fold when the artwork and sewing plan support it.
What should you check before approving a sample?
- Confirm that the centre fold is exactly where the artwork file shows it.
- Read both faces at actual size and check that neither face is upside down.
- Measure the folded face, unfolded strip and hidden seam allowance.
- Check the fold sits squarely in the seam and the two faces hang evenly.
- Feel the label against the garment, especially for neck-adjacent or babywear applications.
- Wash or rub-test the sewn sample when the garment will see repeated laundering.
How to brief your label supplier
Send the logo or artwork, the garment position, the finished face size, the unfolded size if known, the material preference and a photo or sketch of how the label should hang. Use the phrase centre fold label and mark the midpoint so there is no confusion with an end fold or a flat straight-cut label.
For the clearest quotation, include: “Two-face centre fold label, finished face size ___ × ___ mm, folded into ___ seam, face A ___, face B ___, material ___, quantity ___.” Your supplier can then confirm the construction and recommend a suitable fold allowance.
What does the fold do at the neck?
Centre folds are chosen for how they attach, and they change how the label feels as well. Both are worth understanding before it is specified.
The fold doubles the thickness. Two layers sit where one did, so the label has more body than the same material cut straight. On satin the difference is slight; on a dense woven it is noticeable, and on a garment sold for softness it can be the thing a customer complains about.
The fold removes two raw edges. The fold itself is a soft closed edge, and the two cut ends disappear into the seam. What is left against skin is the folded edge, which is the most comfortable edge available on a sewn label.
The fold gives you a hidden face. The inside of the fold can carry care information, so the brand mark stays clean on the outside. This has to be stated in the brief, because the supplier needs to know which face carries what before artwork is separated.
The net effect on comfort is usually positive despite the extra thickness, because an edge is felt more than a layer is. Where it goes wrong is on a heavy base material, and the fix there is a thinner base rather than a different fold.
When is a centre fold the wrong choice?
The centre fold is the default for a neck label, and the default is not universal. Three cases call for something else.
- The label is not going into a seam. A centre fold exists so both raw ends can be caught and hidden. On a finished panel there is nothing to hide them in, and a straight cut or an end fold is correct.
- The garment is unlined and very light. The doubled label shows through as a firm rectangle on a sheer or fine fabric, and a single-layer label with a sealed edge sits flatter.
- The label needs to be read while worn. A centre fold hangs down inside the garment. If the point is visible branding on a hem or a sleeve, an end fold or a loop is what you want.
The rule underneath all three is the same one that governs every fold: the construction of the garment decides it, not the appearance of the label. Decide how the label attaches first, and the fold follows from that without any further argument.
One practical way to settle it early is to hand a sample to whoever will actually stitch the garment and watch what they do with it. A fold that is awkward at the machine gets attached badly on every piece, and that shows up in finished stock long before anyone reads the specification again. Two minutes at the machine is worth more than any amount of discussion about which fold is conventional.
The same visit answers the size question, which is the other thing that goes wrong quietly. A label that looks correct on a drawing can be too deep for the seam allowance the garment actually has, and the operator will trim it or fold it further to make it fit. Both changes happen without anybody reporting them, and both produce finished garments that do not match the approved sample you signed off on weeks earlier.
Final recommendation
Use a centre fold when the label is part of the garment edge and you want a small branded tab visible from both sides. Keep the midpoint clear, design both faces deliberately, and judge the result on a sewn sample. If you want a flat neck label, compare it with the end fold guide; if you are deciding between several constructions, see the complete label fold types guide.
Getting centre fold labels made at Labelwala
We make woven and printed labels in Ahmedabad, Gujarat, and we have been doing it for 25 years. Centre fold tabs are quoted from the finished face size plus the fold allowance, so send both numbers.
- Minimum order: 1,000 pieces.
- Quotes: we usually reply within 2 hours on a working day.
- Production: 7-10 days once artwork is approved. Rush jobs run 3-5 days.
- Shipping: pan-India to 20+ cities and export orders to 15+ countries.
- Experience: making labels in Ahmedabad since 2000.
- Shrinkage: polyester satin and woven labels move under 1% in a hot wash; untreated cotton tape can shrink 3 to 5%.
We are rated 5.0 on Google from 27 reviews. Ask for a sewn sample rather than a loose one; a fold only shows its real behaviour once it is in a seam.