In brief
Ordering custom labels follows six steps: decide the label type and size, prepare vector artwork with outlined fonts, get a quote, approve a sample, place the bulk order, then check the delivery against the sample. Approving a sample before bulk matters most, because a screen cannot show the true colour or feel of a woven or printed label.
If you've never ordered custom labels before, the process can feel like a black box. What file do they need? When do you pay? How do you know the colour will be right? The good news: it's a simple, predictable sequence, and one step matters more than all the others.
Here's the whole thing, step by step, so your first order goes smoothly and your bulk run comes out exactly as you approved.
The ordering process in 6 steps
Woven, satin, printed or care? What finished size in mm?
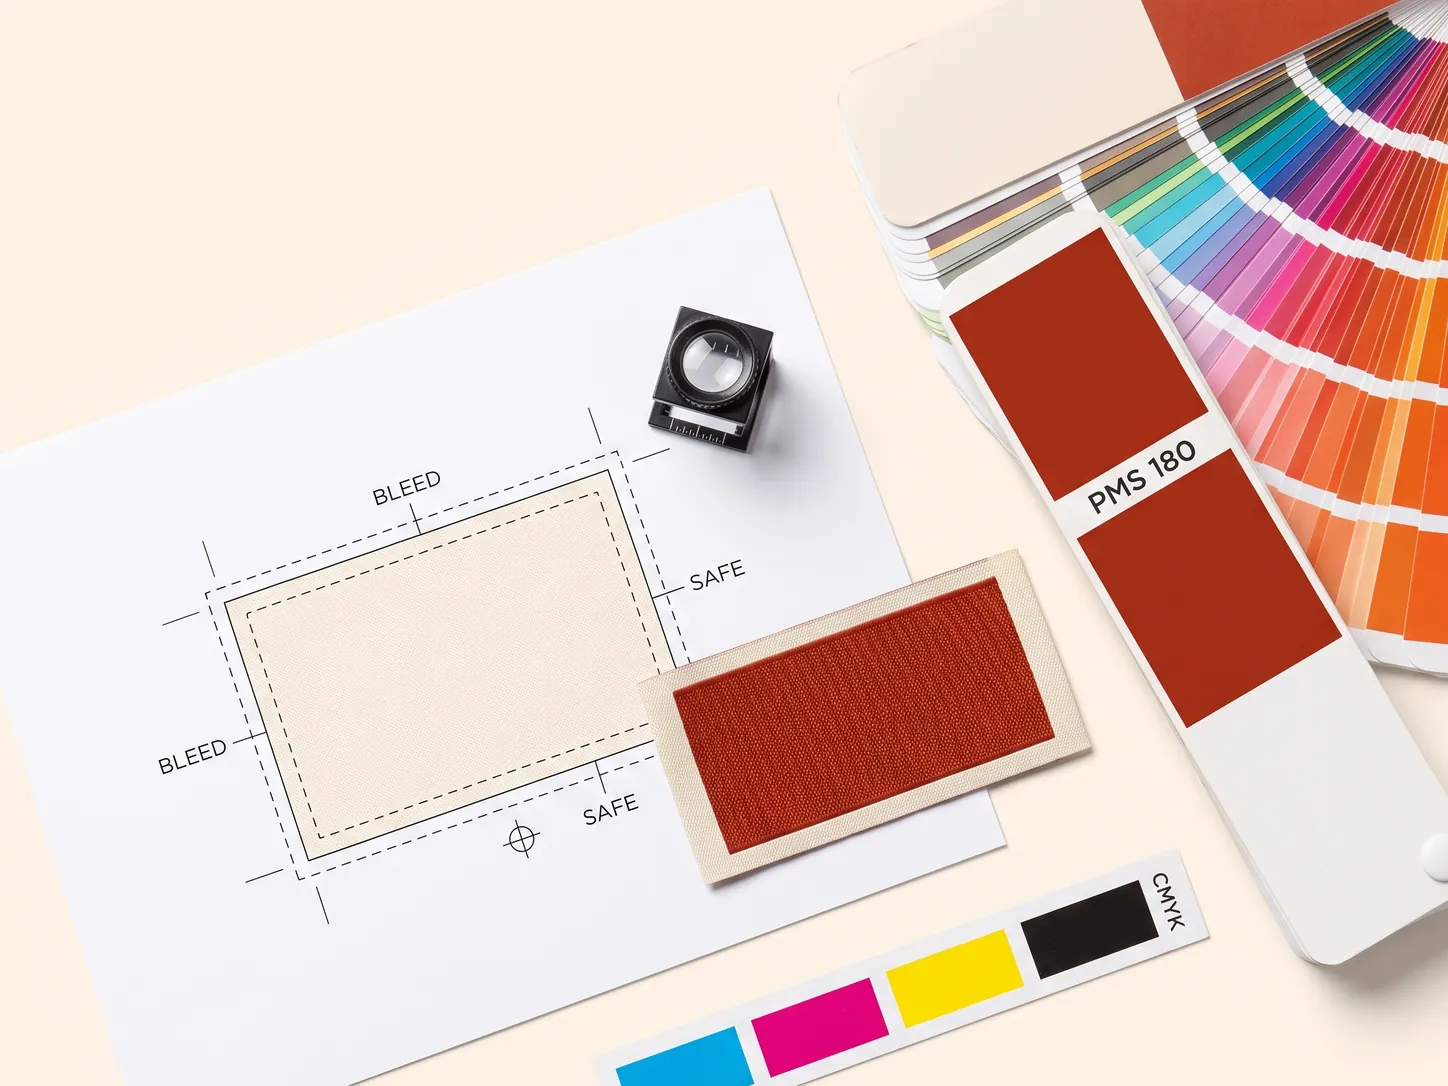
Vector file, fonts outlined, colours set.
Send spec + quantity for a price.
Check colour, feel, size on the real material.
Production runs against your approved sample.
Compare the bulk against your sample.
Skip the artwork back-and-forth. Design your label in the free label designer and send the design and spec to our studio for a quote in one step.
What do you need before ordering custom labels?
- Vector file (AI/EPS/PDF/SVG)
- Fonts outlined
- See our artwork setup guide
- Finished size in mm
- Material and fold
- Pantone colours + quantity
If you're unsure about size, material or fold, don't worry. Share what you have and we'll advise before quoting. See our size guide and fold guide for reference.
Why is sampling the one step that matters most?
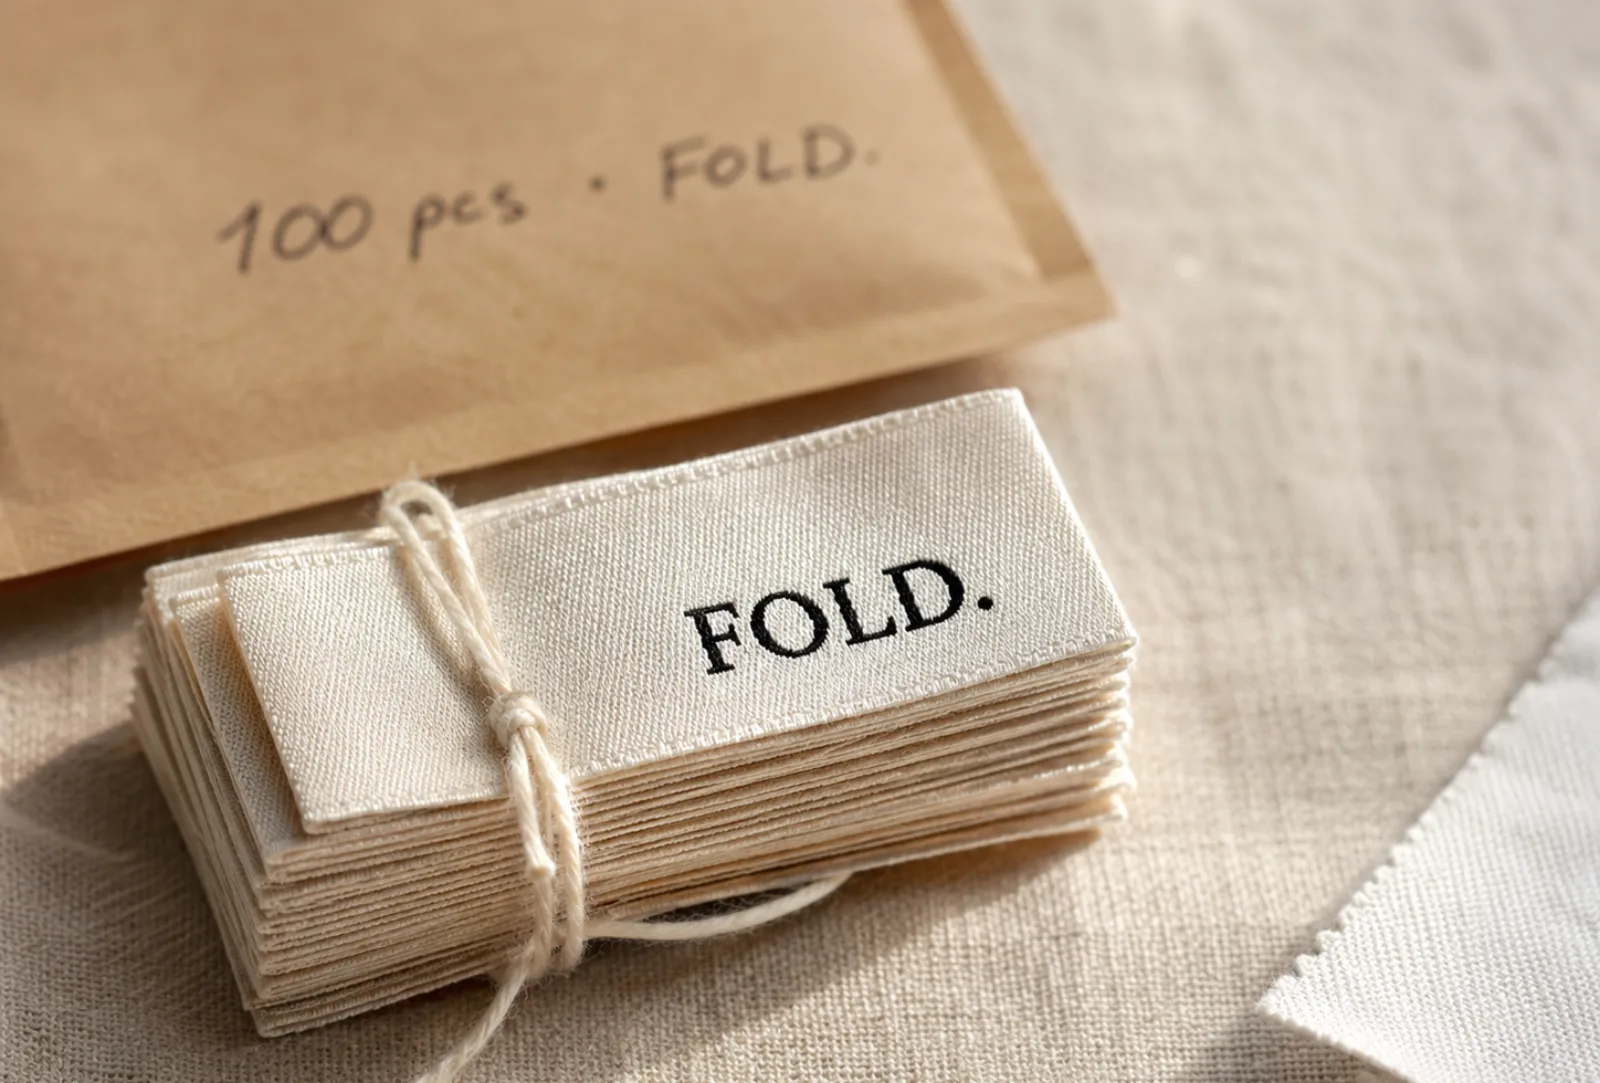
Always sample before bulk. A screen can't show you the true colour or feel of a woven or printed label. A small sampling charge lets you approve colour, feel, size and finish on the real material, and protects you from an expensive wrong bulk run. This is the single most important step.
When your sample arrives, check it against four things: colour (does it match your brand?), feel (soft enough for the garment?), size (right against a real product?), and finish (fold and edges clean?). Only approve when all four are right.
Should you start small on your first label order?
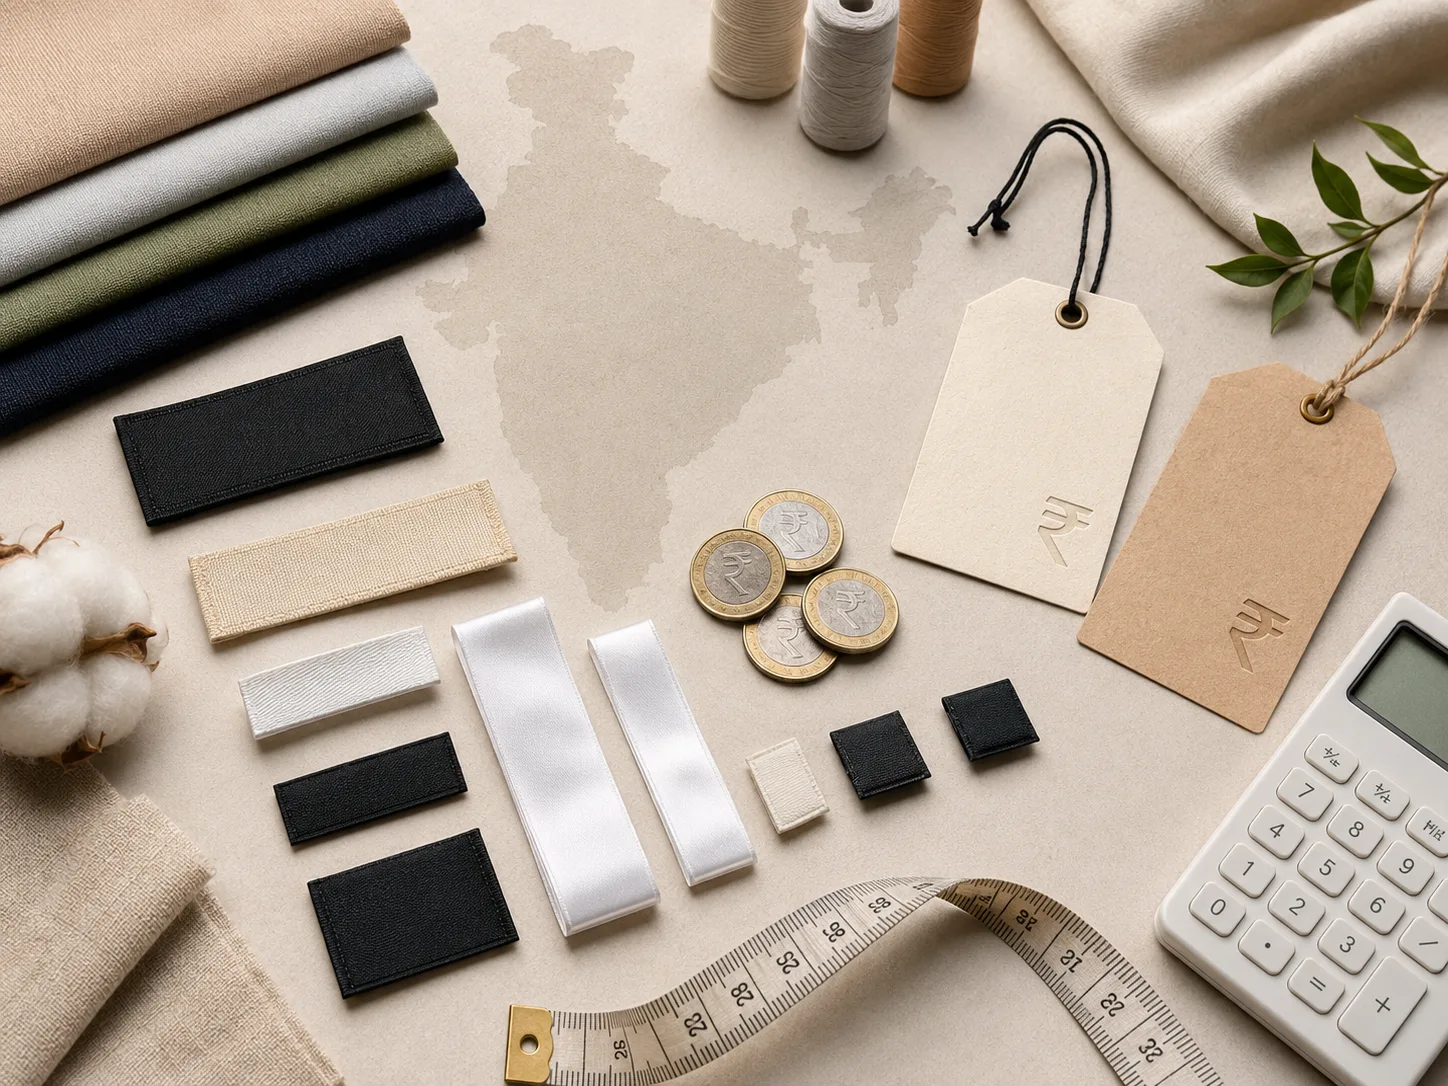
Our minimum is 1,000 pieces per design, which is where most established suppliers in India sit. Per-piece cost drops sharply with volume, so many founders order a slightly larger quantity of a reusable neck label while keeping other labels small. A small first run lets you test both your design and the process before scaling up.
For pricing by quantity, see our 2026 label price guide; for how low you can start, our low-MOQ sourcing guide.
After the bulk arrives
When your labels arrive, compare the bulk against your approved sample for consistency (see our QC checklist). Keep the approved sample safe. It's your reference for future reorders, so the same look is reproduced batch after batch.
What does a good label quote actually contain?
A price per piece is not a quote. Before you compare two suppliers, check that both are quoting the same thing, because very often they are not.
- The delivered total, not just the unit rate. Setup, courier and taxes at the bottom can turn the cheaper unit price into the more expensive order.
- Material named specifically: damask, taffeta, satin, cotton, and the grade if there is one.
- Whether the stated size is flat or finished, and the fold alongside it.
- Number of colours, since that drives price on woven and is the easiest thing to differ between quotes.
- Edge finish: heat cut, laser cut or folded.
- What sampling is included, and whether it is chargeable.
- Lead time from approval, stated as such rather than from the enquiry date.
- Payment terms.
Be a little wary of a quote that arrives with no questions attached. A supplier who has not asked what garment the label goes into, or whether your stated size is flat or finished, is quoting a generic label and will discover the mismatch at sampling, on your calendar.
How is a digital proof different from a physical sample?
These get conflated constantly, and they answer completely different questions.
A digital proof is a layout check. It confirms the wording, the arrangement, the size in millimetres and the colour references. It is quick, it is free, and it catches spelling mistakes, missing information and artwork positioned into a fold. What it cannot tell you is anything about the physical object.
A physical sample is the real thing on the real material. It is the only way to judge colour as it actually renders in thread or ink, how the label feels against the fabric, whether the edge is comfortable, how the fold sits, and whether your smallest text is genuinely readable rather than merely present.
Both processes look identical on a screen; the entire difference between materials is something you can only assess by touch. Approving bulk from a digital proof alone is the single most common way a first order goes wrong, and it is entirely avoidable.
Check the proof for content, spelling, sizes, symbols, positioning. Check the sample for character, colour, hand feel, edge, fold, legibility. Trying to judge either from the wrong one is where problems start.
How do you review a label proof properly?
Twenty minutes here saves a production run. Read the proof as a document instead of glancing at it as a picture:
- Read every word out loud. Brand names and addresses are where typos survive, because the eye reads what it expects.
- Check the size in millimetres, and confirm whether it is finished or flat.
- Check the fold is named, and that nothing important sits on the fold line.
- Check every size code in the set, not just the first one.
- Check care symbols against the actual fabric, not against a template.
- Check the composition adds up to 100% and matches the fabric that will really be used.
- Print it at actual size and hold it against the garment. Screens flatter small artwork.
Then approve in writing, naming the version. “Approved” on a proof with a version number is a reference both sides can return to; a verbal yes is not.
Paying, and what protects you
Advance payment is normal in this trade and is not in itself a warning sign. The supplier is making something that has no value to anyone else. What protects you is not payment terms but sequence.
The protection is the approved sample. Never authorise a bulk run before you have approved something physical, and keep that approved piece. It becomes the benchmark the delivery is judged against, and it turns any later disagreement from an argument into a comparison.
- Approve a sample before bulk, always.
- Keep the approved sample after the order. It is your reference for every reorder too.
- Get the approval in writing with a version reference.
- Ask what happens if the delivery does not match the approved sample, before you order rather than after.
- Check the bulk against the sample on arrival, pulling labels from across the delivery rather than off the top.
Our QC checklist covers the inspection itself, including how many to check and how to sort what you find.
How long the whole thing takes
The number that matters is 7-10 days from artwork approval, not from your first email. Everything before approval sits outside that window, and that is where most of the calendar actually goes.
- Quote: usually within 2 hours on a working day, if the brief is complete.
- Artwork: entirely on your side. Vector files move straight through; a JPEG of a logo means redrawing first.
- Digital proof: quick to produce and quick to check.
- Physical sample: the stage worth waiting for.
- Your approval: the most variable stage, and entirely within your control.
- Bulk: 7-10 days, or 3-5 days on a rush.
- Dispatch and transit, depending on destination.
Plan on roughly a month of runway for a first order, most of which is not production. A repeat of an unchanged label needs little more than the production window plus transit. See label lead times for planning it against a real dispatch date.
What changes on your second order
Almost everything that makes a first order slow and expensive is a one-time cost, which is worth knowing while you are in the middle of the first one.
On a repeat of the same label the artwork is already approved, the loom setup or ink recipe is recorded, the thread references are on file, and there is nothing to sample. A repeat of an unchanged label needs little more than the production window plus transit, and it costs less per piece because the setup does not have to be paid for again.
The condition is that nothing changes. A small tweak to the artwork, a slightly different shade, a revised address, puts you back through proofing and sampling. It is worth deciding whether a tweak is worth the calendar before asking for it, and worth getting the first order right precisely because everything after it is cheap by comparison.
First-order mistakes worth avoiding
- Sending a screenshot or a low-resolution logo instead of vector artwork.
- Giving one size without saying whether it is flat or finished, and not naming the fold.
- Approving bulk from a digital proof without ever handling the material.
- Ordering exactly as many labels as garments, with nothing for wastage.
- Leaving the label order until the garments are already cut.
- Not recording thread or ink references, so season two does not match season one.
- Discarding the approved sample once the order arrives.
- Comparing quotes on unit price alone when they are not quoting the same specification.
If you take one habit from this list, make it keeping the approved sample. It is the reference for checking this delivery, the reference for every reorder afterwards, and the thing that turns any later disagreement into a comparison not an argument. It costs nothing to keep and there is no way to recreate it once it is gone.
The pattern is that a label order is mostly decided in the brief. By the time anything is being manufactured, the outcome has largely been determined by information you supplied or omitted a fortnight earlier.
The short answer
Ordering custom labels is a simple six-step flow: decide type and size, prepare artwork, get a quote, approve a sample, place the bulk order, receive and check. Have your vector artwork, size in mm, material, fold, colours and quantity ready before you start. Above all, always approve a physical sample for colour, feel, size and finish before bulk. It's the one step that protects your whole order. Our minimum is 1,000 pieces per design. Send us your artwork and spec and we'll quote and sample so your first order comes out right.