In brief
The most common label defects are colour mismatch, fraying or loose threads, wrong or inconsistent size, misprints or blurry text, crooked folds, weak stitching and uneven quality across the batch. Before accepting a run, check colour, size, print, edges, folds, feel and consistency on labels pulled from across the delivery, comparing them with your approved sample.
A label defect is cheap to fix when the labels arrive and expensive to fix once they're sewn into garments. That's the whole case for a quick quality check: a few minutes comparing the bulk against your approved sample, before you accept the run, saves you from a problem multiplied across your entire order.
Here are the defects that actually show up, and a simple seven-point checklist to run on every bulk delivery.
Two things make this worth doing properly instead of glancing at the top of the box. Labels arrive in bundles, and bundles are not uniform. A fault that started partway through a run sits in the middle of the delivery, not on top. And a label fault is one of the few production faults that cannot be repaired afterwards: once it is stitched into a garment, fixing it means unpicking every piece.
Which label defects should you watch for?
- Colour doesn't match the sample
- Blurry or misprinted text
- Faded or patchy areas
- Fraying or loose threads
- Crooked or uneven folds
- Weak stitching, wrong size
The theme: most defects are caught by comparing the bulk against your approved sample and inspecting a representative handful, not just the top of the pile.
Your 7-point QC checklist
Matches your approved sample?
Correct and consistent?
Sharp, text correct and legible?
Clean, sealed, no fraying?
Neat and even?
Right material and hand-feel?
Same across the whole batch?
Pull from across the batch. Inspect labels from different parts of the run, not just the top few, so you catch any inconsistency. A representative sample beats checking only the easiest ones to reach.
How many should you actually inspect?
You do not need to check every label, and you should not check only ten. A workable rule for a normal order:
- Open at least three bundles from different parts of the delivery, not three from the same carton.
- Take a handful from each, including from the middle of a bundle rather than the outside.
- Lay them out together rather than checking one at a time. Inconsistency is visible in a row of twenty and invisible in a sequence of twenty.
- If you find one fault, widen the check immediately. One fault tells you nothing about whether it is isolated or systemic; twenty more labels tell you a lot.
The layout point is the one people skip and the one that finds most problems. A slow colour drift across a run, or folds that gradually creep off-centre, is obvious when the labels sit side by side and essentially undetectable otherwise.
Are all label defects equally serious?
Sorting what you find into three buckets makes the accept-or-reject conversation much quicker, for you and for the supplier.
- Critical, the label cannot be used. Wrong brand name, wrong size code, wrong fibre composition, missing country of origin. These are not cosmetic; a wrong composition line is a compliance problem, and a wrong size code makes the garment unsellable.
- Major, the customer will notice. Visible colour mismatch, illegible text, fraying edges, a fold running through a letter, a label that scratches.
- Minor, cosmetic and inconsistent. A slightly loose thread, a marginal length variation, small differences that disappear once the label is sewn in.
Critical faults mean the run is rejected, full stop. Major faults are a rework conversation. Minor faults are worth reporting so they do not become the new normal, but they rarely justify holding a delivery.
Being explicit about which bucket you are in also protects the relationship. "This batch is unusable, the size codes are wrong" and "these three had a loose thread" are very different messages, and treating them the same way trains a supplier to take neither seriously.
How do you measure label size properly?
Size disputes are usually definitional rather than factual. Before you conclude the labels are the wrong size, check which measurement you and your supplier were each talking about.
- Flat size is the piece before folding. Finished size is what you see in the garment. On a centre-fold label these differ by more than half.
- Measure the finished size folded, the way it will sit, not flattened out on a table.
- Measure several, not one. Cutting varies slightly across a run and one label proves nothing.
- Expect a small tolerance. Cloth is cut, not machined; a fraction of a millimetre either way is normal, and a supplier quoting an exact number to the tenth of a millimetre is describing an intention, not a guarantee.
If the delivered size genuinely differs from the approved sample, that is a real fault. If it differs from a number in an email but matches the sample you approved, the sample wins, which is exactly why keeping it matters.
Why does label colour go wrong?
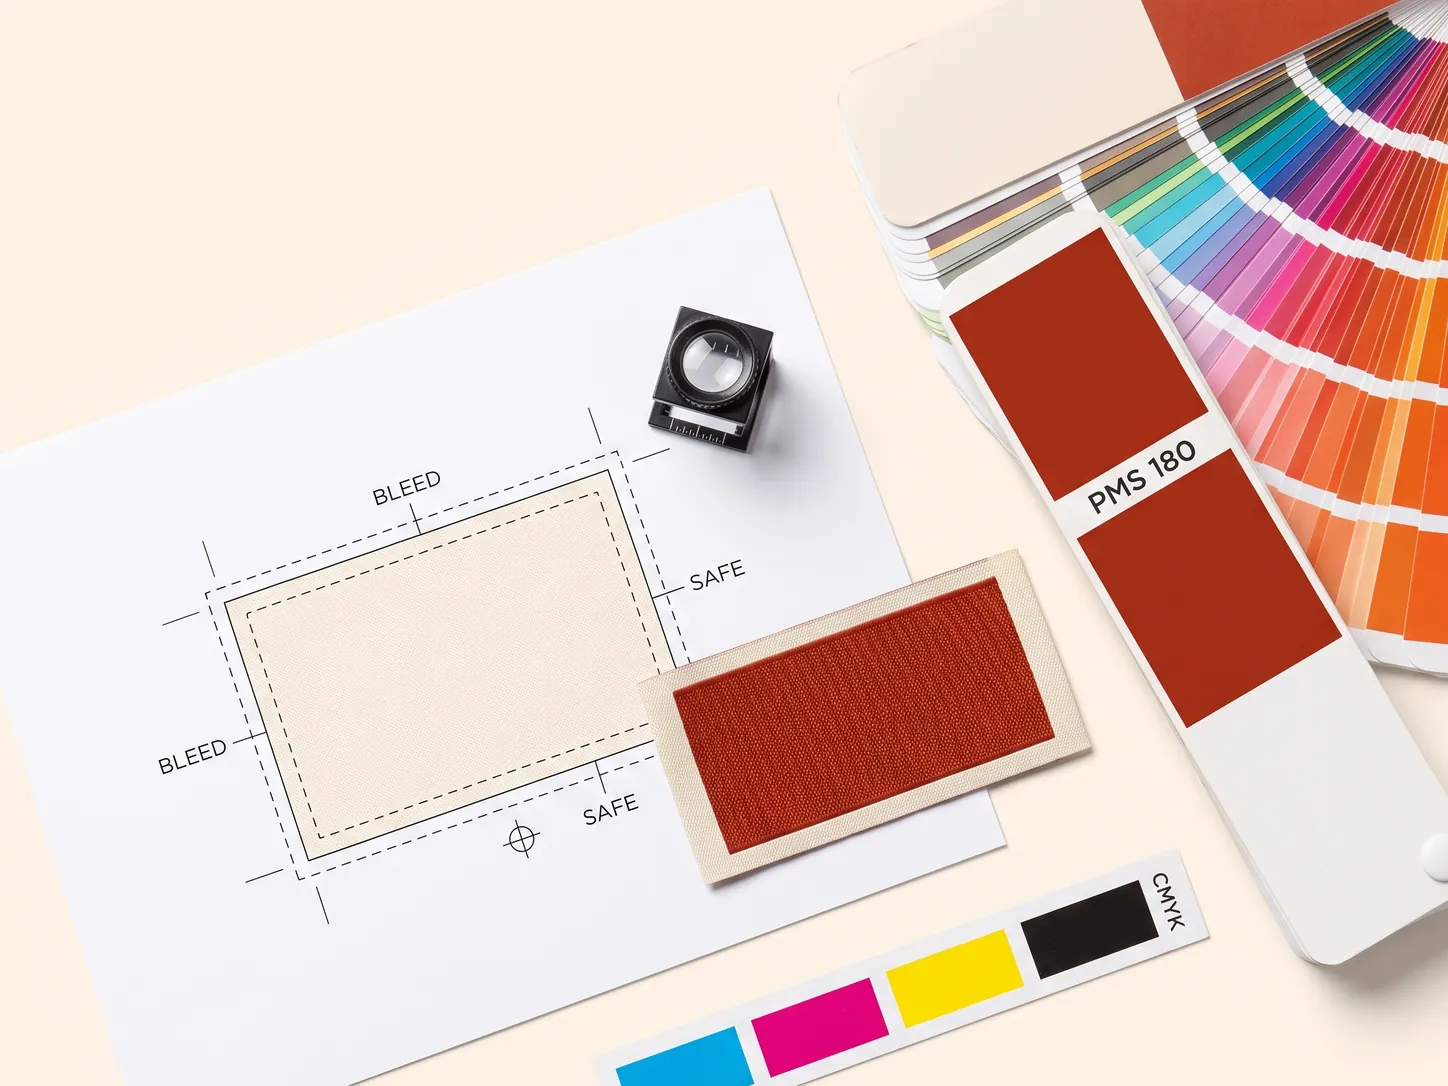
Colour mismatch almost always traces back to approving colour from a screen instead of a physical sample, or not giving a Pantone reference. Screens show colour differently from woven thread or printed ink. The fix is upstream: approve a physical sample and specify a Pantone code, covered in our artwork setup guide.
Two practical points on comparing colour. Do it in daylight, or at least always in the same light, because two colours that match under shop lighting can visibly differ by a window, a real effect, not imagination, and one that catches out brands who approve colour under whatever light happens to be in the office. And compare against the approved physical sample, not against a printed swatch or a screen, since the sample is the only reference that shares the same material and finish as the bulk.
Judge colour on the whole label rather than a corner. On woven labels the perceived shade shifts with the direction the threads catch the light, so a label turned ninety degrees can look like a different colour when it is not.
Faults specific to woven labels
Knowing the vocabulary helps, because describing a fault precisely gets it resolved faster than "it looks wrong".
- Skipped or floating threads: a thread that passes over too many others, showing as a loose line across the face. Often catches and pulls in wear.
- Density variation: patches where the weave is looser, showing as a slightly different sheen or a see-through area.
- Misregistration: the design sitting off-centre relative to the cut, so margins differ side to side across the batch.
- Closed counters: the gaps inside letters filled in, turning 8 into 6 and e into a blob. Usually a design-too-small problem rather than a manufacturing one.
- Curl: a label that will not lie flat, normally from tension during weaving or a heat-cut edge shrinking unevenly.
Faults specific to printed labels
- Registration drift: colours not aligned, showing as a coloured fringe on one side of the artwork.
- Ink bleed: edges of type spreading into the fabric, which turns small text muddy.
- Banding: faint stripes across a solid area, usually from the press rather than the file.
- Mottling: uneven ink density on what should be a flat colour.
- Cracking: a print that splits when the label is folded, which means the ink layer is too rigid for the base.
Fold one printed label deliberately as part of your check. Cracking on the fold is invisible flat and obvious once folded, and it is the fault most likely to appear only after the labels are in garments.
Check the count and the packing too
Not every problem with a delivery is a defect in a label. The quiet ones are administrative:
- Short counts. Bundles are usually counted at the factory rather than individually verified. Spot-check a bundle against its stated count.
- Mixed sizes in one bundle, which is the fault most likely to reach the sewing line unnoticed and get stitched into the wrong garments.
- Unlabelled bundles, making it impossible to tell one size code from another without opening everything.
- No batch or lot reference, which is what you will need if a problem appears three months later.
Ask for bundles to be marked with the size code and count. It costs the supplier nothing and it removes the single most common cause of the wrong label ending up in the wrong garment.
Why do the edges of a label fray?
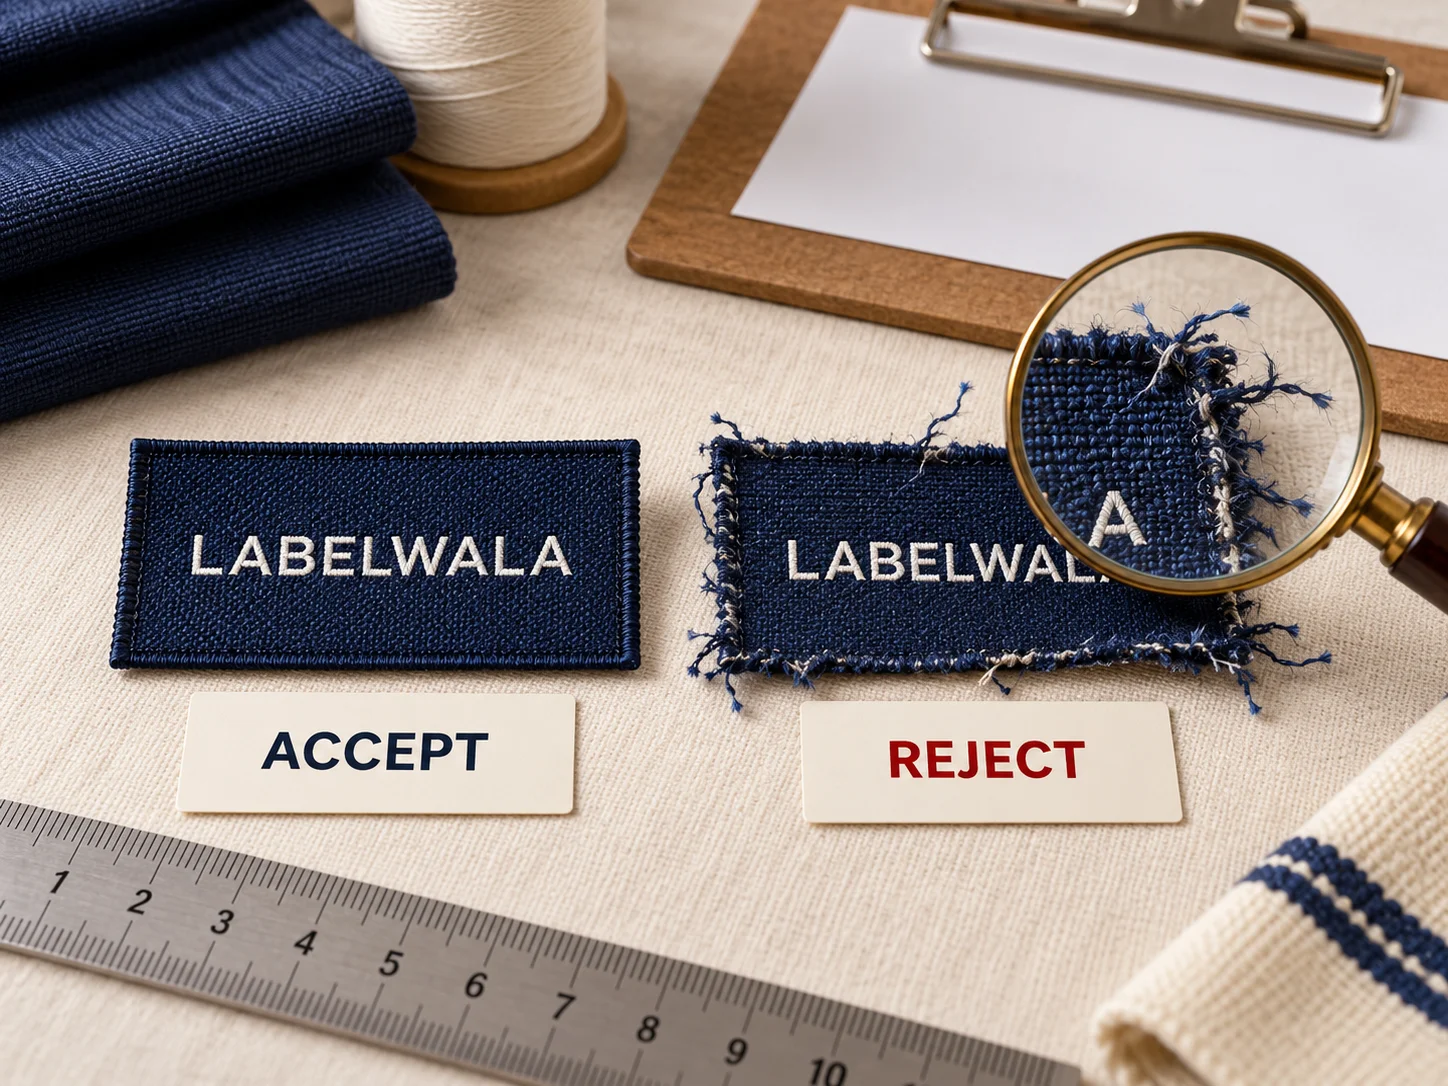
Fraying is worth taking seriously precisely because it gets worse rather than staying put. An edge that is slightly loose on delivery is an edge that unravels progressively through the garment's life, so a fault you were willing to overlook in the box becomes a customer-visible one a few months later. Judge edges on what they will become, not on how they look today.
Fraying and loose threads come from edges that aren't properly sealed or cut, or a fold that isn't finished cleanly. A good label has clean, sealed edges and no loose threads. If you see fraying in your sample or bulk, raise it before accepting, it only gets worse after washing.
Wash one before you commit the batch
The seven-point check tells you what the labels look like today. One wash tells you what they will look like to your customer, and it is the only test that catches the faults which are invisible on delivery.
Take two or three labels from the batch, wash them at the temperature your care label permits, and look for colour bleeding onto other items, print cracking on the fold, edges starting to fray, and any curl or shrinkage. On a large or repeat order it is worth stitching one to a scrap of your actual garment fabric first, since a label behaves differently sewn down than loose in a machine.
This costs a day and it is the difference between finding a problem while the labels are still in their box and finding it after they are in five hundred garments. Our wash testing guide covers how to run it properly.
What should you do if you find a defect?
Don't accept the run. Compare the defective labels against your approved sample, document the issue with photos, and raise it with your supplier promptly. A reputable supplier will discuss a rework or correction, and your approved sample is the reference that makes the conversation objective.
What makes the claim easy to resolve is evidence gathered at the right moment. Photograph the defective label beside the approved sample in the same frame and the same light, so the difference is visible rather than described. Note the batch or lot reference and which bundle it came from, since that tells the supplier where in the run it went wrong. Say how many of how many inspected were affected, "eleven of sixty" is actionable, "quite a few" is not. And keep the defective labels; a supplier may need them back to investigate, and they are your evidence until the matter is closed.
Raise it before the labels go anywhere near the sewing line. Once they are stitched in, the conversation stops being about a label run and starts being about garments, and the cost of putting it right multiplies by the labour to unpick every piece.
Preventing most of this upstream
Nearly every defect on this page is cheaper to prevent than to catch, and prevention is a short list:
- Approve a physical sample, not a screen proof. Colour, hand-feel and edge quality do not exist on a monitor.
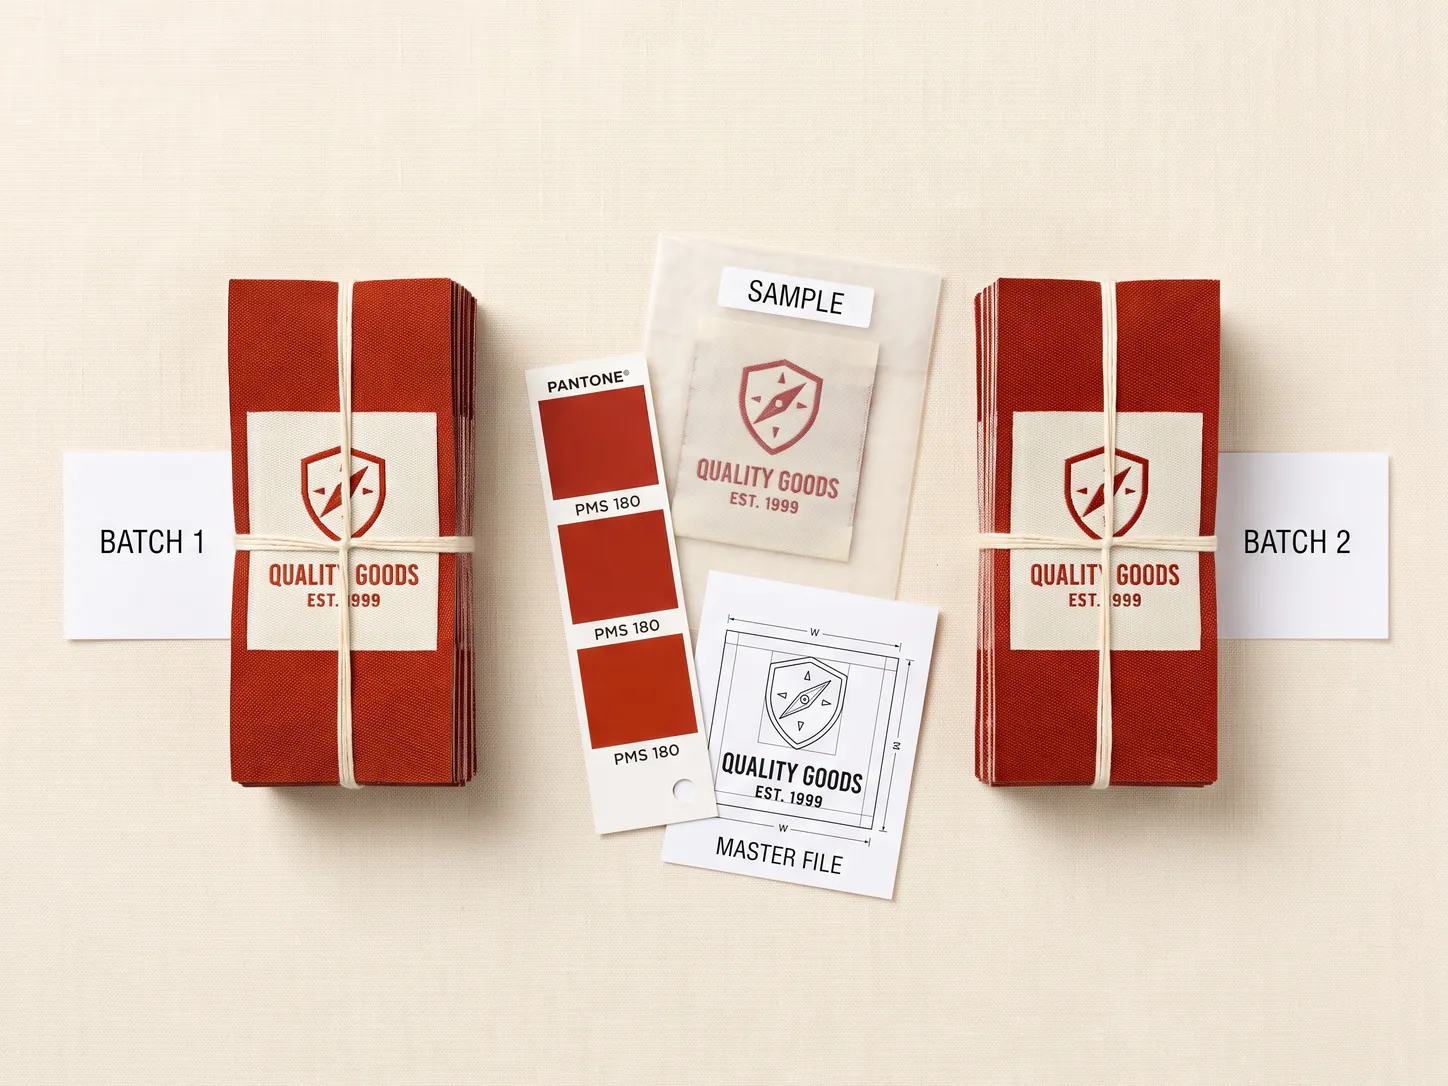
- Keep the approved sample. It is your reference for this delivery and every future one, and it is what turns a dispute into a comparison.
- Record the specification in writing, material, finished size, fold, thread or ink references, edge finish.
- Size your artwork for the process. Text too small to weave will always come back with closed letters, however good the supplier.
- Ask for bundles marked with size code and count.
- Wash a sample before bulk, not after.
The recurring theme is that the approved physical sample does most of the work. It is the reference for colour, size, feel and finish simultaneously, and it is the one document both sides can hold. See our artwork setup guide for getting the file right before any of this begins.
The short answer
The common label defects are colour mismatch, fraying and loose threads, wrong or inconsistent size, misprints, uneven folds and weak stitching. Catch them with a quick seven-point check (colour, size, print, edges, folds, feel, consistency), on a representative sample pulled from across the batch, compared against your approved reference, before you accept the run. Prevent most defects upstream by approving a physical sample and specifying Pantone colours. Keep your approved sample: it's the benchmark that makes QC fast and any dispute objective.