In brief
A loom builds the design from physical threads, so keep text at roughly 2 mm or taller, thicken hairline strokes, flatten gradients to solid colours and stay within a tight palette of two to four thread colours. Send vector files with Pantone references, leave 3 mm clear of any fold line, and approve a woven sample before bulk.
Here's the mistake almost every first-time brand makes: they send the same logo file to a woven-label supplier that they'd send to a printer, and they're surprised when the tiny tagline vanishes and the gradient turns to noise.
A loom builds your design from physical threads, so it has hard limits a printer doesn't. The good news: there are only a few rules, they're easy to design around, and once you know them your labels come out sharp every time.
Why does the loom set the rules?
A printer lays continuous ink and can reproduce almost anything: photos, gradients, hairline type. A loom, by contrast, places colour one thread at a time (see how woven labels are made). That means the thread thickness is the smallest unit of detail it can produce. Anything finer than a single thread simply cannot exist on the label at all. Every rule below flows from that single fact.
These rules are built into the tool. The free label designer flags type that is too small to weave, keeps the fold allowances honest and exports print-ready artwork at 300 DPI.
Rule 1: mind your minimum sizes
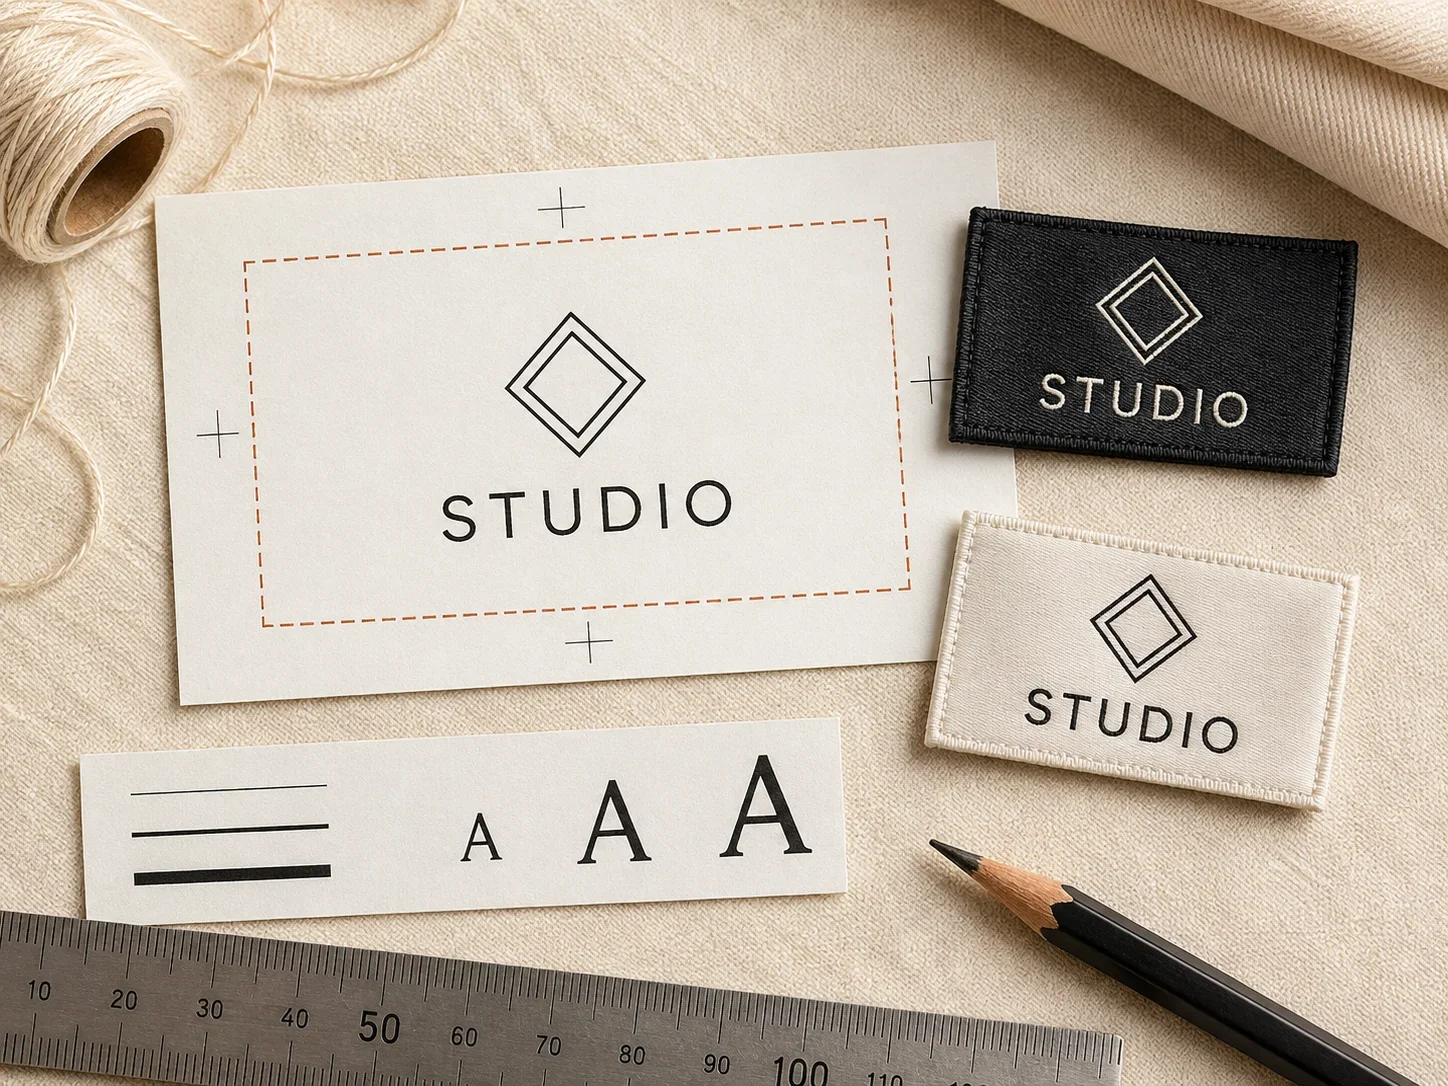
Thin things are the first to disappear. Keep lines and text above the weavable minimum, or thicken them for the woven version.
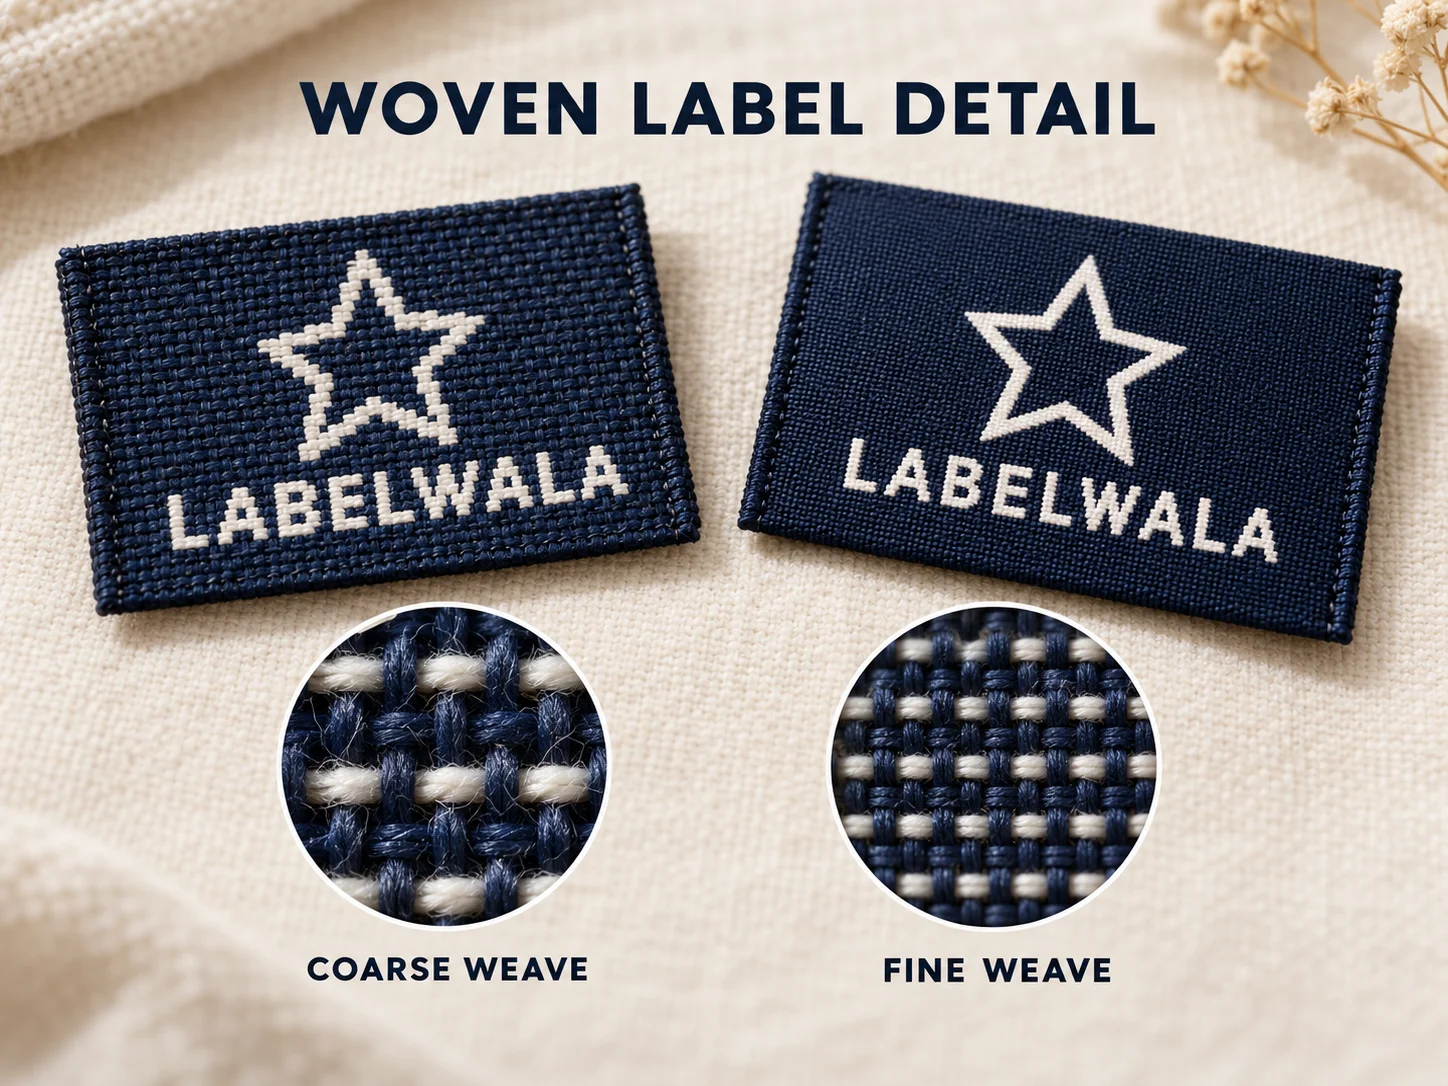
If your design genuinely needs small text, don't just shrink it: move up to a higher-density or damask weave, which holds finer detail. That's the whole point of weave density.
Rule 2: gradients don't weave
This one surprises people most. A loom can't fade one colour smoothly into another the way ink does. It only has whole threads of solid colour. A gradient gets approximated by mixing two thread colours, which up close looks like a coarse dotted transition, not a smooth blend.
Got a gradient in your logo? Either simplify it to solid colours for the woven version, or use a printed label instead. Print handles gradients and photographic detail far better than any weave.
Rule 3: design in solid colours, keep the palette tight
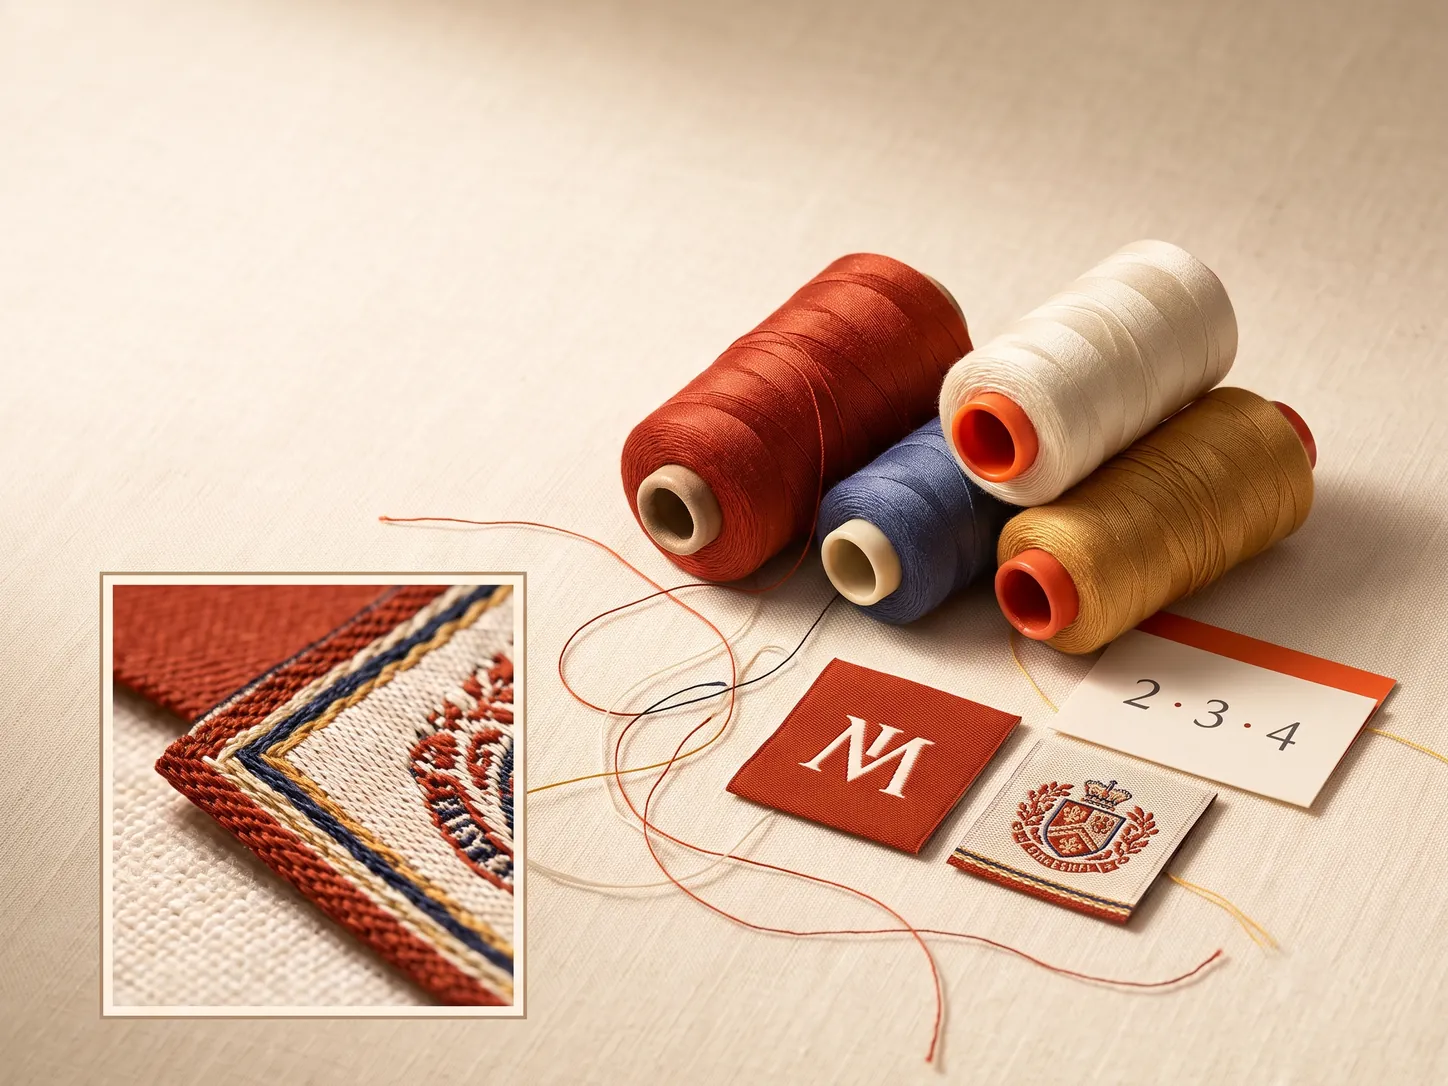
Each colour on a woven label is a separate thread the loom carries. That has two consequences: you design in flat, solid areas rather than blends, and every extra colour adds a little setup and cost. Most brands land on two to four colours; you can go higher, but a tight, deliberate palette both saves money and looks sharper.
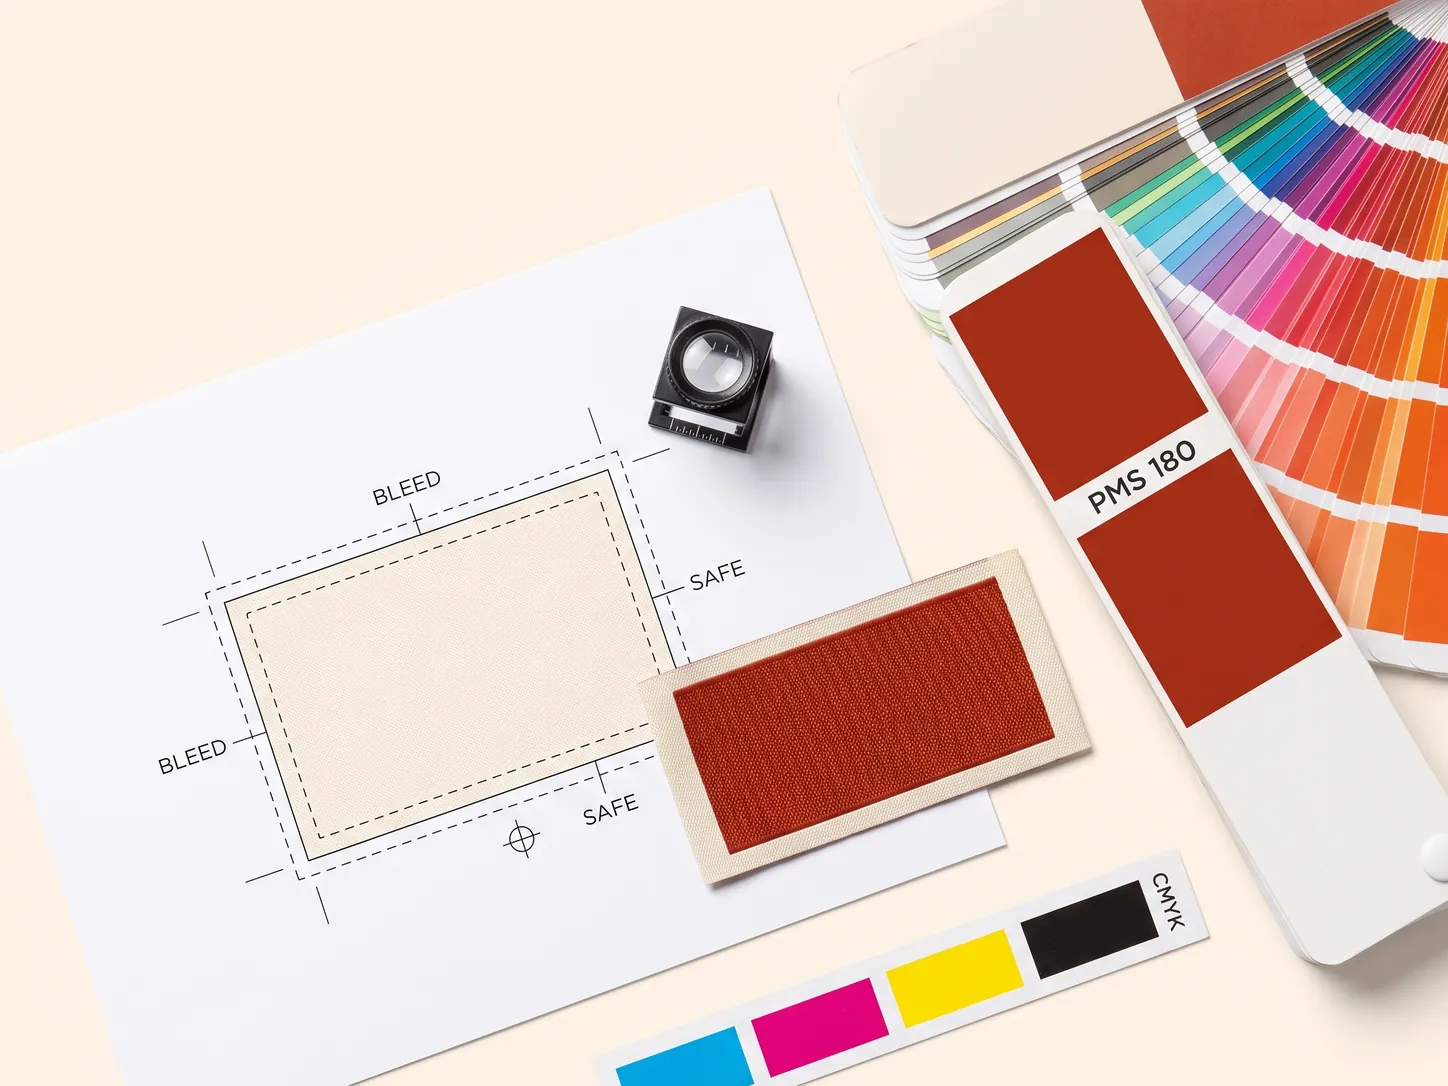
Colours are matched from Pantone references to thread. Include your Pantone codes so the loom is set to your brand: our Pantone to thread guide explains how close the match gets. For how many colours you actually need, see the thread colours guide.
Rule 4: send the right files
Give the supplier artwork they can read exactly and scale to label size.
- Vector files: AI, EPS, PDF or SVG
- Pantone colour references for each colour
- The exact finished label size
- A note on where the label goes on the garment
- Low-resolution PNG/JPG or screenshots
- Gradients and drop shadows left in
- Hairline strokes and tiny sub-2 mm text
- No size specified, so scale is guessed
Only have a raster logo? Send the highest resolution you've got. The supplier will redraw it as vector. The full file-prep walkthrough is in our label artwork setup guide.
Do you need to redesign your logo for weaving?
None of this means reworking your brand. Most logos just need small, routine tweaks for weaving: thicken thin lines, enlarge or drop tiny text, flatten gradients to solids, reduce to a thread palette. Your identity stays recognisable. What changes are the technical details that would weave poorly. A good supplier does this for you and flags anything risky before weaving.
The label people see should still look unmistakably like your brand. What changes is invisible: the parts a loom couldn't have reproduced anyway.
Always approve a woven sample. The adapted artwork can look right on screen and still surprise you in thread. The sample is where you confirm the small text reads and the colours are yours, before bulk.
Why is colour a thread count, not a palette?
The rule that surprises people most is that colour on a woven label is not free. On a printed label a twelve-colour logo costs the same as a one-colour logo. On a woven label each colour is a separate thread that has to be loaded and run, so the palette drives the price.
That cost is setup, not consumption, which has a few consequences worth planning around:
- Every extra colour carries the same setup whether the run is long or short, so it bites hardest on a small order.
- Two or three colours is where most good labels sit. A simple two-colour label often looks better than a busy one, and costs less.
- Merge near-identical shades. Two close colours read as one at label size anyway, so making them one saves a thread and loses nothing.
- Changing a colour later means re-threading, so a small tweak is not a small job.
There is a second colour constraint that catches designers out. Woven colour comes from a finite card of pre-dyed threads, so your brand colour is matched to the nearest available thread rather than mixed to order. An exact Pantone match is sometimes possible and sometimes genuinely is not. If a specific shade is central to brand recognition, ask to see it on thread before the design is signed off.
Why does contrast matter more than colour choice?
A woven label is small, textured, and usually read in poor light inside a garment. Whether it works is mostly a question of contrast, and only secondarily a question of which colours you picked.
- Dark on light is the most forgiving combination and holds fine detail best.
- Light on dark looks more premium and is harder, because light threads on a dark ground can be swallowed by it.
- Low contrast renders well and wears badly. A mark set close in tone to its ground is elegant on screen and unreadable once it is inside a garment.
- Two similar mid-tones, two blues or a navy and a charcoal, lose their boundary entirely at this size.
For light-on-dark the fix is a bolder letterform rather than a bigger one. The problem is stroke width against a dark ground, so a slightly heavier weight reads cleanly where a larger thin one still does not.
Test it the way a customer will: hold the sample at arm's length in ordinary room light. If you have to bring it closer to read it, the contrast is wrong regardless of how good it looked on screen.
How do you design for the fold, not the flat file?
Almost every woven label is folded, and artwork drawn on a flat rectangle ignores what the fold does to it. This is where good designs go wrong at the last step.
- Leave 3 mm clear either side of a fold line. The crease is pressed in during finishing and never comes out, so a letter sitting on it is permanently marked.
- Keep text 2 mm inside any stitched edge, and further where you can.
- On a centre fold, treat each half as its own label and keep each face's artwork within its own half.
- On a loop fold, keep the mark well clear of both ends, since both disappear into the seam.
- Position artwork on the finished panel and let the supplier work back to the flat file.
The classic error is centring a logo on the flat artwork of a hem tag. Fold it and half the logo is inside the seam. See our fold types guide for what each construction hides.
Common mistakes
- Sending the print version of a logo and expecting the loom to reproduce it.
- Shrinking text to fit instead of moving to a denser weave or a bigger label.
- Using a thin condensed typeface, which loses its strokes before an open one does.
- Specifying five colours where three would read better and cost less.
- Assuming a Pantone code will be matched exactly on thread.
- Choosing tone-on-tone because it looks refined in a render.
- Centring artwork on the flat file of a folded label.
- Approving the design on screen instead of on a woven sample.
Every one of these is settled before anything is woven. A label cannot be adjusted after the fact, only remade, which is why an hour spent adapting the artwork is worth more than any amount of care during production.
Doing it once pays for itself across every future order, because each new label then starts from artwork that is already known to weave.
One more rule that is easy to forget: design at the size the label will actually be. A mark built on a screen at 400% and only ever viewed large will surprise you at 25 mm in the hand. Set the artboard to the finished label size in millimetres, or at minimum print the file at 100%, cut it out and hold it against the garment before sending anything.
Why keep a label version of your logo?
The most useful habit is to stop treating the label as a place your existing logo has to fit, and start treating it as a version of the logo in its own right.
Think of it the way a typeface family works: the same identity, drawn differently for different sizes. Most established brands maintain exactly this: a simplified lockup used at small sizes and in woven form, alongside the full logo used everywhere else. Thin strokes are thickened, tiny elements dropped, gradients flattened to solids and the palette cut to two or three threads. It stays recognisably the same mark.
Creating that version deliberately, and keeping it on file, is far better than letting a supplier approximate one for you at sampling stage, because then you control what gets simplified. Do it once, keep it with your artwork files, and every future label order starts from something that already works.
Checking artwork with Labelwala
Woven and printed labels, made by us in Ahmedabad, Gujarat, for 25 years.
- Quotes: usually within 2 hours on a working day.
- Production: 7-10 days once artwork is approved. Rush jobs run 3-5 days.
- Minimum order: 1,000 pieces, counted per design rather than per order.
Send the artwork and the finished size and we will tell you what will and will not weave before anything is made. Flagging a hairline stroke or a gradient at quote stage costs nothing; discovering it on a sample costs a week.
We are rated 5.0 on Google from 27 reviews.
The short answer
A loom isn't a printer, so a woven label follows a few firm rules: keep text at roughly 2 mm or above (or go damask for finer), thicken hairlines, flatten gradients to solid colours, keep the palette tight since each colour is a thread, and send vector files with Pantone references and the exact size. Most logos need adapting, not redesigning, small tweaks that keep your brand recognisable while making it weavable. Then approve a sample. Send us your logo and we'll tell you exactly what to adjust for a clean woven result, and sample it before bulk.