In brief
A neck label sits inside the collar and carries only your brand mark, while a hem tag is a folded woven flag on the outside hem that shows branding when the garment is worn. Care labels go behind the neck label or in the side seam, and size tabs sit 5 to 10 cm above the bottom hem.
Walk into any clothing factory and you'll hear neck labels called "main labels," hem tags called "hem flags," and size tabs called "side seams." The names overlap and contradict each other depending on who you ask. Here's a clean reference for where each label actually belongs and what each one is for.
Neck label
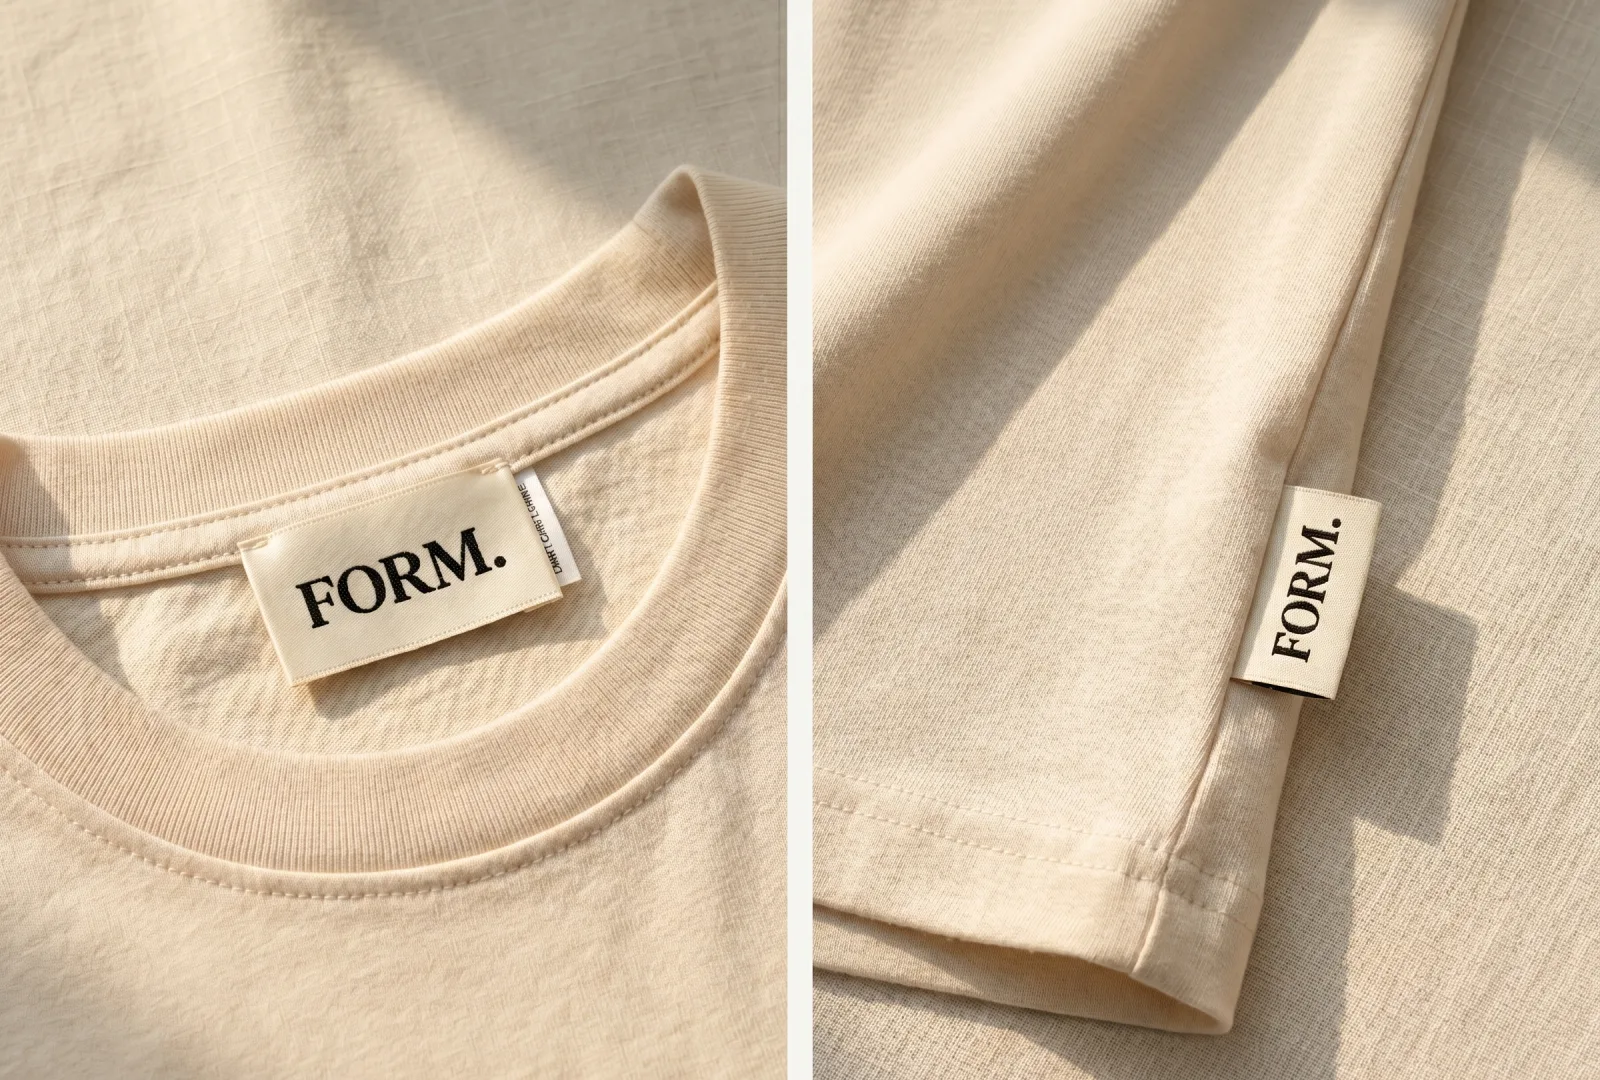
Inside the collar: your brand mark, the first thing the customer sees and feels.
Care label
Stitched behind the neck label or into the side seam. Wash, fibre, origin.
Side-seam size tab
Small printed XS/S/M/L tab: visible at the rack without lifting the collar.
Hem tag
Visible on the outside hem: branding when the tee is worn loose.
What is a neck label for, and where does it go?
The label stitched into the inside of the collar: the first thing your customer sees and feels. Its only job is to carry your brand identity: your logo, sometimes a tagline, sometimes country of origin.
Most common spec: 30×15mm to 50×25mm woven satin or damask, end-fold or centre-fold, stitched into the inside of the collar facing.
What goes on it: brand logo. That's it. Don't crowd a neck label with size, care, or composition, those go on separate labels behind it.
Where do care labels go, and what do they carry?
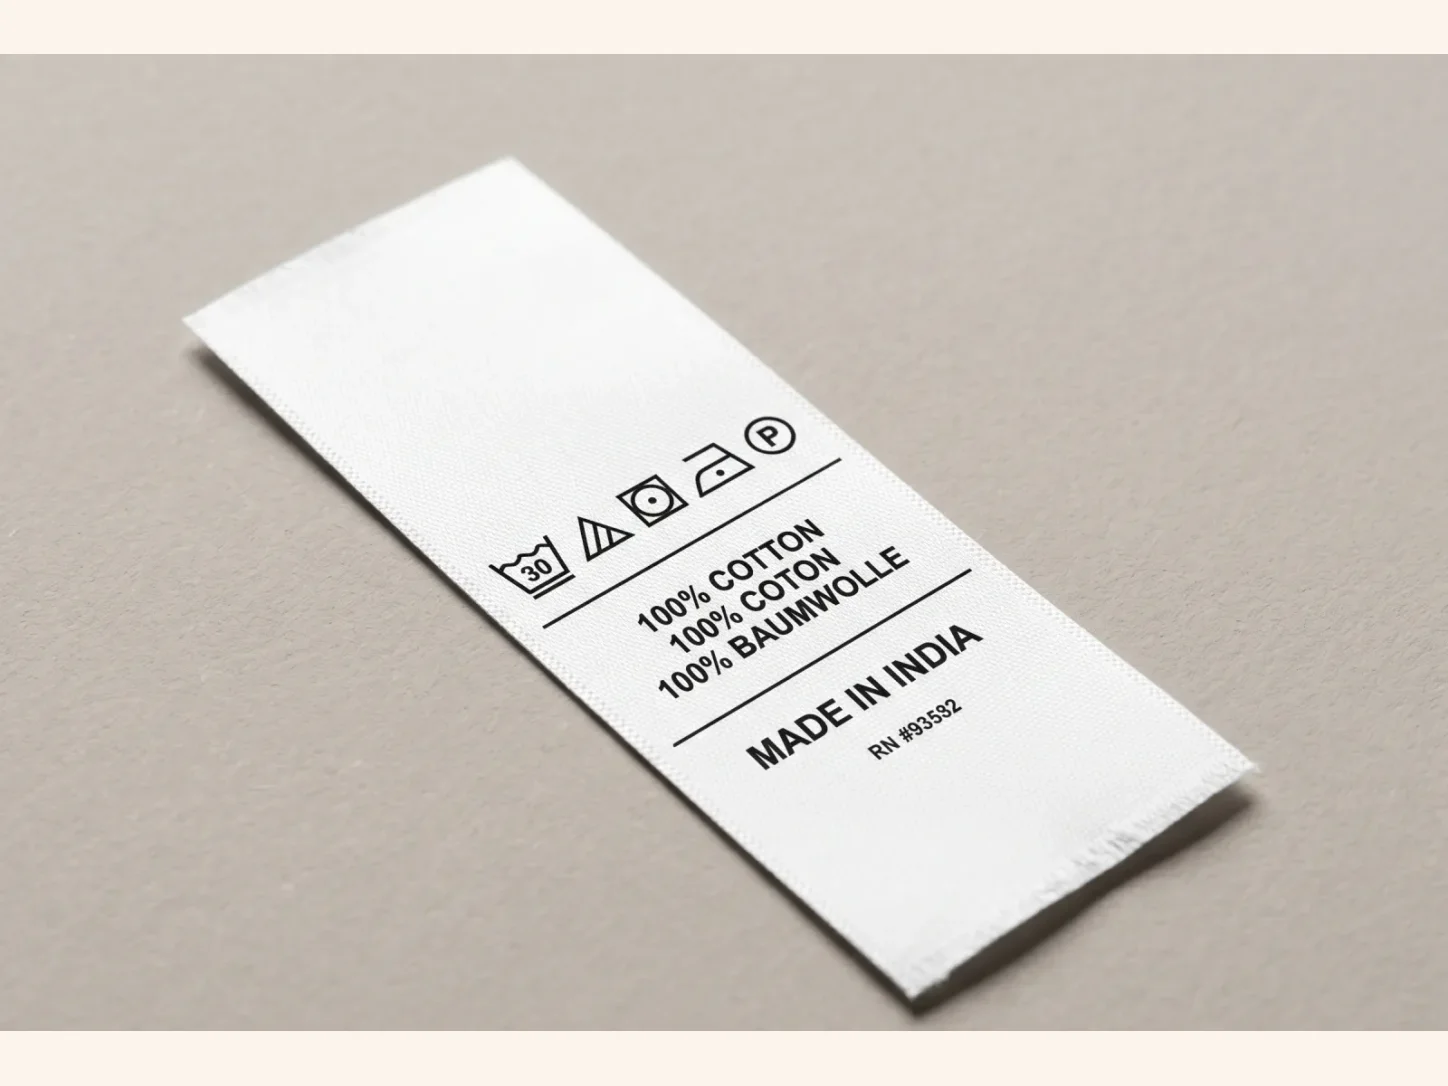
Stitched behind the neck label or into the side seam. Carries care symbols, fibre composition and country of origin. Required for retail and marketplace compliance: see our care label symbols guide.
Most common spec: printed satin or cotton tape, 25-35mm wide, multi-line layout to fit symbols + composition + origin.
What is a hem tag, and where does it go?
This is where it gets confusing. A hem tag (also called a "hem flag" or "design tag") is a folded label visible on the outside of the hem: usually on a tee, hoodie, or sweatshirt. The fold creates a small fabric tab that sticks out from the seam.
It's different from a neck label because it's external: visible to anyone, not just the wearer. Streetwear and skate brands love them; they double as branding when the garment is worn loose or untucked.
Most common spec: 25×40mm woven damask or satin, end-fold (single-fold), stitched into the side hem of a tee or sweatshirt.
Where do side-seam size tabs go?
Small printed labels stitched into the side seam, usually marking XS / S / M / L / XL. They exist because customers sort through racks holding the side seam, not the collar, sizes need to be visible quickly.
Most common spec: 15×30mm printed satin or taffeta, single-letter or two-letter size markers, stitched 5-10cm above the bottom hem on the side seam.
Hangtags (the unboxing)
The paper or fabric tag that hangs from a string, attached to the garment in retail. Comes off when the customer wears it. Carries brand story, price, SKU, washing tip: anything you want the customer to see before they wear it.
Most common spec: printed paper, 50×80mm to 60×100mm, looped through a buttonhole or stitched seam with a small string and seal.
Which combination should you start with?
For a typical D2C fashion drop, here's what most founders actually need:
- Neck label: woven satin, brand logo only.
- Care label: printed satin, wash symbols + fibre + origin.
- Hangtag: printed paper, brand colours + price + thank-you note.
That's it. Add side-seam size tabs later when you scale past 3 sizes. Add hem tags when your aesthetic genuinely calls for visible branding (streetwear / skate / unisex basics).
The trap: first-time founders often try to put everything on one combined label, brand + care + size + origin. It's cheaper and tidier in artwork, but it crowds the design and creates an itchy stack. Use 2-3 separate labels instead.
How does label position decide the fold?
Founders usually pick a label and then ask which fold to use. It works better the other way round: the position determines how the label can be attached, and that determines the fold.
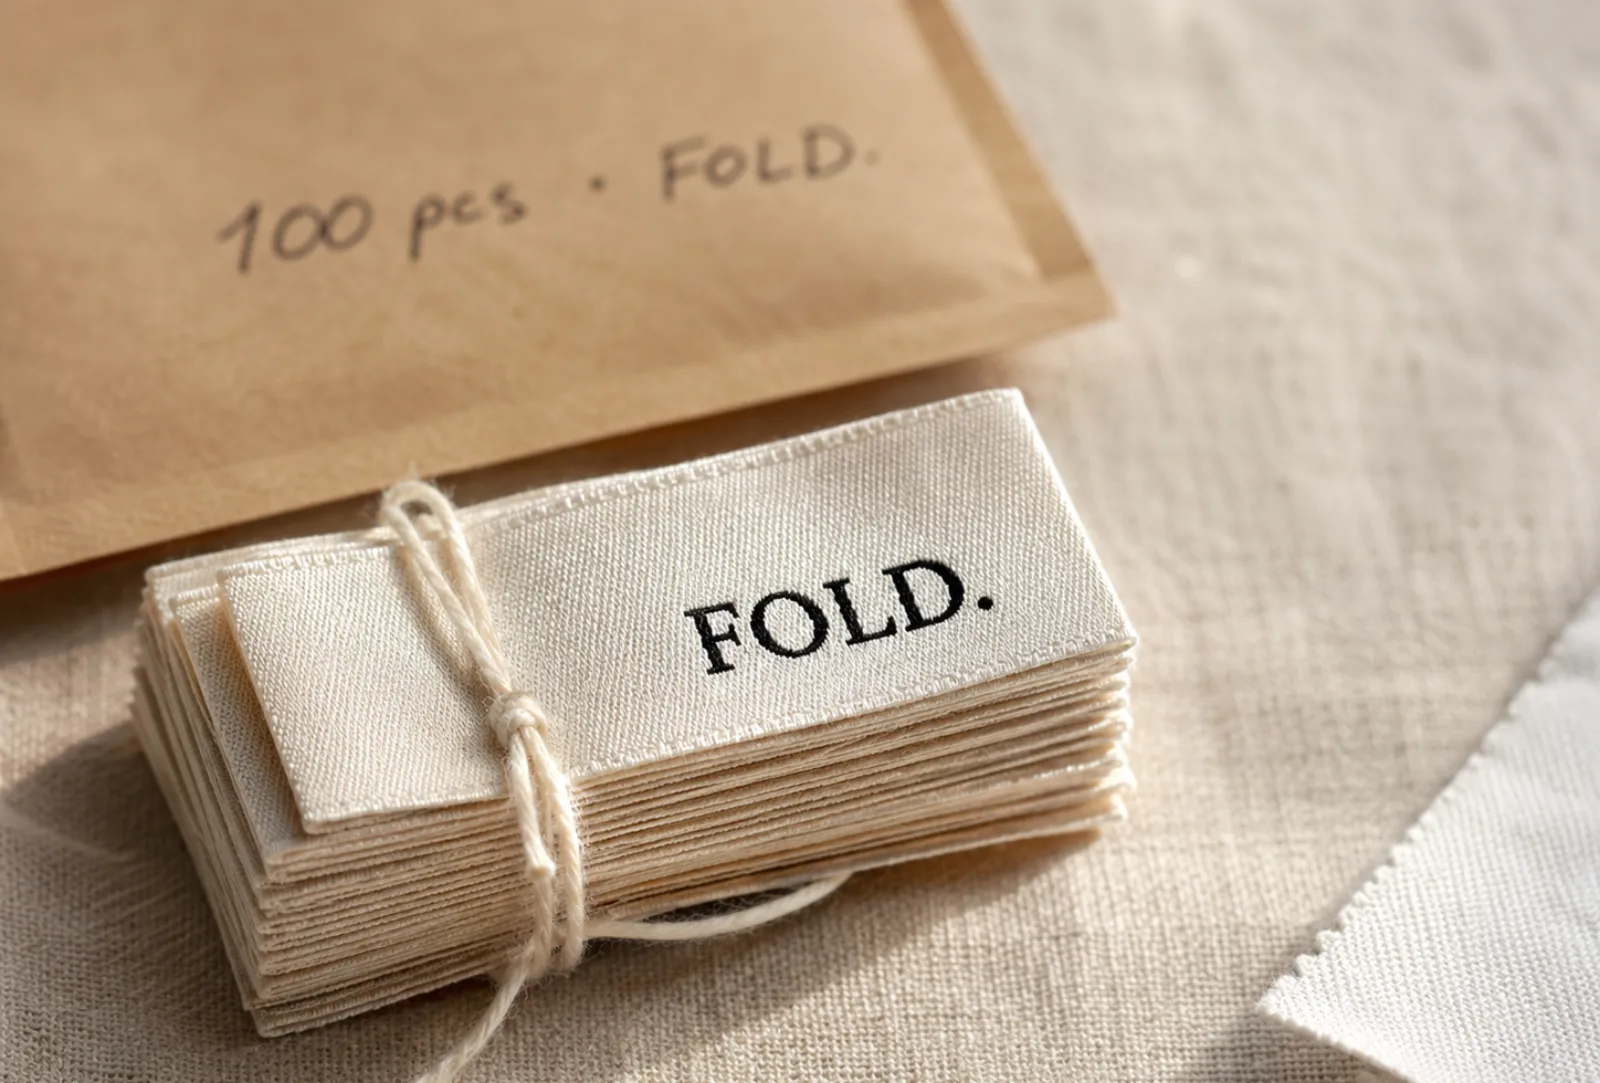
- Caught in a seam, both ends hidden: centre fold or loop fold. The two raw ends disappear into the seam and only the folded face shows. Standard for neck labels and size tabs.
- Sewn flat onto a panel: an end fold, where both short ends tuck under so there is no raw edge anywhere. Stitched on two or four sides.
- Sticking out of a hem: an end fold or single fold, sewn on one edge only, with the visible part hanging free. This is the hem tag.
- Fine or sheer fabric: a mitre fold, which reduces bulk at the corners so the label does not show through or drag the cloth.
The practical consequence is on size. A centre-fold label loses more than half its flat height to the fold, so a 20 mm visible neck label starts as a 40 mm-plus piece. Quote the finished size and say that it is finished, or you will get a label half the size you pictured. Our guide to fold types covers each one in detail.
Where each one actually sits
Vague placement is where good labels end up looking careless. These are the positions to specify:
- Neck label: centre back, caught in the neck seam or stitched to the collar facing just below it. Check it on your smallest size. The neck opening narrows but the label does not.
- Care label: behind the neck label, or in the left side seam roughly 10-15 cm above the bottom hem. Side seam is kinder for next-to-skin garments.
- Side-seam size tab: the same side seam, a little above the care label so both are findable in one motion.
- Hem tag: the wearer's left side seam by convention, a few centimetres up from the bottom hem, protruding 10-15 mm.
- Waistband label: inside centre back, below the waistband seam.
Whatever you choose, use the same position across the whole range. Someone comparing two of your garments should find the label in the same place on both, and retail staff handling hundreds of pieces rely on that consistency more than customers do.
On hem tags in particular, keep the protrusion modest. A tag standing 25 mm proud looks bold on a flat lay and catches on bag zips and car seats in real life, which is how it ends up half torn out.
Every position is a sewing operation
The label is the cheap part. What you are really adding when you add a position is a step on the sewing line, and that cost lands on your garment maker rather than your label invoice.
Some positions are nearly free because they ride along with a seam that was being sewn anyway, a neck label caught in the neck seam, a care label caught in a side seam. Others are a separate operation: a hem tag sewn into a finished hem, a label surface-stitched onto a panel, or anything requiring the operator to stop, position a small piece accurately and start again.
This is worth knowing before you design a five-label set. Two labels that ride along with existing seams cost almost nothing to attach. Four labels in four positions, two of them needing their own operation, is a measurable addition to your cost per garment and a measurable addition to the time per piece.
Ask your garment maker which positions ride along with existing seams before you finalise the set. It is a two-minute conversation that occasionally removes a label from the plan entirely.
When is the neck the wrong place for a label?
The inside collar is the default, not a rule, and there are cases where it is actively the wrong choice.
- Kidswear. A stiff tag at a child's neck is why the garment gets returned, or why a parent cuts the label out and the size information disappears with it. Move it to the side seam, or print it tagless.
- Next-to-skin and activewear. Anything tight at the neck amplifies whatever the label does. Tagless printing exists for exactly this.
- Fine knitwear and sheer fabric. A label with any body to it shows through from the outside and drags the cloth out of shape.
- Garments with no collar, trousers, skirts, vests. The waistband or side seam is the equivalent position.
In each case the information still has to exist somewhere. Moving a label is fine; dropping it because there was nowhere obvious to put it is what creates a compliance gap.
Other placements you'll occasionally see
- Yoke labels: stitched across the back yoke on shirting, visible when the shirt is hung open.
- Sleeve labels: outer label on jacket sleeves, common in technical wear and outerwear.
- Pocket labels: woven labels stitched into the inside of a back pocket on jeans.
- Waistband labels: for trousers and jeans, often woven jacquard for premium feel.
- Chest patches: separate piece, see woven patches.
Inside or outside is a positioning decision
Strip away the terminology and there are only two categories: labels the wearer sees, and labels everyone sees.
Inside labels, neck, care, size, are a private signal. They are how a customer experiences quality once the garment is theirs, and how they identify it a year later. Nobody else ever reads them.
Outside labels, hem tags, sleeve labels, patches, are public. They put your name on the garment out in the world, which is why streetwear leans on them heavily and why tailoring almost never does. An external tag reads as casual and contemporary; its absence reads as classic.
That is the real question behind "should I add a hem tag": not whether it looks good on a flat lay, but whether you want your brand visible on the garment while it is being worn. Both answers are legitimate. Choosing by trend rather than by positioning is what produces a heritage-styled shirt wearing a skate-brand hem flag.
Common mistakes
- Quoting a flat size when you meant the finished size, then receiving a neck label half the height you expected.
- Putting brand, care, size and origin on one label to save money, and creating a stiff stack in the neck.
- Designing placement around your largest size and finding it crowds the seam on the smallest.
- Adding a hem tag without asking your garment maker whether it needs its own sewing operation.
- Letting a hem tag protrude far enough to catch on bag zips and car seats.
- Using a different position on each style, so nothing in the range feels like a set.
- Putting a stiff woven label at the neck of a kids' or next-to-skin garment.
- Ordering labels for a position the factory then sews somewhere else, because nobody wrote the placement down.
The last one is the most common and the easiest to prevent. Placement is part of the specification, not something the sewing line should have to infer, write it down, with a measurement, and send it with the labels.
Getting a label set made at Labelwala
We make woven and printed labels in Ahmedabad, Gujarat, and we have been doing it for 25 years. Most orders are a set rather than a single label, because the pieces have to work together.
- Minimum order: 1,000 pieces per design. Quoting the whole set together is one job instead of three.
- Quotes: usually within 2 hours on a working day.
- Production: 7-10 days once artwork is approved. Rush jobs run 3-5 days.
- Care symbols: set to ISO 3758.
- Delivery: across India, depending on destination and consignment size.
Tell us the garment and the positions you have in mind rather than just the label sizes. The position determines the fold, and the fold determines the flat size we have to make, getting those in the right order at quote stage avoids the most common reason a first sample comes back the wrong size.
We are rated 5.0 on Google from 27 reviews.
What we would recommend
Start with three: a woven neck label carrying only your logo, a printed care label behind it or in the side seam, and a hangtag for the unboxing. That covers brand, compliance and retail presentation without crowding anything.
Add a side-seam size tab once you carry more than about three sizes, because that is the point at which customers start sorting racks by seam rather than by collar. Add a hem tag only if visible external branding is genuinely part of how your brand reads, and if it is, commit to it across the whole range rather than on one style.