In brief
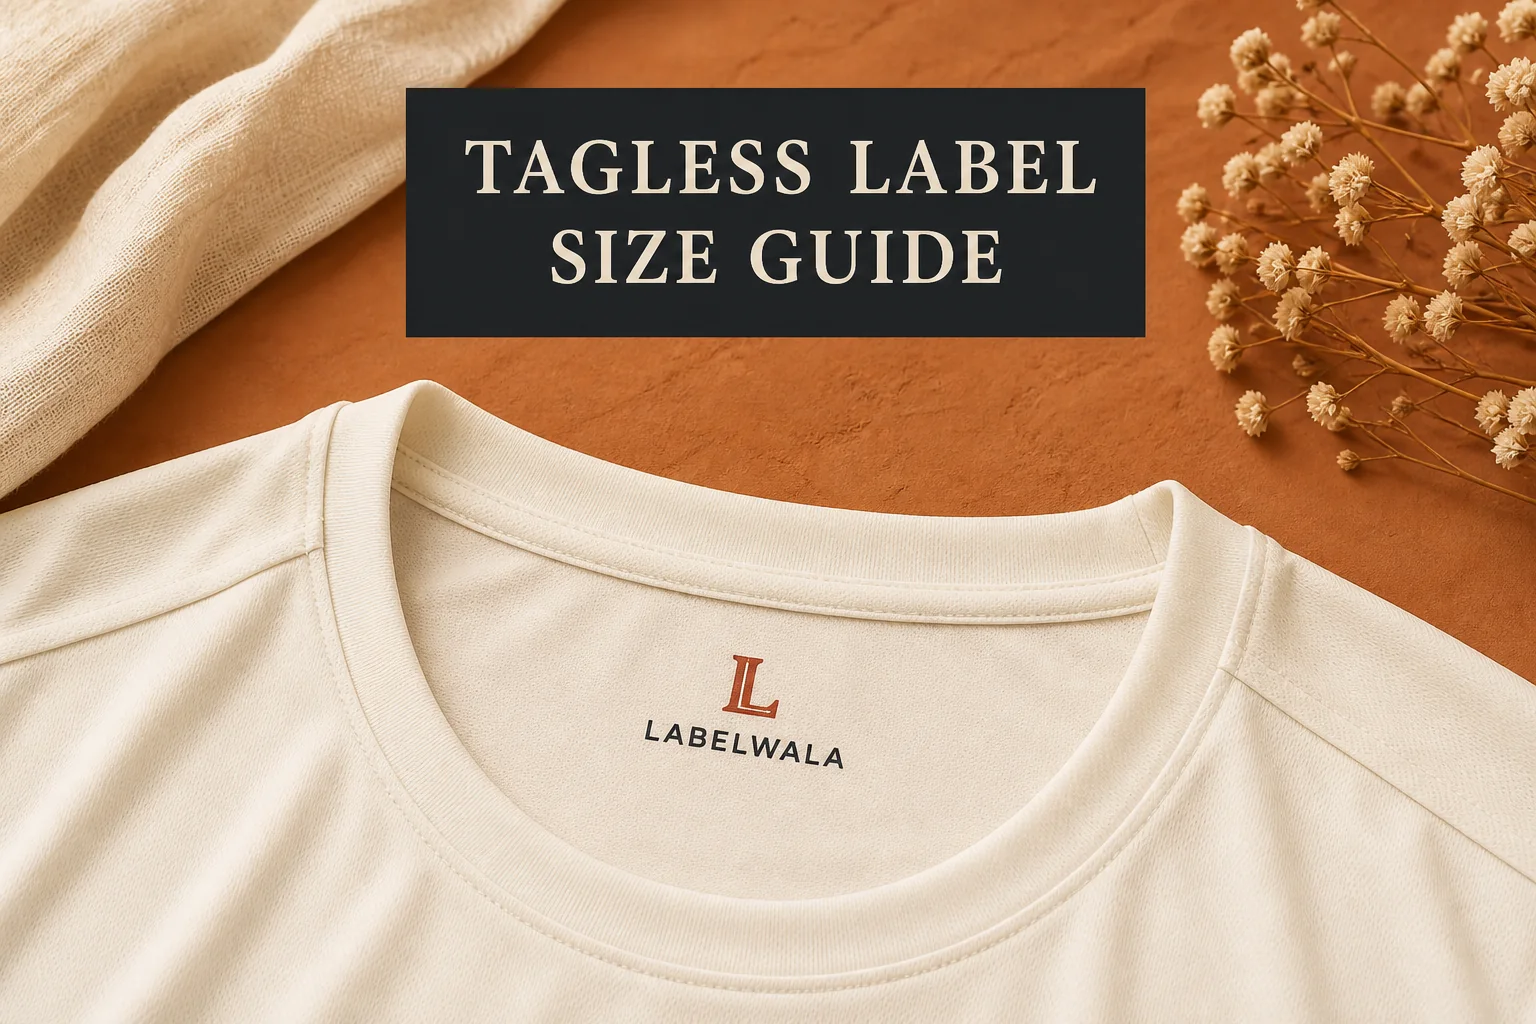
Most adult T-shirts start at 60 x 35 mm, rising to 75 x 45 mm for more detail, with 45 x 28 mm for kidswear, 55 x 30 mm for activewear and 40 x 25 mm for innerwear. Place the print 10 to 15 mm under the neck seam and keep 2 to 3 mm clear around the artwork.
Labelwala has made tagless heat-transfer labels in Ahmedabad since 2000, quotes within 2 hours on a working day, and ships to more than 20 cities across India and more than 15 countries.
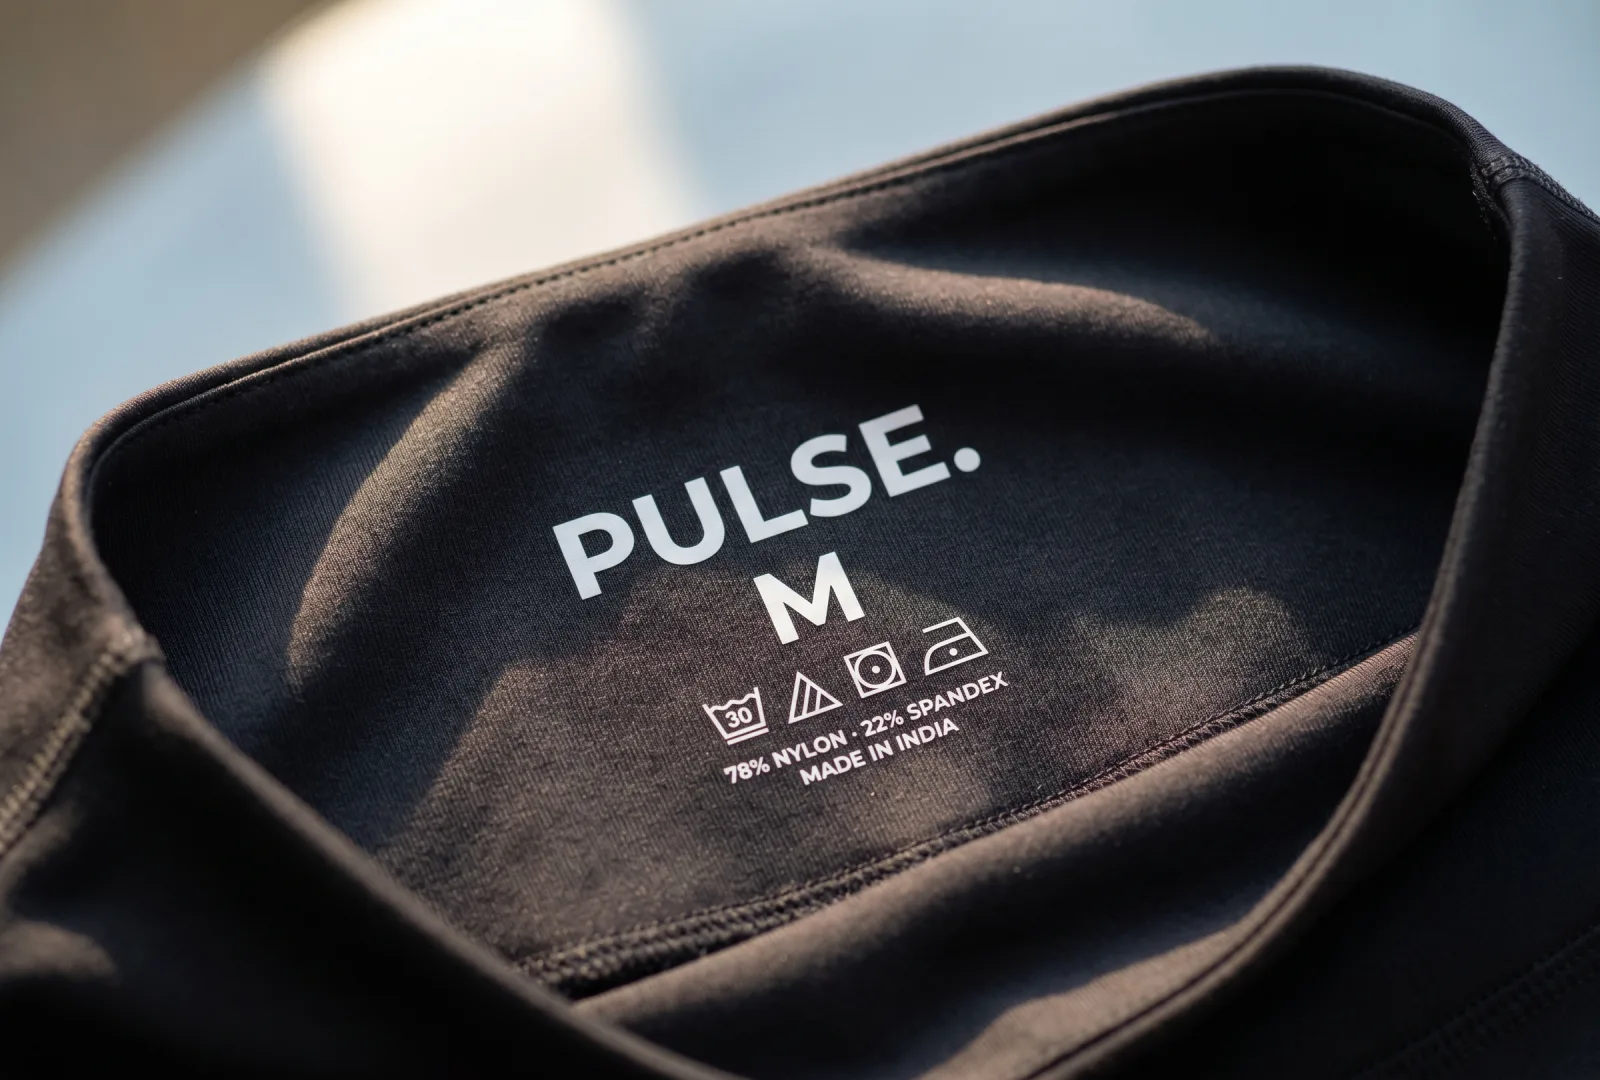
Tagless heat-transfer labels put brand, size and care information directly onto the garment fabric. Instead of sewing in a satin, woven or taffeta label, the information is applied with heat and pressure so it sits flat inside the neck, waistband or chosen placement.
The biggest advantage is comfort. There is no fabric label edge to rub the wearer, no loose corner to curl after washing and no extra tag bulk at the back neck. That is why tagless labels are common in T-shirts, activewear, innerwear, kidswear and soft loungewear. The trade-off is that the artwork, size and fabric compatibility must be planned carefully before production.
Our guide focuses on practical tagless label dimensions in millimetres: how large the print should be, where it should sit, how much safe space to leave, and when a separate care label is still the better choice. For a broader comparison of all label formats, read the complete clothing label size guide. Transfers press at roughly 150 to 170 °C for 8 to 15 seconds, and 100% polyester performance fabric needs a low-temperature transfer to avoid dye migration.
Size first
The print must be large enough to read but small enough to feel invisible.
Fabric matters
The right transfer depends on the garment fibre, stretch and wash process.
Test before bulk
A real heat-pressed sample confirms adhesion, comfort and legibility.
What are the standard tagless neck-print sizes?
Use these dimensions as a starting point, not a fixed rule. The best size depends on how much information you include, the garment size range, the fabric colour, the print colour and the brand style. A bold logo with one size letter needs far less space than a label carrying logo, garment size, care symbols, fibre content and country of origin.
| Garment or use | Recommended print area | Best use |
|---|---|---|
| Adult T-shirt | 60 x 35 mm | Logo, size and a short line such as Made in India. |
| Premium / detailed adult print | 75 x 45 mm | Logo plus size, care icons or fuller product information. |
| Kidswear | 45 x 28 mm | Compact logo and size where the neck area is smaller. |
| Activewear | 55 x 30 mm | Soft, lightweight neck print on stretch performance fabric. |
| Innerwear | 40 x 25 mm | Minimal brand mark, size and very short content. |
| Oversized / streetwear tee | 70 x 40 mm | Large visual brand mark on a relaxed neckline. |
| Waistband placement | 45 x 25 mm to 60 x 30 mm | Size, brand and batch information for bottoms or innerwear. |
If the artwork contains several lines of text, use the larger end of the range. If the artwork is a simple mark and one size letter, go smaller. A tagless label should feel visually balanced: visible enough for the customer to read, but quiet enough that it does not look like a large graphic printed inside the garment.
One useful starting point: for most adult T-shirts, 60 x 35 mm is the dependable first size. Increase to 75 x 45 mm only when the label genuinely needs more information.
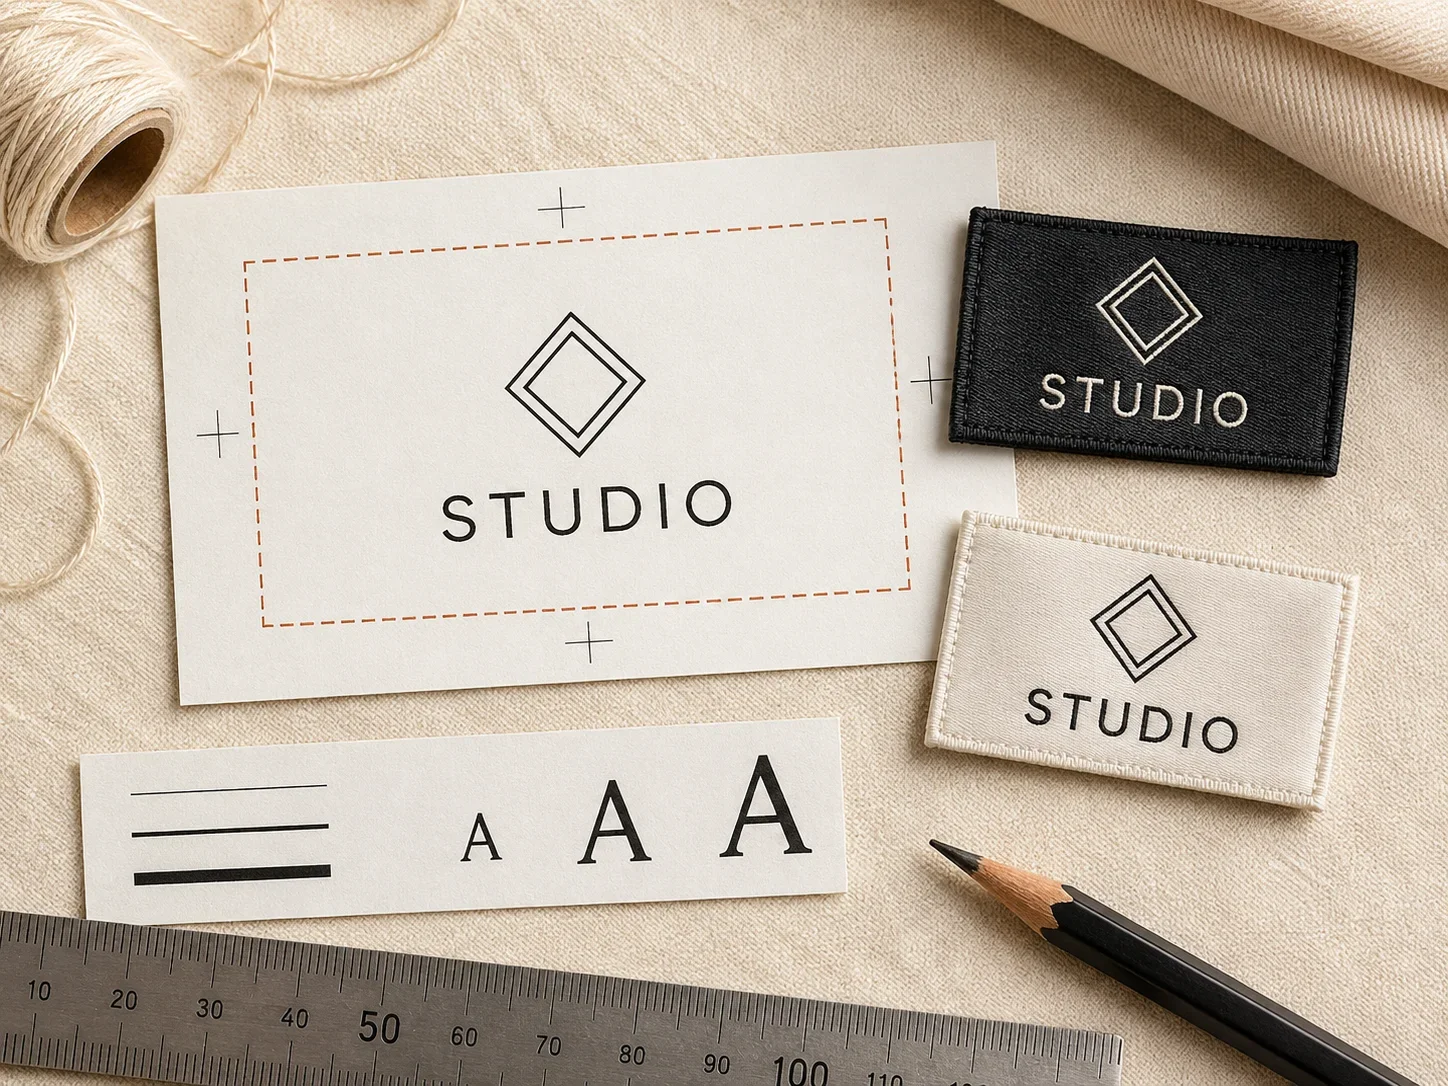
Unsure whether the size works? Set it in the free label designer: it shows your label at true size and warns when text drops under what a loom can weave.
What must the tagless print include?
Before deciding the size, list the content that must appear in the tagless print. Many brands try to make one neck print do every job: brand, size, fibre content, care symbols, country of origin, RN number, website, batch code and wash instruction. That usually creates a crowded label that is difficult to read at actual size.
- Brand name or logo: keep it simple, especially for small sizes.
- Garment size: make it easy to identify when sorting or wearing.
- Country of origin: include it when required for the product or market.
- Care symbols: use only when the print has enough room for clarity.
- Fibre content: keep type large enough to survive washing and stretch.
- Website or batch code: add only if the label still stays readable.
Every good tagless label has a clear hierarchy. The customer should see the brand and size first. Secondary information should be smaller but still readable. If every line is the same weight, the print can feel busy and less premium.
How far under the neck seam should the print sit?
Most tagless neck labels should sit about 10 to 15 mm under the neck seam. This keeps the print away from seam bulk, topstitching and rib binding. It also prevents the transfer from being partly hidden by the neck construction or sitting exactly where the seam rubs the body.
Inside the artwork, leave 2 to 3 mm of clear space around the outer edge of the design. This safe area gives production a little tolerance for alignment and prevents text from feeling cramped at the print edge. For small kidswear or innerwear labels, the safe area becomes even more important because every millimetre matters.
- Keep the design 10 to 15 mm under the neck seam for adult garments.
- Use 8 to 12 mm below the seam for smaller kidswear where the neck area is compact.
- Keep 2 to 3 mm clear around the artwork boundary.
- Do not place important text too close to curved neck binding.
- Check the print location on the smallest size in the garment range.
The smallest garment size usually decides the maximum safe print area. A neck label that looks balanced on an XL T-shirt may look too large on XS or kidswear. If your production covers a wide size range, consider two artwork sizes: one for smaller garments and one for larger garments.
What size suits activewear and stretch fabrics?
Activewear is one of the strongest use cases for tagless labels. Performance garments sit close to the body, stretch during movement and are often worn during sweat-heavy activity. A sewn neck label can feel irritating in that context, while a properly applied heat-transfer print stays flat.
For activewear, avoid oversizing the print. A 55 x 30 mm label is often enough for logo, size and a short care note. If the design includes multiple symbols, increase carefully and test on the actual fabric. The transfer must stretch and recover with the garment without cracking, peeling or feeling stiff.
- Use lightweight transfer material suitable for stretch fabric.
- Keep the design simple so the print area stays soft.
- Avoid large solid blocks that can feel plasticky against skin.
- Test the print while the garment is stretched horizontally and vertically.
- Wash-test before approving bulk production.
For very elastic fabrics, the print direction also matters. A wide design across the back neck stretches differently from a taller compact design. If your activewear uses high-spandex fabric, ask for a sample on the actual fabric roll instead of approving on a generic cotton swatch.
One activewear rule: the print must feel like part of the garment, not like a sticker. If it feels stiff on stretch fabric, reduce the print area or adjust the transfer type.
Why do kidswear and innerwear need smaller prints?
Kidswear and innerwear are sensitive categories because the garment often touches skin for long periods. The label should be easy to read for parents or wearers, but it should not dominate the neck area or add stiffness. For kidswear, 45 x 28 mm is a practical starting point. For innerwear, 40 x 25 mm is often enough.
Keep kidswear tagless artwork especially simple. A logo, size and one short line is usually better than a full information block. If care and fibre details are required, place them on a separate soft care label in the side seam or print them on packaging where appropriate for the product.
- Use rounded, open letterforms that stay readable at small size.
- Avoid tiny legal text in the neck print.
- Keep high contrast between print colour and garment fabric.
- Test comfort after washing, not only immediately after pressing.
- Check the smallest garment size first.
One common mistake is shrinking the adult label artwork for kidswear without redesigning it. The result is technically the same artwork, but the text becomes too small. Kidswear usually needs a simplified version, not a miniature copy.
Artwork rules for readable tagless prints
Tagless prints reward clean artwork. Because the print is applied directly to fabric, extremely fine detail, thin strokes and low-contrast colours can lose clarity. The fabric texture becomes part of the final result, especially on rib, jersey, melange, pique or brushed fabrics.
- Use vector artwork wherever possible.
- Keep the logo simple at small sizes.
- Avoid thin strokes below practical print tolerance.
- Use strong contrast: dark print on light fabric, light print on dark fabric.
- Do not rely on subtle gradients or photographic detail.
- Check text at the actual printed size, not only zoomed on screen.
For dark garments, white or light transfers are common, but opacity must be tested. For light garments, charcoal, black, rust, navy or brand colours can work well. If the print colour is too close to the garment colour, it may look premium in a mockup but become difficult to read in real life.
Keep the type practical
Small type is the first thing to fail on a tagless label. Use fewer words, slightly larger type and clearer spacing. If a line of text has to be reduced until it barely fits, the label size or content plan is wrong. A customer should be able to read the size and care basics without stretching the garment flat under bright light.
When should you use a separate care label?
Tagless does not always mean every label should disappear. Many brands use a tagless neck print for comfort and a separate side-seam care label for detailed compliance information. This gives the customer a soft neck feel while still keeping fibre content, wash symbols and legal information readable.
- Use tagless alone when the garment needs only brand, size and minimal care content.
- Use tagless plus care label when fibre content, symbols or multilingual details are required.
- Use a sewn label instead when the fabric cannot accept a durable heat transfer.
- Use packaging or hangtags for marketing content that does not need to sit inside the garment.
For export orders, uniforms, kidswear and regulated product categories, do not squeeze mandatory information into a tiny neck print just to avoid a care label. A readable side-seam care label is often the more professional solution.
The cleanest setup: tagless neck print for brand and size, separate care label for detailed wash and fibre information.
Fabric compatibility and heat-press testing
Every tagless label is only as good as its bond to the fabric. Different fabrics react differently to heat, pressure and transfer material. Cotton jersey, polyester performance fabric, cotton-spandex blends, rib knit, modal, viscose and brushed fleece all need different checks. Typical transfers press at 150 to 170 °C for 8 to 15 seconds, and 100% polyester performance fabric needs a low-temperature transfer to avoid dye migration.
The sample should be pressed on the actual garment fabric wherever possible. A transfer that looks perfect on plain cotton may behave differently on high-stretch activewear or textured rib. Heat can also affect delicate fabric finishes, so the test should confirm that the garment itself is not scorched, flattened, shiny or distorted.
- Confirm the fabric composition before choosing the transfer type.
- Test heat, pressure and dwell time on the real fabric.
- Check stretch recovery after pressing.
- Wash-test for cracking, peeling and fading.
- Check whether the print edge can be felt against skin.
For large orders, keep a record of the approved press settings and transfer material. This makes repeat orders easier and reduces the chance of variation between batches.
Sample approval checklist
Digital proofs confirm layout; pressed samples confirm the product. Do not approve a tagless label only from a PDF or mockup. The final result depends on heat, pressure, fabric, colour and wash behaviour.
- Is the print centred and positioned consistently under the neck seam?
- Is the size readable without stretching the garment?
- Does the print feel soft against skin?
- Does the transfer bond fully at the edges?
- Does the print stretch and recover with the fabric?
- Does the colour remain readable after washing?
- Does the garment fabric show shine, scorch marks or pressure marks?
- Are all care symbols and text large enough at actual size?
For a first order, press samples in at least two garment sizes if possible: the smallest size and a middle or large size. This catches placement problems early. A label that sits correctly on medium may be too close to the seam on kidswear or extra-small garments.
Tagless versus sewn-in labels
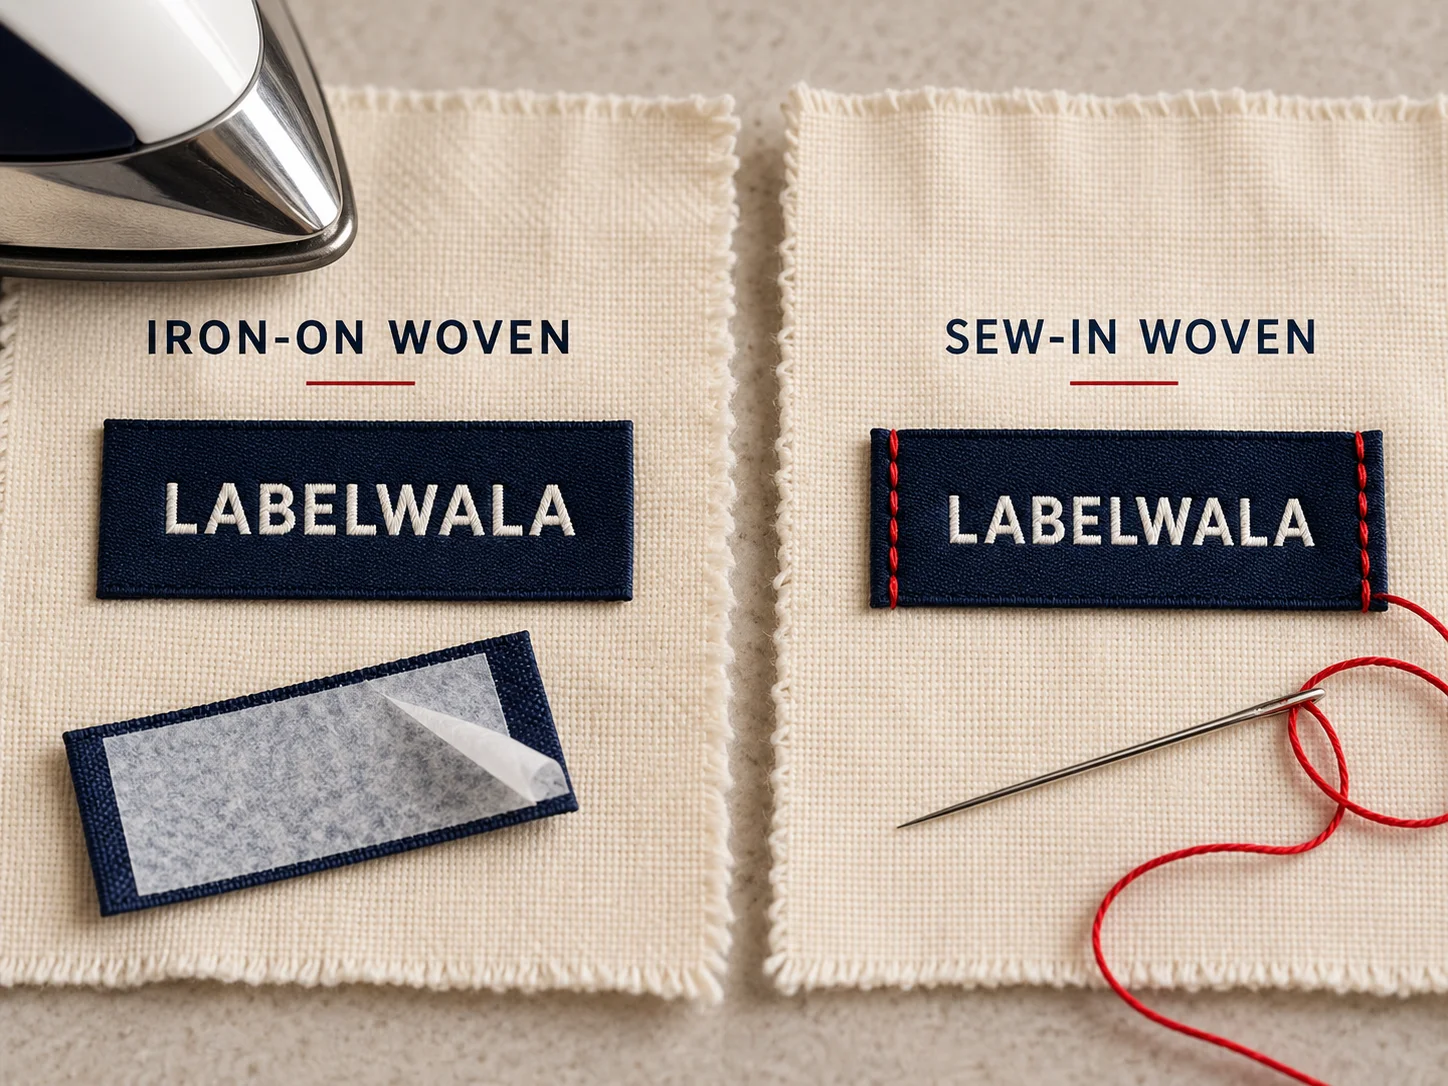
Tagless labels and sewn-in labels solve different problems. A tagless print wins on comfort and minimal bulk. A woven, satin or taffeta label wins when you want texture, premium tactile branding, easy reordering independent of garment fabric, or detailed care information that stays separate from the garment surface.
- Choose tagless for comfort-led T-shirts, activewear, innerwear and soft basics.
- Choose woven labels when the brand wants texture, dimension and a premium sewn detail.
- Choose printed satin when you need detailed care information on a soft sewn label.
- Choose taffeta care labels for durable wash-care information at scale.
The best result is often a combination: tagless for the neck and a separate side-seam care label for technical information. That gives comfort where the garment touches skin most and clarity where the customer expects care details.
What affects cost and lead time?
Tagless label cost depends on transfer type, print size, colour count, artwork complexity, order quantity and whether pressing is done by the label supplier or garment unit. A larger print uses more transfer material and may need more careful application. Multiple colours or special effects can add setup complexity.
- Print area: larger labels cost more and may feel less soft.
- Colour: single-colour prints are usually simplest and cleanest.
- Fabric: difficult stretch or textured fabric may require more testing.
- Quantity: higher quantities usually improve per-piece pricing.
- Sampling: physical samples add time but reduce risk.
- Application: in-house pressing and outsourced pressing have different workflows.
Do not reduce cost by making the label too small to read. A tagless print is part of the customer experience. If it cracks, peels or looks unclear, the garment feels lower quality even if the rest of the product is well made.
How to brief your supplier
Clear briefs help the supplier recommend the right transfer type and label size. Share the garment category, fabric composition, garment colour, label placement, artwork, quantity and whether the print will carry only branding or care information too.
- Label type: tagless heat-transfer neck print.
- Final print size in millimetres.
- Garment type and size range.
- Fabric composition and stretch percentage if known.
- Garment colour and desired print colour.
- Artwork file, preferably vector.
- Placement distance under the neck seam.
- Quantity, sampling requirement and wash-test expectation.
One useful one-line brief is: "Tagless heat-transfer neck label, 60 x 35 mm, black print on cream cotton T-shirt, placed 12 mm under back neck seam, logo plus size and Made in India." That gives production enough information to quote and sample properly.
Common mistakes to avoid
- Using one adult artwork size across kidswear without simplifying it.
- Putting too much care and fibre information into a small neck print.
- Choosing low-contrast colours that look subtle but read poorly.
- Approving a digital mockup without a pressed sample.
- Using a large solid print that feels stiff on stretch fabric.
- Placing the print too close to the neck seam.
- Ignoring wash testing before bulk production.
Most tagless problems are planning problems. The print is either too large, too small, too detailed, too close to the seam or not tested on the real fabric. Solving those issues at sample stage is far easier than correcting a finished bulk run.
Final recommendation
For most adult T-shirts, start with a 60 x 35 mm tagless neck label placed 10 to 15 mm under the neck seam. Use 55 x 30 mm for activewear, 45 x 28 mm for kidswear and 40 x 25 mm for innerwear. Increase the size only when the information genuinely needs more room.
Keep the artwork simple, leave safe space, test on the real fabric and use a separate care label when detailed information would crowd the neck print. A good tagless label should almost disappear during wear while still making the brand and size easy to read.
Getting tagless labels made at Labelwala
We make woven and printed labels in Ahmedabad, Gujarat, and we have been doing it for 25 years. Tagless transfers are sampled on your actual garment fabric, because the bond and the hand feel change with the cloth.
- Minimum order: 1,000 pieces.
- Quotes: we usually reply within 2 hours on a working day.
- Production: 7-10 days once artwork is approved. Rush jobs run 3-5 days.
- Shipping: pan-India to 20+ cities and export orders to 15+ countries.
- Experience: making labels in Ahmedabad since 2000.
- Shrinkage: polyester satin and woven labels move under 1% in a hot wash; untreated cotton tape can shrink 3 to 5%.
We are rated 5.0 on Google from 27 reviews. For tagless labels, approve a pressed and washed sample, never a PDF alone.