In brief
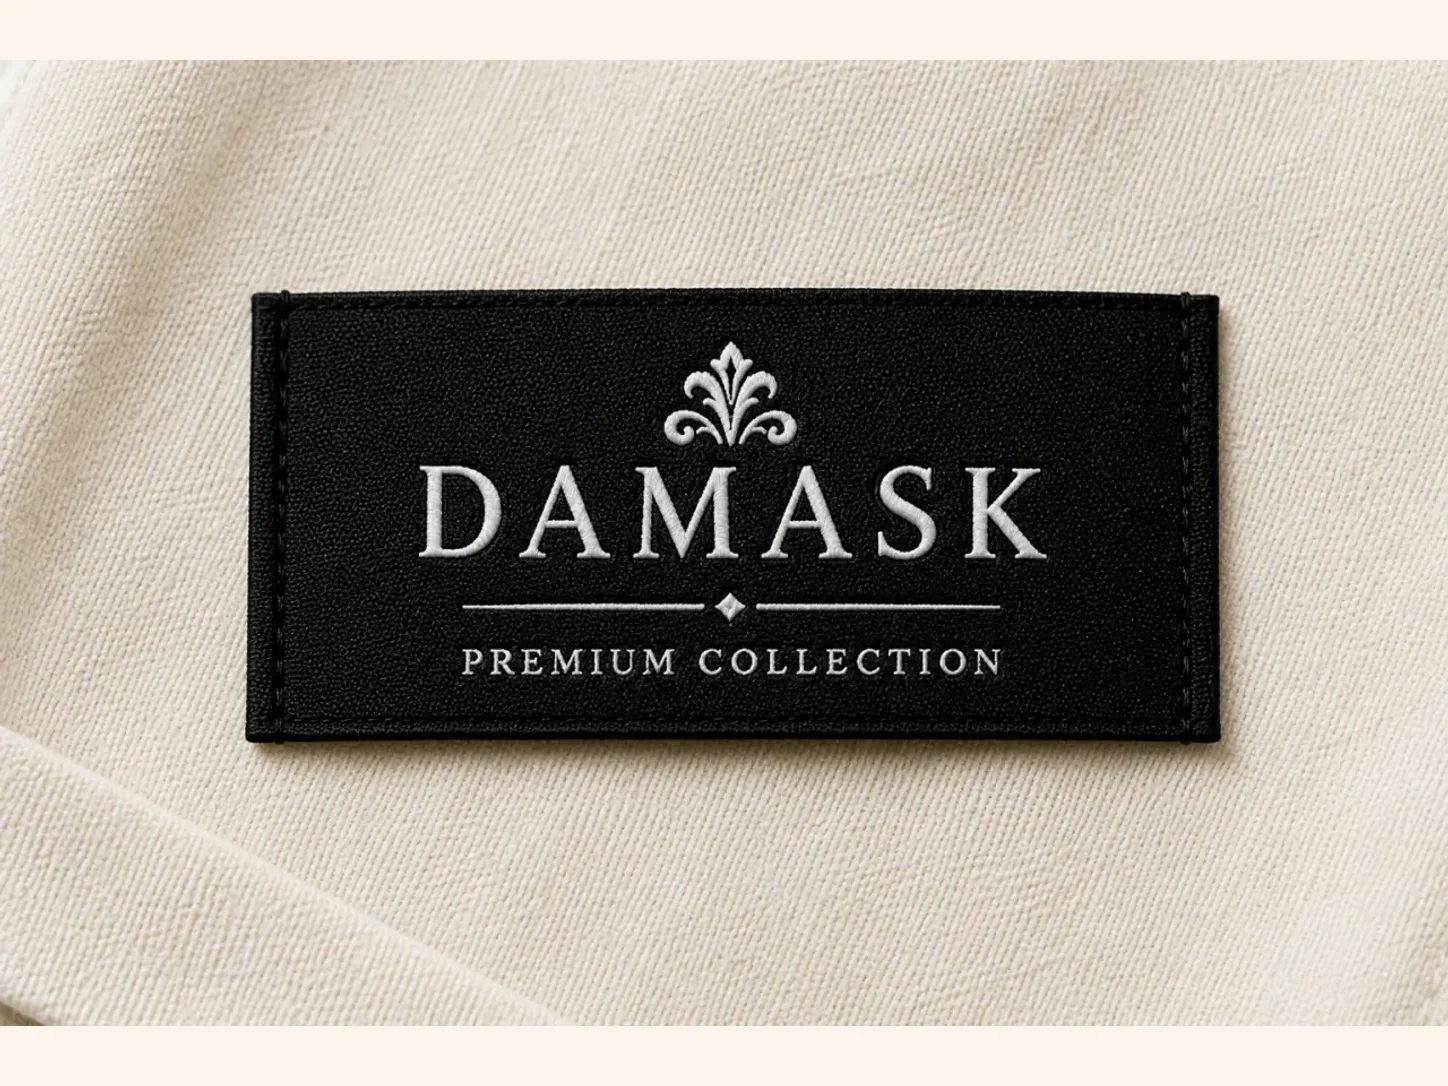
A no fold label is a flat, straight-cut label with no turned ends, so the whole cut panel stays visible for artwork or information. It suits care labels, size labels, uniform information labels and flat brand labels stitched on all four sides, with a hot-cut, ultrasonic, woven or stitched edge chosen to suit the material and placement.
A no fold label, also called a straight-cut or flat label, is supplied as one flat piece. Unlike an end fold label, the two short ends are not turned to the back. The edges are cut, sealed or finished according to the material and the label is then sewn, inserted or attached where it is needed.
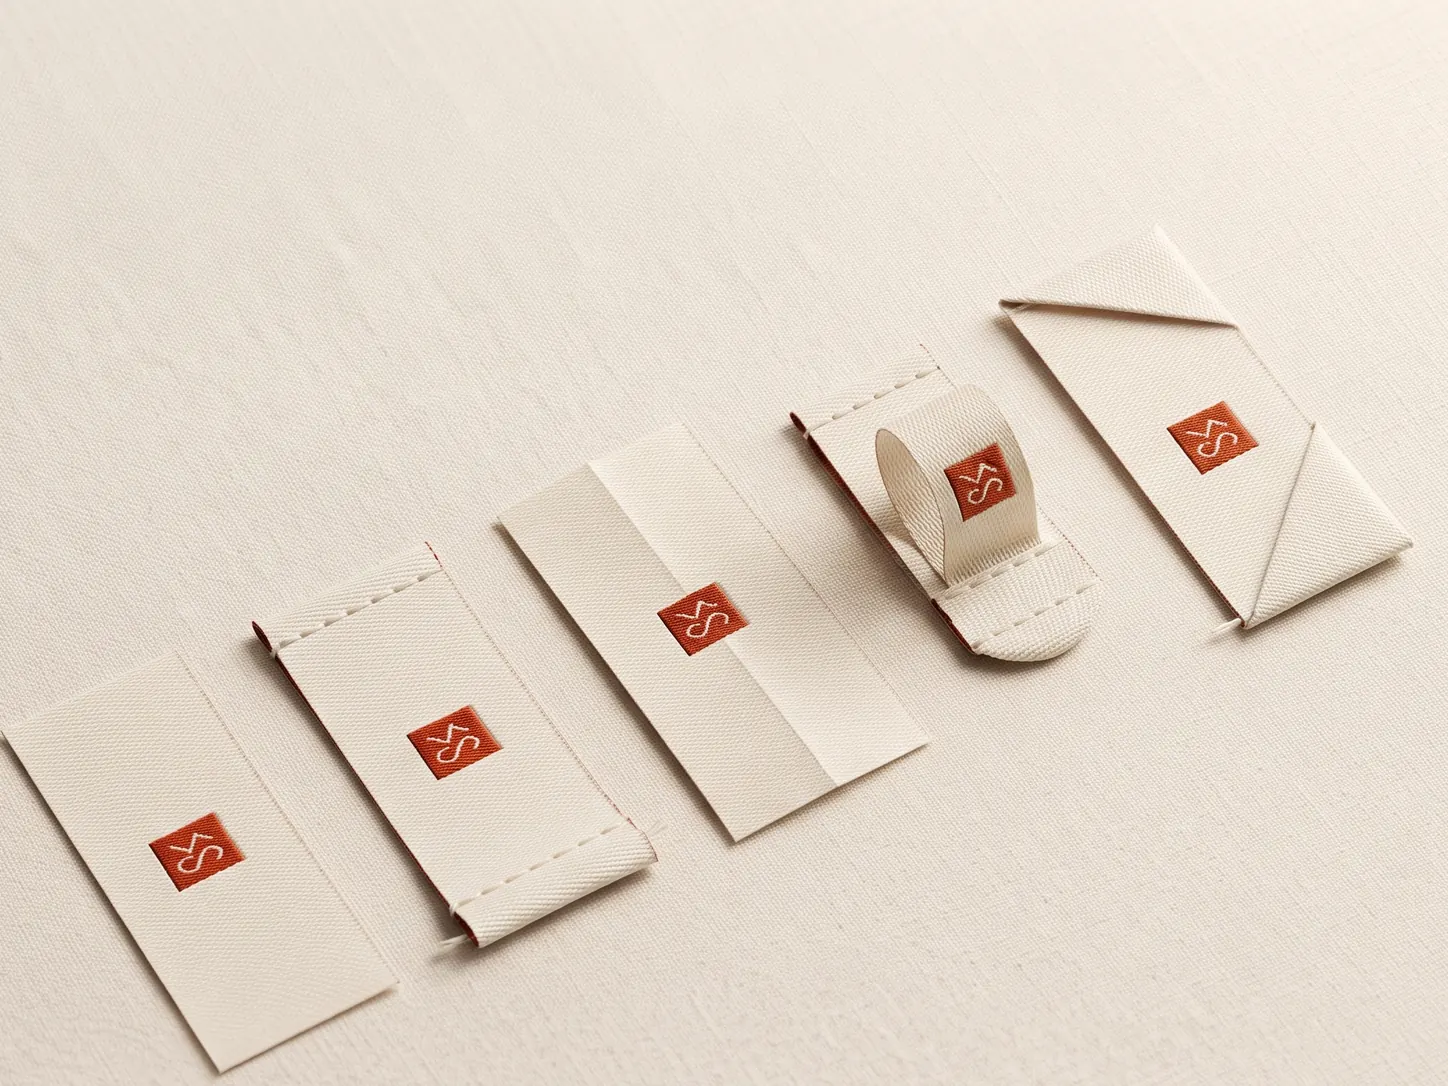
This uncomplicated construction makes no fold labels useful across care labels, size labels, brand patches, uniforms and product information labels. The choice is less about right or wrong and more about where the label will sit, what must be printed on it and how it will be attached.
Flat format
No hidden fold allowance. The full label size is available for artwork or information.
Simple finish
Cut, sealed and ready to sew, insert into a seam or stitch around the edge.
Versatile use
A practical option for care, size, information and flat brand labels.
What does no fold mean?
No fold means exactly that: the label remains flat from edge to edge. There is no folded attachment area and no hidden side section. Your visible artwork area is the cut size of the label, less the small safe space you leave for the edge and stitch line.
For woven or satin labels, a proper edge finish matters. A heat-sealed, hot-cut or ultrasonic edge prevents fraying. For cotton and some other natural materials, an edge may be stitched, overlocked or intentionally left with a crafted finish depending on the product.
The full panel stays visible
With a folded label, part of the original width becomes an attachment tab. With no fold, the whole panel remains visible. This is useful when the label needs several wash symbols, fibre information, a barcode, a QR code, multiple sizes or more than one language. It also makes the final dimension easier to communicate: the cut size is the size the customer sees.
See this fold with your own artwork. The free label designer draws the flat piece, the turn-under and the visible face at true size, for every fold on this page.
How do you plan the size of a no fold label?
Start with the information that must fit. A simple brand mark can work on a compact flat label. A care label with wash symbols, fibre content and country-of-origin information needs more height and must remain readable after it is sewn into the garment.
- State the final cut width and height in millimetres.
- Confirm whether the label will be visible on one side or both sides.
- Leave a safe margin around every edge for cutting and stitching.
- Check type at actual size, especially numbers, wash symbols and multilingual text.
- Use a separate size tab when forcing sizes into the care label would make it crowded.
Useful rule: a flat label has no fold allowance, but it still needs a production margin. The artwork should never run into the cut edge or a future stitch line.
Where are no fold labels used?
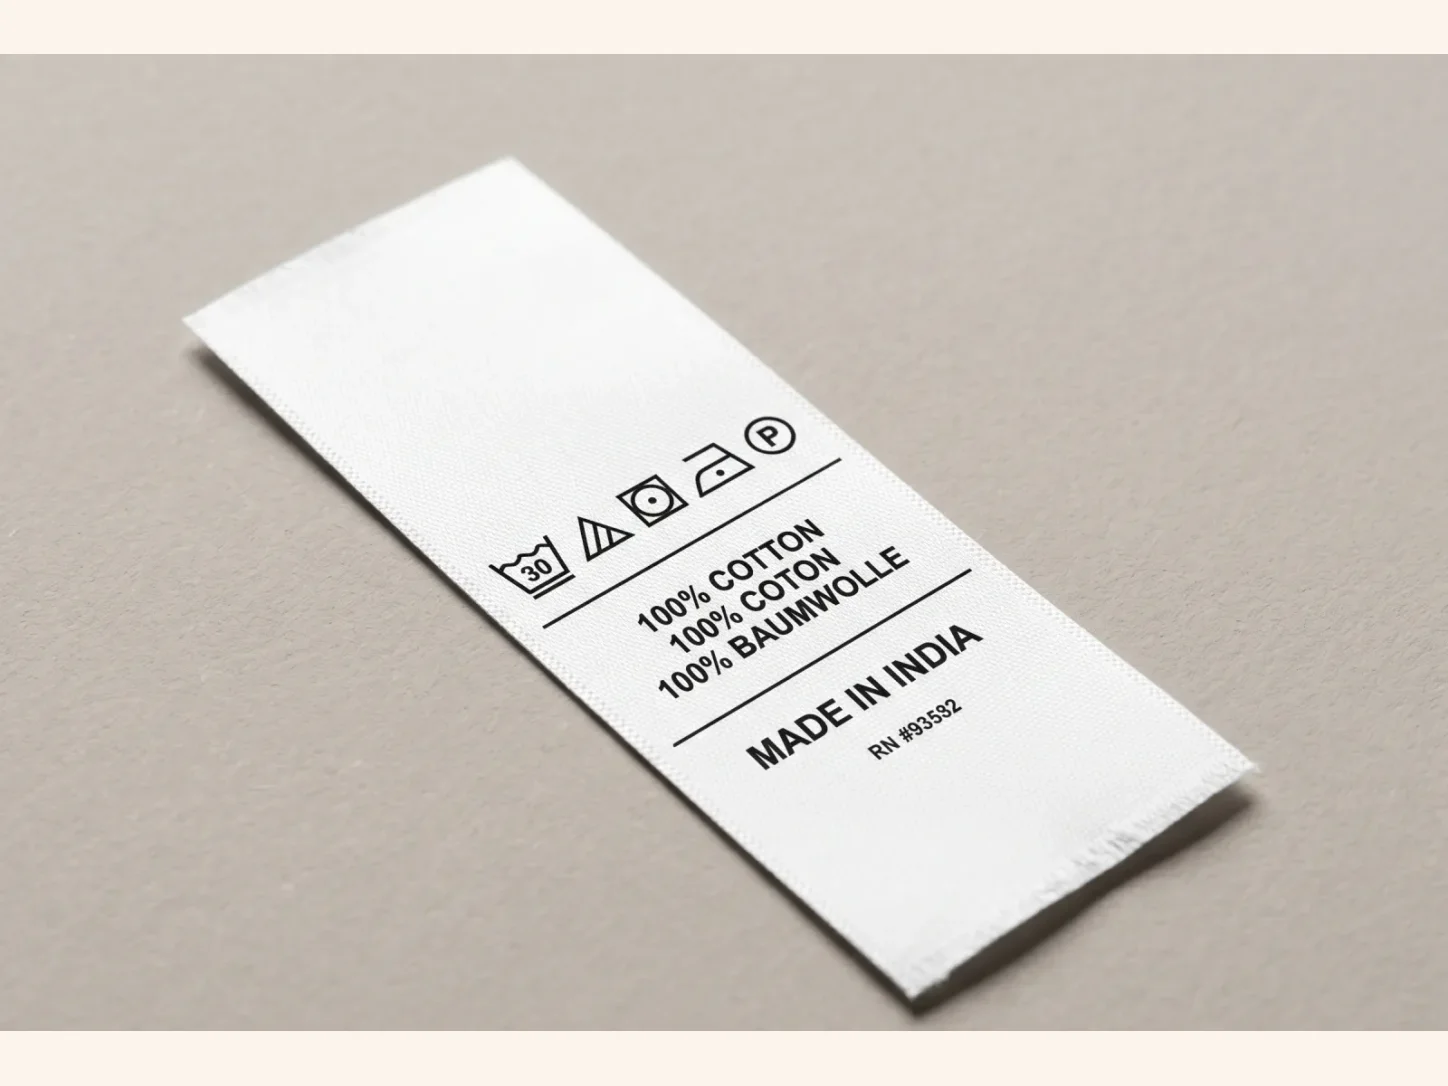
- Care labels: fibre content, wash symbols, country of origin and care instructions.
- Size labels: flat labels for XS to XXL sizing or garment measurements.
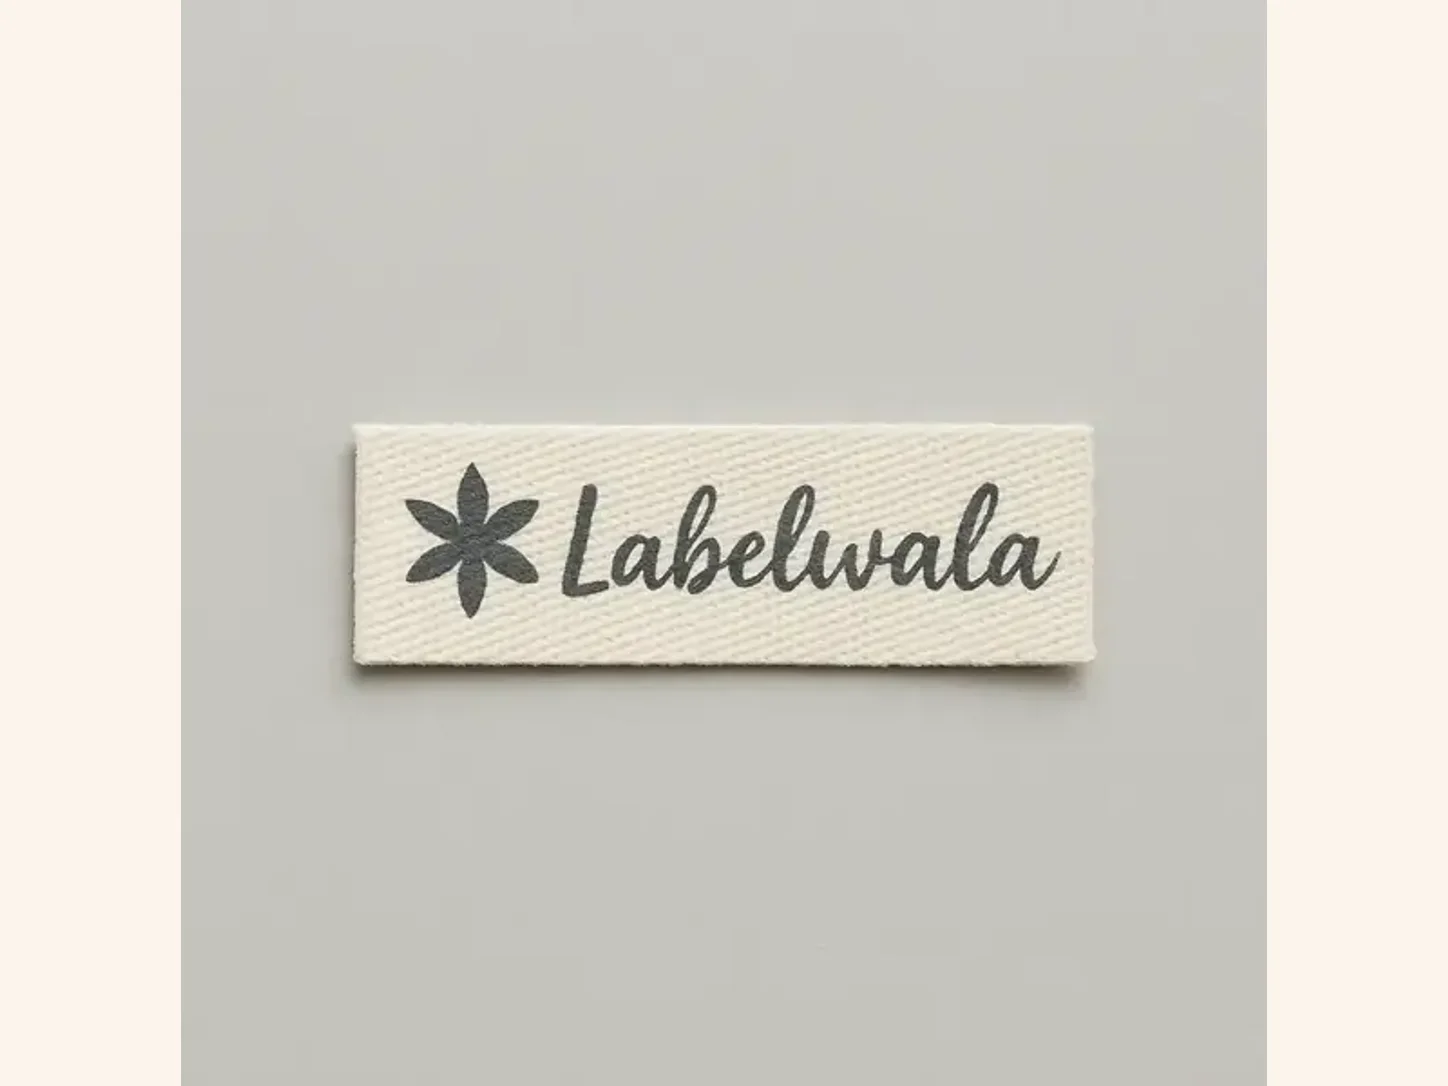
- Flat brand labels: labels sewn on all four sides inside a garment or onto a product.
- Uniform and workwear labels: practical information labels where clarity matters most.
- Packaging and accessory labels: labels placed on pouches, bags, towels and non-apparel products.
For a main centre-back neck label, no fold can work well when the chosen material is soft and the edges are smooth. If you want a more hidden-edge, retail neck-label look, end fold is usually the more polished alternative.
When should you choose no fold over end fold?
A no fold label keeps the full panel flat. An end fold label uses part of the left and right edges as hidden attachment tabs. The practical difference is how the edge looks and how much of the label remains visible after it is sewn.
- Choose no fold when you need the full flat panel for care text, measurements or a label stitched around its edges.
- Choose end fold when you want hidden short edges and a cleaner neck-label finish.
- Choose centre fold when the label belongs in a hem or side seam and two sides may be visible.
Easy decision: care information needs a flat no fold label; a premium centre-back brand label usually benefits from an end fold.
What are the artwork rules for a flat label?
Although a no fold label gives you more visible area, the edge is still a production zone. Keep a safe margin around the logo, text, QR code or wash symbols so that cutting and stitching do not make the artwork feel crowded.
- Keep small text, borders and symbols inside a clear safe area.
- Avoid hairline borders directly at the cut edge.
- Confirm whether the label will be stitched on two sides or all four sides.
- Use readable text at actual label size, particularly on care instructions.
- Ask for a proof showing the final cut size and stitch area.
Design for a real garment, not only a screen
Artwork that looks generous on a large monitor can become difficult to read on a small label. Keep information in a clear order: logo or brand first, then size or care content. When several languages or wash symbols are needed, give the label enough height rather than reducing every line to tiny type.
Which materials work best for no fold labels?
- Printed satin: soft against skin and good for detailed care information or full-colour artwork.
- Woven damask: suitable for a simple logo, crisp linework and a premium textured finish.
- Nylon taffeta: useful for wash care and information labels where durability is important.
- Cotton: a matte, natural choice for handmade, organic or craft-led brands.
Material should match placement. A care label in a side seam can be more practical than a neck label, while a neck label needs special attention to softness and edge finish.
Pick the material by placement
For a label that touches bare skin, feel and edge softness come first. For a side-seam care label, legibility and wash durability usually matter more. For a flat outer brand patch, a firmer woven material can give the product more structure. The same artwork may need a different base material for each use.
Which edge finish should a no fold label have?
Because a no fold label leaves its edges visible, the edge finish is part of the final look and feel. It should be agreed before bulk production, particularly for labels used at the neck or on lightweight garments.
- Hot cut: a heated blade cuts and seals synthetic fibres in one step; practical for many satin and taffeta labels.
- Ultrasonic cut: cuts and seals with vibration; often gives a cleaner, softer edge for synthetic label materials.
- Woven edge: a finished loom edge that suits some woven label formats and can feel less sharp.
- Stitched edge: suitable for cotton or fabric labels where a sewn, crafted finish is part of the design.
Ask to see the actual edge close-up in a sample. A cut edge may look fine in a flat proof but can feel different once it is against the wearer’s skin.
How should a no fold label be attached?
Attachment depends on the garment and label purpose. Care labels are commonly caught into a side seam or stitched along one edge. Flat brand labels are often stitched on all four sides. A light neck label may be stitched along the top and bottom, but the edge finish must be comfortable because the side edges stay exposed.
Always approve a sewn sample when the label touches skin, sits on stretch fabric or carries fine text. This checks that the label lies flat, the stitches do not cover important content and the edge feels right after washing.
Choose the stitch plan before finalising artwork
- Two-side stitch: useful for a care label or a lightweight label that should open like a small tab.
- Four-side stitch: keeps a flat brand label firmly in place and prevents the corners lifting.
- Side-seam insertion: keeps most care information inside the garment seam and reduces visible stitching.
- Top-and-bottom stitch: can work at the neck when the label is soft, flat and comfortably finished.
Do not place a border, logo detail or tiny text where the stitching will pass. Give the sewing operator a clear attachment zone in the approved artwork.
Which garments suit a no fold label?
The placement and garment construction should lead the decision. A no fold label is not one fixed product: the same flat format can be a soft care label in one garment and a durable information label in another.
- T-shirts and casualwear: use a soft printed satin or a finely finished woven label when it will touch the neck. Keep the design simple and check the edge after washing.
- Denim and outerwear: a firmer flat woven label can work well, especially when it is stitched securely on all four sides or used as an internal information label.
- Kidswear and babywear: prioritise softness, smooth edges and clear care information. Test the label against skin and avoid sharp hot-cut edges in sensitive placements.
- Uniforms and workwear: choose a durable base and clear type. No fold labels are helpful for name, size, care and tracking information that needs to stay legible through frequent washing.
- Activewear and stretch fabric: test the label while the garment is stretched. The label should not restrict recovery or cause the fabric to pull around the stitch line.
When the garment construction does not support a flat panel, choose another fold rather than forcing it. A centre fold or loop fold is a better solution for a label that must sit inside a narrow seam.
What to check before approving a sample
A digital proof confirms content and layout, but a physical sample confirms the product. Place the sample in the actual garment or the closest available fabric before approving the full run.
- Is every line readable at normal viewing distance?
- Are the cut edges smooth, sealed and free from loose threads?
- Does the label stay flat after it is stitched and the fabric is stretched?
- Do the stitch lines avoid the important content?
- Does the label remain comfortable after a wash test?
- Are the colour, contrast and material right against the garment fabric?
For uniforms, activewear, kidswear and frequently washed products, this sample check is particularly valuable. These labels have to stay legible and attached through real use, not only look good on a proof sheet.
What affects price and production planning?
The fact that a label has no fold does not decide the final price on its own. The main cost drivers are the material, cut size, artwork complexity, number of colours, edge finish, order quantity and whether a physical sample is needed before the bulk run.
- Material: a soft printed satin label, a dense damask weave and a basic taffeta care label all have different production requirements.
- Size: a larger flat label uses more material and takes more space in printing, weaving and cutting.
- Artwork: fine woven detail, several colours, metallic thread or intricate symbols can add setup and production complexity.
- Quantity: larger runs generally reduce the per-piece cost because preparation is shared across more labels.
- Finishing: ultrasonic cutting, special shapes and special edge treatments should be agreed at quotation stage.
For a first order, it is worth keeping a written record of the approved material, cut size, artwork file, colour reference, edge finish and stitch plan. That record makes repeat orders much more consistent and avoids re-approving the same technical details every time.
Test the label in real wear and washing
A no fold label looks simple on a table, but the final test is how it behaves inside the finished product. The fabric can stretch, the stitch line can pull, and repeated washing can reveal an uncomfortable edge or a line of text that is too small. Test the sample in the same position and on the same kind of fabric that will be used for the bulk order.
What a useful wash test should reveal
- Comfort: wear the garment for long enough to feel whether the label edge rubs the neck, waist or side of the body.
- Legibility: check small care symbols and pale ink after washing, tumble drying or ironing at the settings relevant to the garment.
- Shape: look for curling corners, puckering around the stitching or a label that twists after the garment is washed.
- Colour: compare the label with the approved sample after washing, especially when it uses dark grounds, light ink or strong brand colours.
- Attachment: make sure the stitch has not loosened, cut into the label or covered the text needed by the customer.
For light fashion pieces, a single gentle wash may be enough to confirm the decision. For workwear, uniforms, childrenswear, activewear and products that are washed often, use a more demanding test that matches the expected use. This is also the right moment to let the sewing team handle the label: a technically correct label can still be awkward if it slows the normal sewing operation.
When to separate brand and care labels
A flat label does not have to carry every piece of information. Many brands get a cleaner and more comfortable result by using one small no fold label for the brand or size and a separate no fold care label for fibre content, wash symbols, country of origin and compliance details. The customer sees the important brand information quickly, while the mandatory information still has enough space to remain readable.
- Use a brand label alone when the product details are printed elsewhere, such as on packaging, a hangtag or a separate care label.
- Use a care label alone when the garment already has a visible logo treatment and needs only the legal or care information inside.
- Use two labels when care content would make the main brand label too large, dense or uncomfortable.
- Combine the information only when the label has enough width, the artwork stays legible and the placement will not feel bulky.
Think about the order in which the customer encounters the labels. A small brand label at the back neck can create a polished first impression, while a wider flat care label can sit in the side seam where it is easy to find but does not interrupt the garment's appearance. Planning the two labels together often avoids forcing too much content into one small piece.
Common mistakes to avoid
- Using a stiff material directly against the neck without checking comfort.
- Placing text too close to a hot-cut edge or stitch line.
- Choosing a flat label for a placement where a fold would hide the edges better.
- Trying to fit too much care information into a small label.
- Approving the artwork without confirming the actual cut size and sewing method.
How to brief your supplier
A precise brief helps your sample come back right the first time. Along with the artwork file, tell the supplier where the label will be used and what success looks like in the finished garment.
- Label type: no fold / straight cut / flat label.
- Final cut size: width and height in millimetres.
- Material: satin, damask, taffeta, cotton or another requested base.
- Placement: neck, side seam, waistband, packaging or another location.
- Attachment: two-side, four-side, top-and-bottom stitch or seam insertion.
- Edge finish: hot cut, ultrasonic, woven edge or stitched edge.
- Quantity, garment colour and any sample requirement.
A useful one-line brief is: “No fold flat label, final cut size ___ mm x ___ mm, ultrasonic cut, stitched on all four sides, placed inside the left side seam.” That gives production and sewing teams the information they need.
Final recommendation
Choose a no fold label when you need a simple, flat and efficient label for care information, sizing, product details or a flat brand application. Share the material, final size, garment placement, attachment method and quantity with your supplier. A clear proof and a sewn sample will make sure the label works as well in the garment as it does in the artwork.