In brief
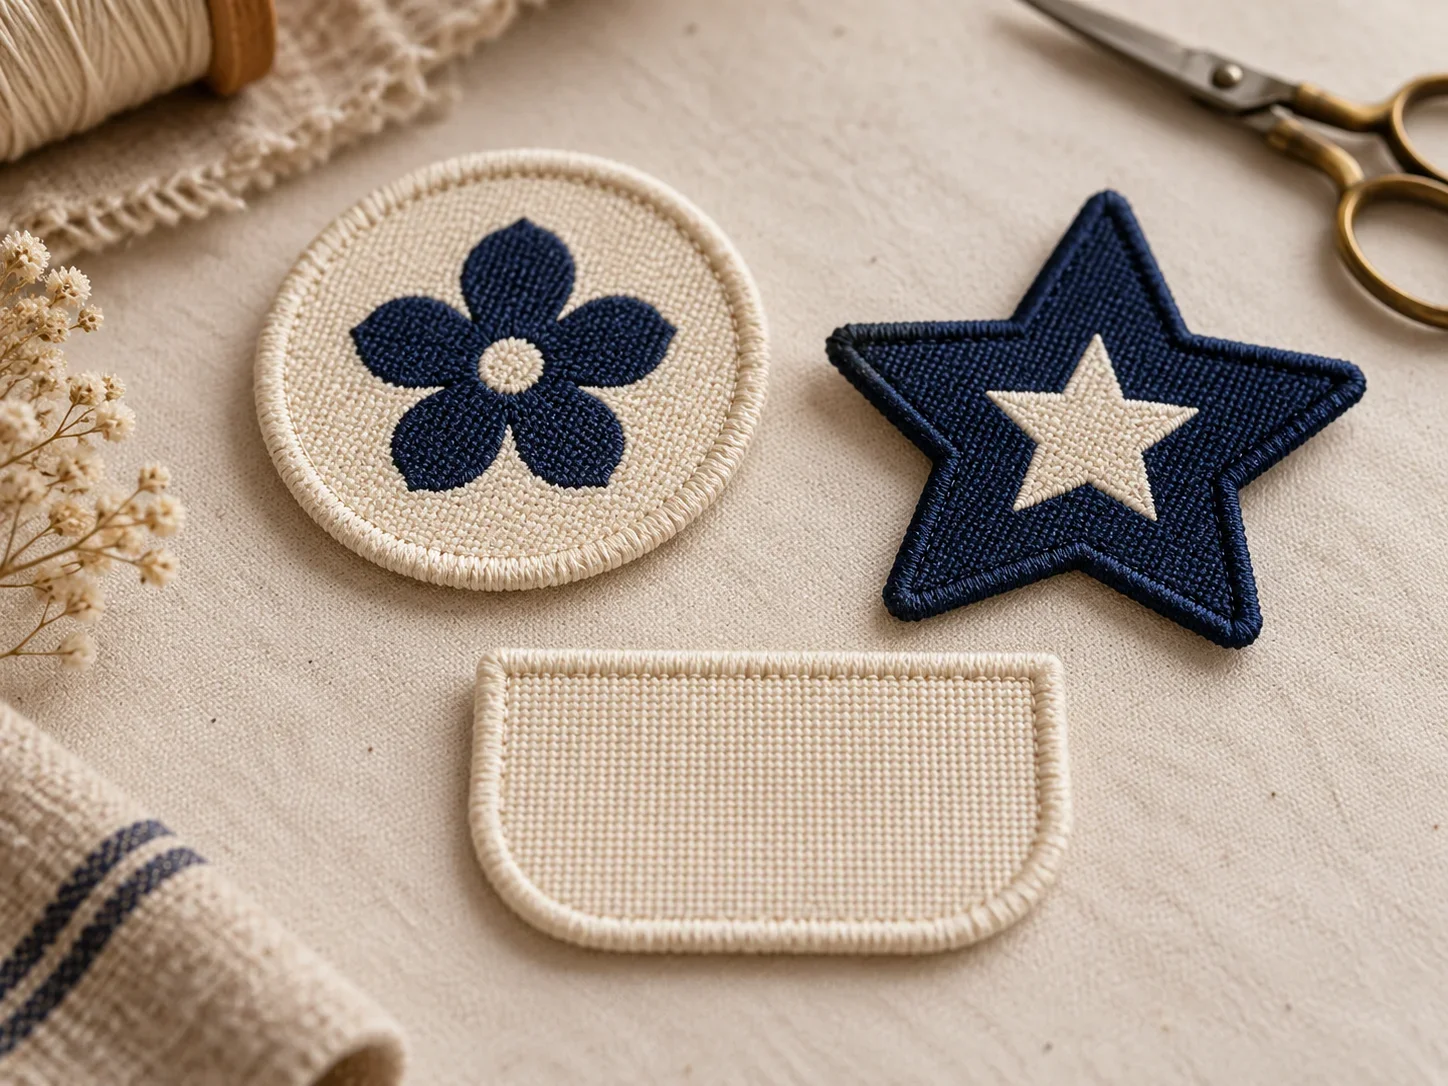
Laser cutting follows a digital outline to seal and shape the label edge. A round finish removes the corners of a rectangular label and creates a compact badge or emblem that can be stitched around its perimeter or applied as a patch.
Labelwala has made folded woven and printed labels in Ahmedabad since 2000, quotes within 2 hours on a working day, and ships to more than 20 cities across India and more than 15 countries.
The Laser Cut Round Label is a specific label construction chosen for how its edges fold, how its panels sit and how it is attached to the garment. The fold changes the visible face, usable artwork area, sewing allowance and the way the label feels in the finished product. Fold allowances assume polyester satin or woven tape, which moves under 1% in a hot wash; untreated cotton tape can shrink 3 to 5%, so allow for it.
Two things are worth settling before anything else. The fold is dictated by how the garment is constructed, not by how the label looks, because a label meant to be caught in a seam is awkward to attach to a finished panel and the reverse is equally true. And the fold decides the flat size that actually has to be made, which is why it belongs in the quote rather than being treated as a finishing detail.
Defined fold
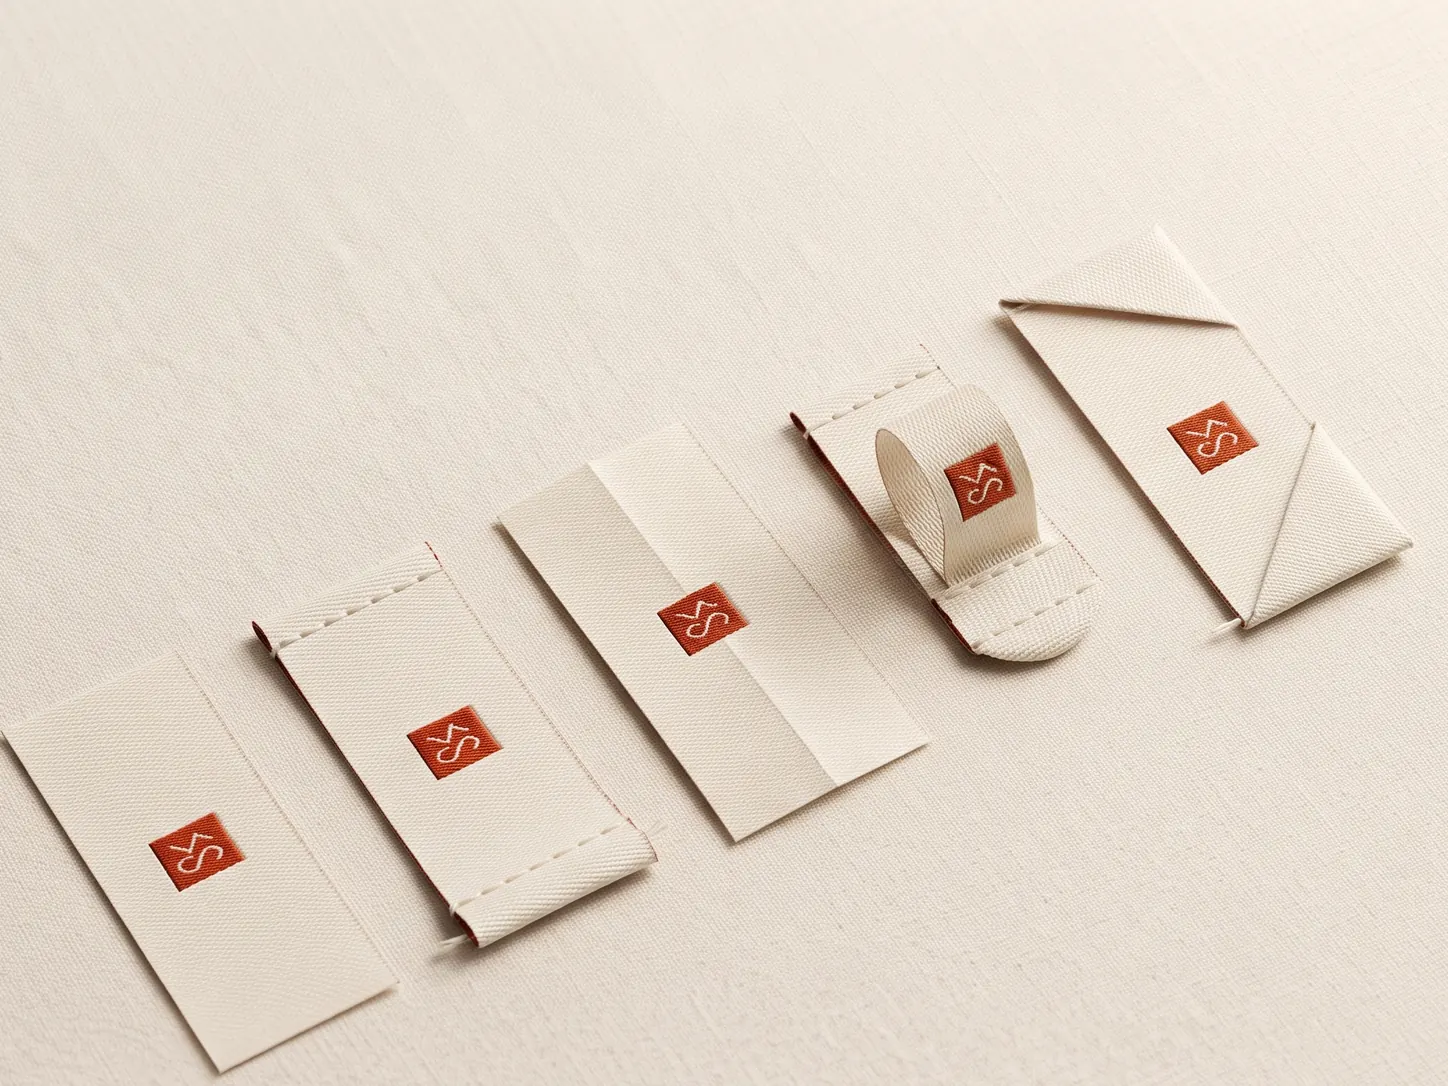
The fold line determines which edges or panels remain visible.
Made to brief
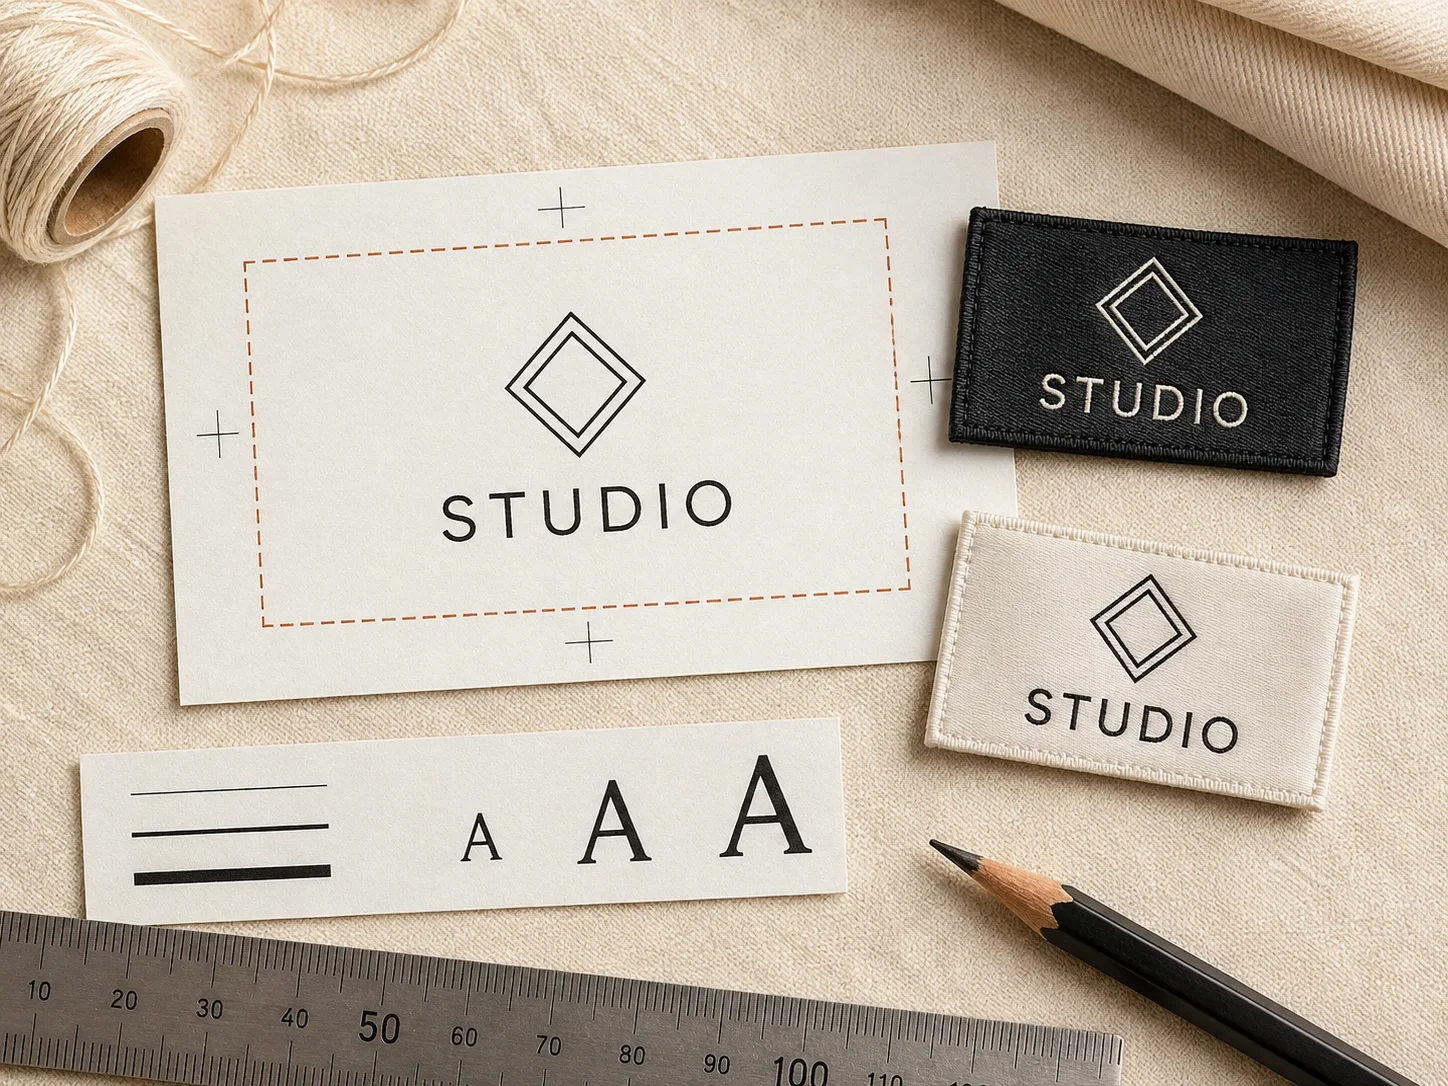
Unfolded size and allowance must be agreed before production.
Sample first
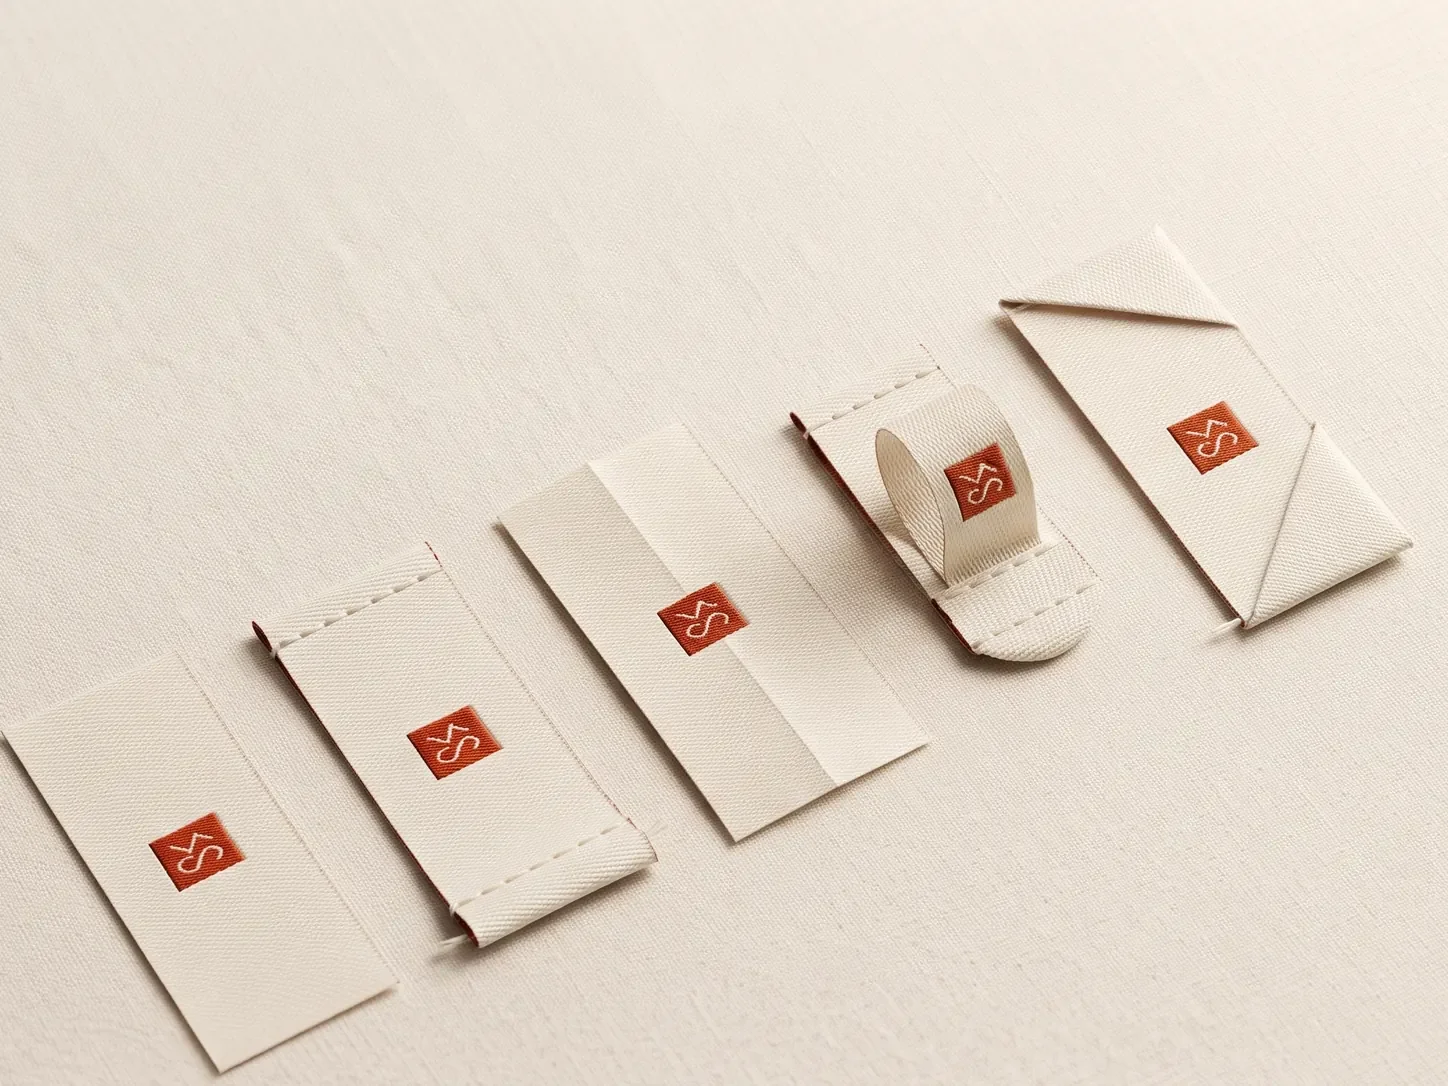
Sewn samples confirm the fold behaves correctly on the garment.
What is a Laser Cut Round label?
Laser cutting follows a digital outline to seal and shape the label edge. A round finish removes the corners of a rectangular label and creates a compact badge or emblem that can be stitched around its perimeter or applied as a patch.
Preview this fold with your own artwork: the free label designer draws the flat piece, the turn-under and the visible face at true size, for every fold on this page.
How is the construction made?
The supplier receives the final circular diameter and artwork, cuts the woven or printed material with a calibrated laser, and checks the sealed edge for consistency. The attachment method is then chosen for the garment or product surface.
Brief the supplier clearly: name the fold, give the finished visible size, provide the unfolded size and mark every fold line in the artwork proof.
Where is it used?
- Brand badges and logo emblems
- Sportswear, streetwear and kidswear patches
- Caps, bags and accessories
- Small decorative labels where the circle is part of the identity
Choose the fold by placement first. The right construction should support the seam, keep the label comfortable and make the intended face or panels easy to read.
Artwork and size planning
Supply the finished circle as a vector outline and keep text and fine details inside a safe margin from the edge. Avoid placing thin borders exactly on the cut line because small artwork shifts can make the border look uneven.
Specify the finished diameter, material, edge treatment and attachment method. Check the smallest readable type at the actual size because a circular label often has less usable area than a rectangle with the same width.
- Show the finished visible face or closed panel size.
- Show the full unfolded strip and every fold allowance.
- Mark safe areas, reading direction and the stitch or seam zone.
- Approve the artwork at actual size, then check a physical sample.
Sewing and sample approval
Round labels can be sewn around the perimeter, secured with a central stitch plan or applied using an approved backing. Test the chosen method on the actual fabric to confirm the circle stays flat without puckering.
Check the sample on the actual garment, not only on a flat table. Look for a straight fold, even edges, comfortable contact, secure stitching and the correct artwork direction.
Which materials suit this fold?
Laser cutting works by melting the edge as it cuts, which seals it in the same pass. That is what makes the technique possible at all on a curve. A rotary die can cut a circle but leaves an unsealed edge that frays, while the laser closes the edge as it goes. It also means the material has to be one that melts cleanly instead of burninging or charring.
Synthetics are therefore the natural fit. Polyester-based damask, taffeta and satin all seal to a smooth firm edge. Natural fibres are the problem: cotton does not melt, it scorches, so a laser-cut cotton label tends to arrive with a brown edge and a smell. If your range is positioned on natural materials, this is worth resolving before the design is signed off rather than after.
The sealed edge is firmer than a folded one, which is the trade-off for the shape. On a badge sewn onto the outside of a garment that firmness is an advantage, it holds the circle crisp. Against skin it is a drawback, and it is the main reason round laser-cut labels are used as external badges rather than neck labels.
- Polyester damask: the standard. Seals cleanly, holds the circular edge crisply, takes fine artwork.
- Polyester taffeta: economical and seals well, though the edge is slightly harder.
- Printed polyester satin: good for full-colour badges where the shape is simple.
- Twill or felt-backed patch material: where a thicker, more structured badge is wanted.
- Cotton and natural blends: avoid. They scorch rather than seal, leaving a discoloured edge.
Where does it sit on the garment?
A round laser-cut label is a badge, and badges go on the outside. That is the fundamental difference from every folded construction: this label is meant to be seen in wear, not discovered by the wearer.
The commonest positions are the chest, the sleeve, the back yoke and the cap front. Each of them is a flat panel, which matters. A circular label stitched around its full perimeter needs a flat surface to sit on, and stitching a rigid circle across a curved or stretchy panel will pucker the fabric around it.
Size relative to the panel is where designs most often go wrong. A 60 mm badge that looks balanced on a men’s large can dominate a small, and unlike a neck label there is no hiding it. Either scale the badge across the size range, or set the size against your smallest garment and accept it looking slightly restrained on the largest.
If the garment stretches, think again. A rigid sealed circle on a jersey or a knit creates a stiff spot that fights the fabric every time it moves, and after a few washes the fabric around the stitch line distorts permanently.
- Left chest: the classic badge position, on a flat woven panel.
- Upper sleeve: common on workwear, uniforms and outerwear.
- Back yoke or centre back: where a larger badge suits the design.
- Cap front or side: a natural fit for a circular emblem.
- Bag panels and accessories: flat, structured, and no stretch to fight.
- Not on stretch jersey unless the badge is small and the stitching allows the fabric to move.
Working sizes
A circle needs only one dimension, which makes briefing simple, but state whether the figure is the overall diameter including the sealed edge or the diameter of the visible artwork. Allow 2 to 3 mm of clear margin between the artwork and the cut line so the seal does not run through the design.
| Use | Finished face | Unfolded |
|---|---|---|
| Small emblem or logo dot | 25 mm diameter | 20-21 mm artwork |
| Standard chest badge | 50 mm diameter | 44-46 mm artwork |
| Sleeve badge | 65 mm diameter | 59-61 mm artwork |
| Large back badge | 90 mm diameter | 84-86 mm artwork |
| Cap front emblem | 55 mm diameter | 49-51 mm artwork |
What goes wrong with this fold?
- Specifying a natural-fibre material, which scorches at the cut edge instead of sealing.
- Running artwork right to the cut line, so the sealed edge burns through the design.
- Giving one diameter without saying whether it includes the sealed edge.
- Putting a rigid circular badge on stretch fabric, where it puckers and distorts.
- Scaling the badge for the largest size only, so it overwhelms the smallest.
- Assuming a laser-cut edge is soft enough for a neck position.
- Designing a circular badge around a rectangular logo, so the artwork floats with awkward gaps.
The artwork-to-edge margin is the one that produces the most reworks. A laser has a kerf, a width it removes as it cuts, and a design drawn to the exact circle loses a fraction of a millimetre all the way round. On a border or a ring of text, that is instantly visible.
The second is the material question, and it usually surfaces late because it is invisible in artwork. If the brand is committed to organic or natural fibres, raise it at quote stage; the answer may be a different cutting method or a different construction altogether.
What does it cost to make?
Laser cutting is priced by the length of the cut path rather than by the area of the label, which is why a circle is comparatively cheap: it is the shortest possible path around a given area. That is worth knowing when comparing a round badge with an intricate free shape of the same size. The shape, not the size, drives the cutting cost.
Set against that, there is no die to make. A rotary or clicker die is a one-time tooling cost that a laser avoids entirely, which makes laser cutting the cheaper route at low and medium quantities and lets you change the shape between orders without new tooling.
The usual cost drivers still dominate. Colour count on a woven badge, and overall size, will move the price more than the cutting method does. A 90 mm five-colour badge is an expensive item however it is cut.
How does it hold up in wear?
A sealed edge does not fray, which is the main durability advantage and the reason laser cutting replaced simple die cutting for shaped labels. There is no loose thread to catch and start an unravel, so the outline stays crisp for the life of the garment.
What the sealed edge does instead is stay hard. Over time and washing it can become slightly brittle at the rim, particularly on thinner materials, and a badge that is caught repeatedly, a sleeve badge on workwear, for instance, can crack at the edge rather than fray. A slightly heavier base material solves this where abrasion is expected.
The stitching is the other variable. A badge sewn around its full perimeter is secure but transmits every movement of the fabric to the badge edge; one tacked at four points moves more freely and lasts better on a garment that flexes. Match the stitch pattern to how much the panel moves.
Sample checklist
Ask for the badge stitched onto the actual fabric, not supplied loose. A circle that looks perfect in the hand can pucker the moment it is sewn to a panel.
- Is the edge sealed cleanly, with no scorching or discolouration?
- Is the diameter what you specified, and does it include the sealed edge as agreed?
- Is there clear margin between the artwork and the cut line all the way round?
- Is the circle actually round, or slightly ovalised?
- Does the badge lie flat on the panel, without puckering the fabric?
- Is the artwork centred within the circle?
- Does the size work on the smallest garment in the range?
- Does the edge stay intact and uncracked after a wash?
How do you brief it to a supplier?
A brief that works: Laser cut round labels, 50 mm overall diameter including sealed edge, 45 mm artwork diameter, 2.5 mm clear margin to the cut line, woven polyester damask, three colours, stitched around the full perimeter to a left chest panel, 2,000 pieces.
The brief gives production the construction, the finished size, the hidden allowances and the placement, which is everything needed to quote and proof without a follow-up call.
Getting laser cut round labels made at Labelwala
We make woven and printed labels in Ahmedabad, Gujarat, and we have been doing it for 25 years. Fold constructions like this one are quoted from the finished size plus the hidden allowances, so the two numbers matter more than anything else you send.
- Minimum order: 1,000 pieces.
- Shipping: pan-India to 20+ cities and export orders to 15+ countries.
- Experience: making labels in Ahmedabad since 2000.
- Shrinkage: polyester satin and woven labels move under 1% in a hot wash; untreated cotton tape can shrink 3 to 5%.
- Quotes: we usually reply within 2 hours on a working day.
- Production: 7-10 days once artwork is approved. Rush jobs run 3-5 days.
- Delivery: nationwide within India, timed by destination and the size of the consignment.
If you are not certain the fold is right for your garment, send a photo of where the label will sit with a ruler beside it. That tells us more than a description, and we can say whether the construction will lie flat there before anything is made.
We are rated 5.0 on Google from 27 reviews. Ask for a sewn sample rather than a loose one. A fold only shows its real behaviour once it is in a seam.
When should you choose this fold?
Choose laser cut round when a circular badge is central to the design. Choose laser cut free shape when the outline needs to be custom. Choose no fold when a flat rectangular label is more efficient.
- Confirm where the label will be seen.
- Choose the face or panel arrangement.
- Share folded and unfolded measurements.
- Approve a sewn sample before bulk production.
Final recommendation
Laser Cut Round Label works when its fold matches the garment construction and the artwork respects the hidden allowances. If you are comparing all options, use the complete fold and finishing guide before requesting a quotation.