In brief
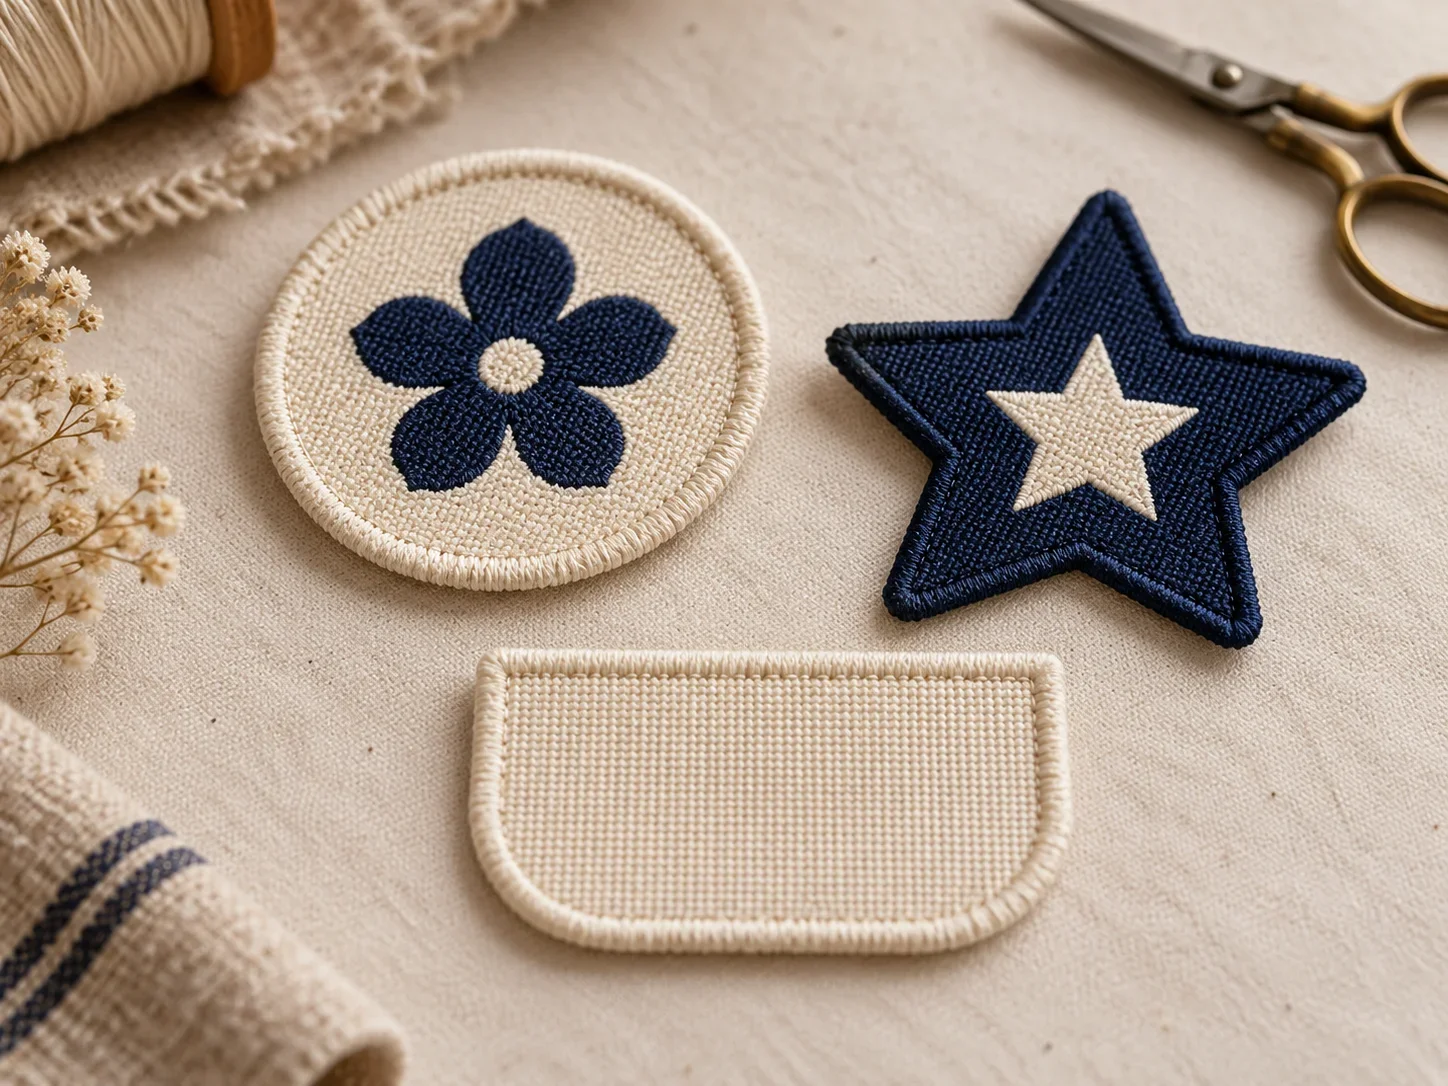
The finished edge is created from a supplied digital contour, allowing curves, notches, points and other distinctive shapes. The outline becomes part of the visual identity, so it must be balanced with the stitchable area and the material behaviour.
Labelwala has made folded woven and printed labels in Ahmedabad since 2000, quotes within 2 hours on a working day, and ships to more than 20 cities across India and more than 15 countries.
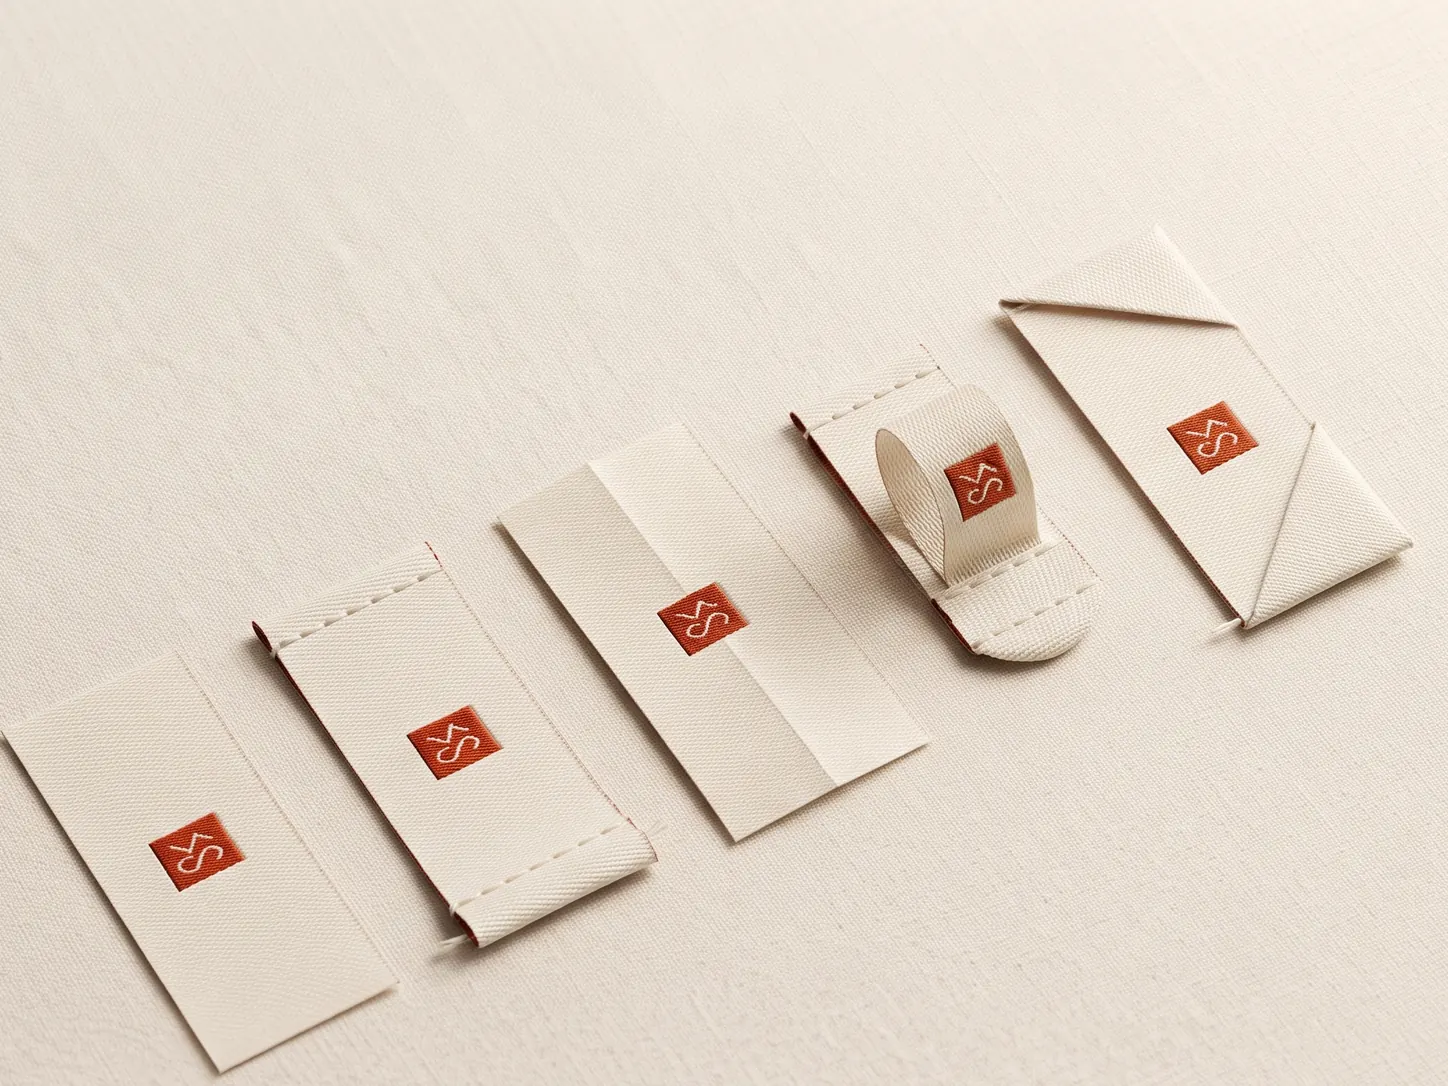
The Laser Cut Free Shape Label is a specific label construction chosen for how its edges fold, how its panels sit and how it is attached to the garment. The fold changes the visible face, usable artwork area, sewing allowance and the way the label feels in the finished product. Fold allowances assume polyester satin or woven tape, which moves under 1% in a hot wash; untreated cotton tape can shrink 3 to 5%, so allow for it.
Two things are worth settling before anything else. The fold is dictated by how the garment is constructed, not by how the label looks, because a label meant to be caught in a seam is awkward to attach to a finished panel and the reverse is equally true. And the fold decides the flat size that actually has to be made, which is why it belongs in the quote rather than being treated as a finishing detail.
Defined fold
The fold line determines which edges or panels remain visible.
Made to brief
Unfolded size and allowance must be agreed before production.
Sample first
Sewn samples confirm the fold behaves correctly on the garment.
What is a Laser Cut Free Shape label?
The finished edge is created from a supplied digital contour, allowing curves, notches, points and other distinctive shapes. The outline becomes part of the visual identity, so it must be balanced with the stitchable area and the material behaviour.
Preview this fold with your own artwork: the free label designer draws the flat piece, the turn-under and the visible face at true size, for every fold on this page.
How is the construction made?
The supplier checks the vector contour, cuts the label with a laser and inspects the sealed edge around every curve and corner. Complex shapes may need a wider safe margin and a sample to confirm that small points do not distort.
Brief the supplier clearly: name the fold, give the finished visible size, provide the unfolded size and mark every fold line in the artwork proof.
Where is it used?
- Logo-shaped brand patches
- Character, mascot and outdoor labels
- Streetwear, kidswear and accessories
- Decorative labels where a standard shape feels generic
Choose the fold by placement first. The right construction should support the seam, keep the label comfortable and make the intended face or panels easy to read.
Artwork and size planning
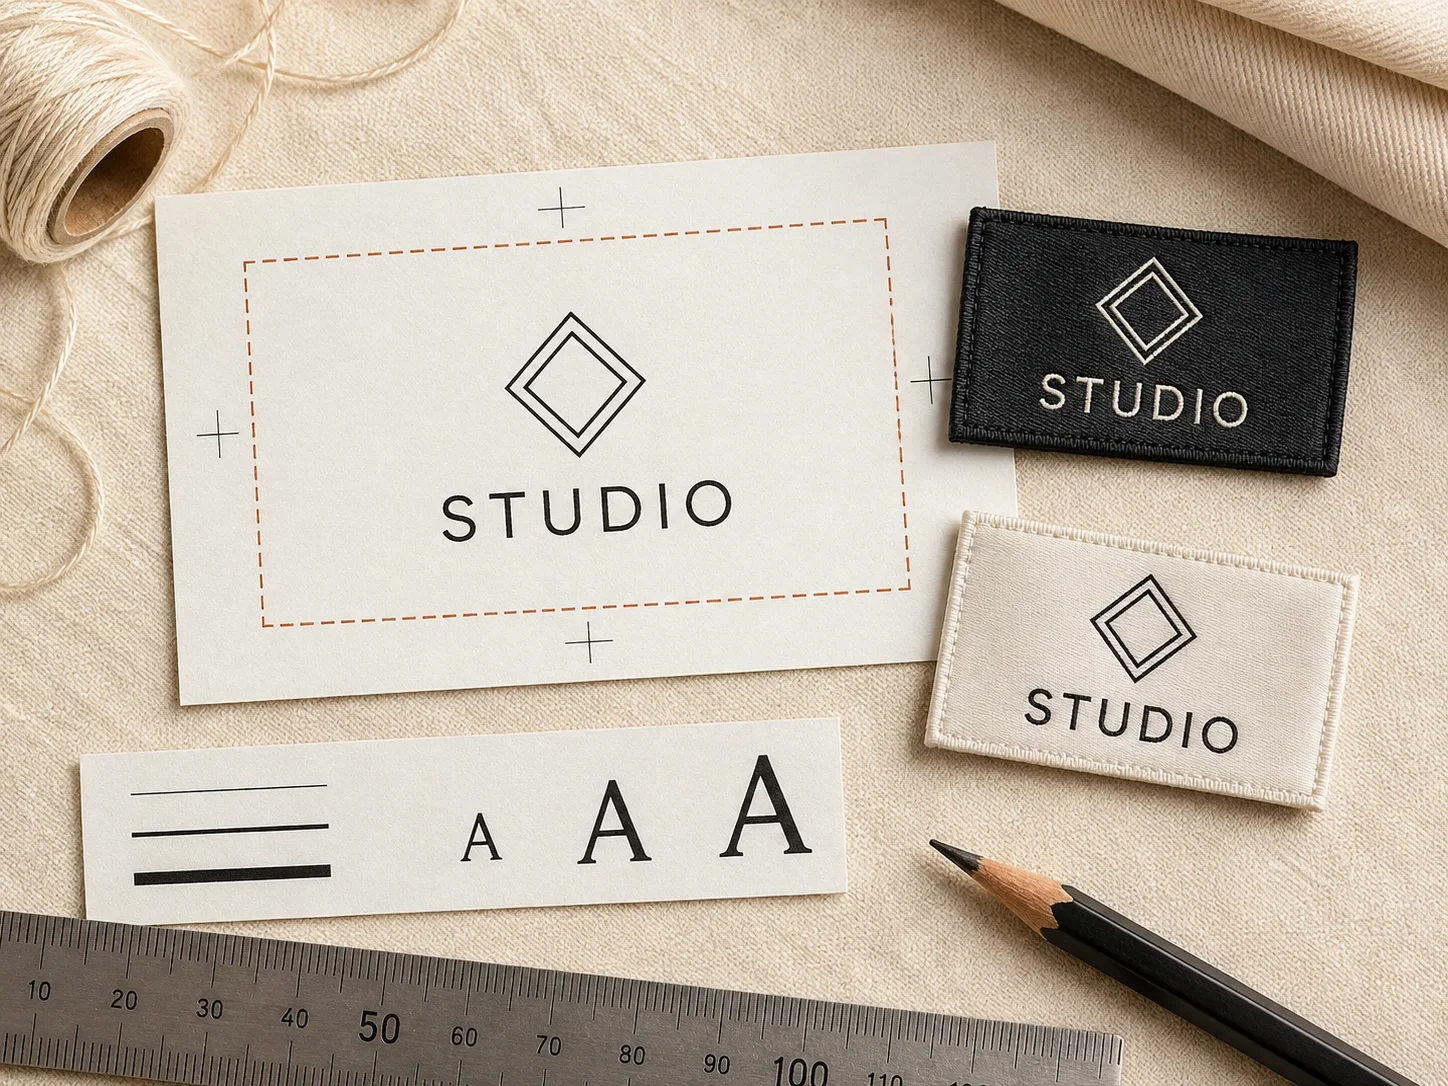
Provide one closed vector outline and separate the cut path clearly from the artwork. Keep text, fine borders and important details away from sharp points, narrow necks and the outer edge.
Give the maximum finished width and height, plus the orientation and attachment direction. Irregular shapes should also include a proof showing the top, bottom and stitchable perimeter.
- Show the finished visible face or closed panel size.
- Show the full unfolded strip and every fold allowance.
- Mark safe areas, reading direction and the stitch or seam zone.
- Approve the artwork at actual size, then check a physical sample.
Sewing and sample approval
Plan the stitch path around the strongest continuous parts of the outline. Very narrow points or deep inside corners can be difficult to sew cleanly, so approve a physical sample before bulk production.
Check the sample on the actual garment, not only on a flat table. Look for a straight fold, even edges, comfortable contact, secure stitching and the correct artwork direction.
Which materials suit this fold?
Everything true of a round laser cut applies here, with the complications amplified. The laser seals as it cuts, so the material must melt cleanly instead of scorching, polyester-based damask, taffeta and satin work, cotton and natural blends do not. On a free shape that constraint bites harder, because there is far more edge for a bad seal to show up on.
Material stiffness becomes a design input rather than a preference. A shape with narrow points, thin necks or deep notches needs a base with enough body to hold those features; on a limp material a thin projection simply flops and looks like a defect. If the outline is ambitious, expect the supplier to push you towards a heavier damask or a backed patch material.
That is the honest trade in this construction: the more distinctive the silhouette, the stiffer the label has to be to support it, and the less suitable it becomes for anything close to skin. Free shapes belong on the outside of garments and on accessories.
- Polyester damask: the workhorse. Enough body for moderate shapes, seals cleanly, holds detail.
- Backed or felt-mounted patch material: for ambitious outlines with points and narrow sections.
- Polyester taffeta: economical, but too light for shapes with fine projections.
- Printed polyester satin: good for full-colour shapes with simple, generous outlines.
- Cotton and natural blends: avoid, they scorch at the cut line rather than sealing.
Where does it sit on the garment?
A free-shape label is chosen precisely so that its outline will be seen, and that places it firmly on the outside of the product. Chest, sleeve, back, cap, bag panel, anywhere a badge would go, with the difference that the silhouette itself is doing brand work.
The stitching plan has to be decided alongside the shape, not after it. A complex outline sewn around its full perimeter needs the machine to negotiate every curve and corner, which is slow and produces visible stitch bunching at tight radii. Many free shapes are better tacked at a few points, or backed and applied, than outlined in stitching.
Narrow projections need somewhere to sit. A pointed tail or a thin extension that hangs past the stitched area will lift, catch and eventually fold back on itself. Either bring the stitching out to support it or design the point shorter than instinct suggests.
As with round badges, check the shape against your smallest garment. An outline that reads clearly at 70 mm can become an unrecognisable blob at 35 mm, and shrinking a complex silhouette rarely works. It usually needs a simplified version for smaller sizes.
- Left chest: the standard badge position for a shaped emblem.
- Upper sleeve: where a distinctive outline reads well in profile.
- Back panel: the position that supports the most ambitious shapes.
- Caps and bags: flat, structured, and no stretch to fight the stiffness.
- Not on stretch fabric, and not anywhere the sealed edge of the shape would sit directly against a wearer’s skin.
Working sizes
A free shape cannot be described by one number, so send the vector outline itself and state the overall bounding dimensions plus the narrowest point in the design. That narrowest measurement is what tells the supplier whether the shape is producible in the material you want.
| Use | Finished face | Unfolded |
|---|---|---|
| Simple shape, small emblem | 30 × 35 mm overall | min. 4 mm narrowest |
| Standard chest badge | 55 × 60 mm overall | min. 5 mm narrowest |
| Sleeve badge | 65 × 45 mm overall | min. 5 mm narrowest |
| Large back badge | 95 × 110 mm overall | min. 6 mm narrowest |
| Detailed mascot or crest | 70 × 80 mm overall | min. 6 mm narrowest |
What goes wrong with this fold?
- Sending a raster image rather than a vector outline, so the cut path has to be traced and approximated.
- Designing points and thin necks narrower than the material can support.
- Running artwork to the cut line, leaving no margin for the laser kerf.
- Specifying a natural-fibre base, which scorches instead of sealing.
- Choosing full-perimeter stitching for an outline with tight corners.
- Shrinking a complex silhouette for smaller sizes instead of simplifying it.
- Leaving a projection unsupported past the stitch line, where it lifts and catches.
- Approving the shape flat rather than sewn onto the real panel.
The vector question causes more delay than anything else on this construction. A laser follows a path, and if you have not supplied one, someone has to draw it, which means your outline is now an interpretation of your artwork rather than your artwork. Send the contour as a separate vector path and confirm it on the proof.
Narrow features are the second. As a rule of thumb, anything under about 4 to 5 mm across on a standard damask is fragile, and the supplier will either round it off or it will fail in wear. Design the silhouette knowing that limit rather than discovering it at sampling.
What does it cost to make?
Because laser cutting is priced by the length of the cut path, an intricate outline genuinely costs more to cut than a simple one of the same overall size. A shape with many curves and notches can have several times the path length of a rectangle bounding it, and that difference is real rather than a surcharge for complexity.
Against that, there is no tooling. A die for a custom shape is a significant one-time cost and locks you into that shape until it is worth making another; a laser reads a new file for nothing. For a brand that wants a distinctive outline at moderate quantity, this is usually the deciding economic argument.
Simplifying the outline is therefore a genuine cost lever, and in practice it usually improves the design as well rather than compromising it. Shapes that read clearly at 50 mm tend to be simpler than the ones drawn at screen size, so the cheaper option and the better option often coincide.
How does it hold up in wear?
The sealed edge does not fray, which is what makes complex outlines viable at all. A die-cut shape in the same material would begin unravelling from the first snagged thread; the laser edge has no loose threads to start from.
Failure, when it comes, is mechanical and concentrated at the shape’s weakest features. Points, narrow necks and deep notches are where a badge cracks, folds or tears, because they carry the same handling as the rest of the label on a fraction of the material. Every millimetre added to a narrow section adds disproportionately to its life.
The stitch pattern matters more here than on a rectangle. Full-perimeter stitching supports the outline everywhere but transmits fabric movement to every edge; tacking leaves the shape free to move but leaves projections unsupported. On a complex silhouette, stitching that follows the shape but stops short of the finest features is usually the best compromise.
Sample checklist
Approve a sample sewn onto the actual fabric, and handle it. A free shape reveals its weak points through handling rather than inspection.
- Does the cut outline match your supplied vector, including the fine features?
- Is the edge sealed cleanly all the way round, with no scorching?
- Is there consistent margin between artwork and the cut line?
- Are the narrowest points substantial enough to survive handling?
- Does the badge lie flat on the panel without puckering?
- Is any projection supported by the stitching, or does it lift?
- Does the silhouette still read clearly at the smallest size you will use?
- Does the edge stay intact after a wash and some deliberate handling?
How do you brief it to a supplier?
A brief that works: Laser cut free shape labels, outline as attached vector, 55 × 60 mm overall bounding size, narrowest section 5 mm, 2.5 mm artwork margin to the cut line, woven polyester damask, four colours, tacked at four points to a left chest panel, 2,000 pieces.
The brief gives production the construction, the finished size, the hidden allowances and the placement, which is everything needed to quote and proof without a follow-up call.
Getting laser cut free shape labels made at Labelwala
We make woven and printed labels in Ahmedabad, Gujarat, and we have been doing it for 25 years. Fold constructions like this one are quoted from the finished size plus the hidden allowances, so the two numbers matter more than anything else you send.
- Minimum order: 1,000 pieces.
- Shipping: pan-India to 20+ cities and export orders to 15+ countries.
- Experience: making labels in Ahmedabad since 2000.
- Shrinkage: polyester satin and woven labels move under 1% in a hot wash; untreated cotton tape can shrink 3 to 5%.
- Quotes: we usually reply within 2 hours on a working day.
- Production: 7-10 days once artwork is approved. Rush jobs run 3-5 days.
- Delivery: nationwide within India, timed by destination and the size of the consignment.
If you are not certain the fold is right for your garment, send a photo of where the label will sit with a ruler beside it. That tells us more than a description, and we can say whether the construction will lie flat there before anything is made.
We are rated 5.0 on Google from 27 reviews. Ask for a sewn sample rather than a loose one. A fold only shows its real behaviour once it is in a seam.
When should you choose this fold?
Choose free shape when the silhouette is part of the brand. Choose laser cut round for a simpler badge. Choose a no-fold or end-fold label when the label needs a conventional garment-seam construction.
- Confirm where the label will be seen.
- Choose the face or panel arrangement.
- Share folded and unfolded measurements.
- Approve a sewn sample before bulk production.
Final recommendation
Laser Cut Free Shape Label works when its fold matches the garment construction and the artwork respects the hidden allowances. If you are comparing all options, use the complete fold and finishing guide before requesting a quotation.