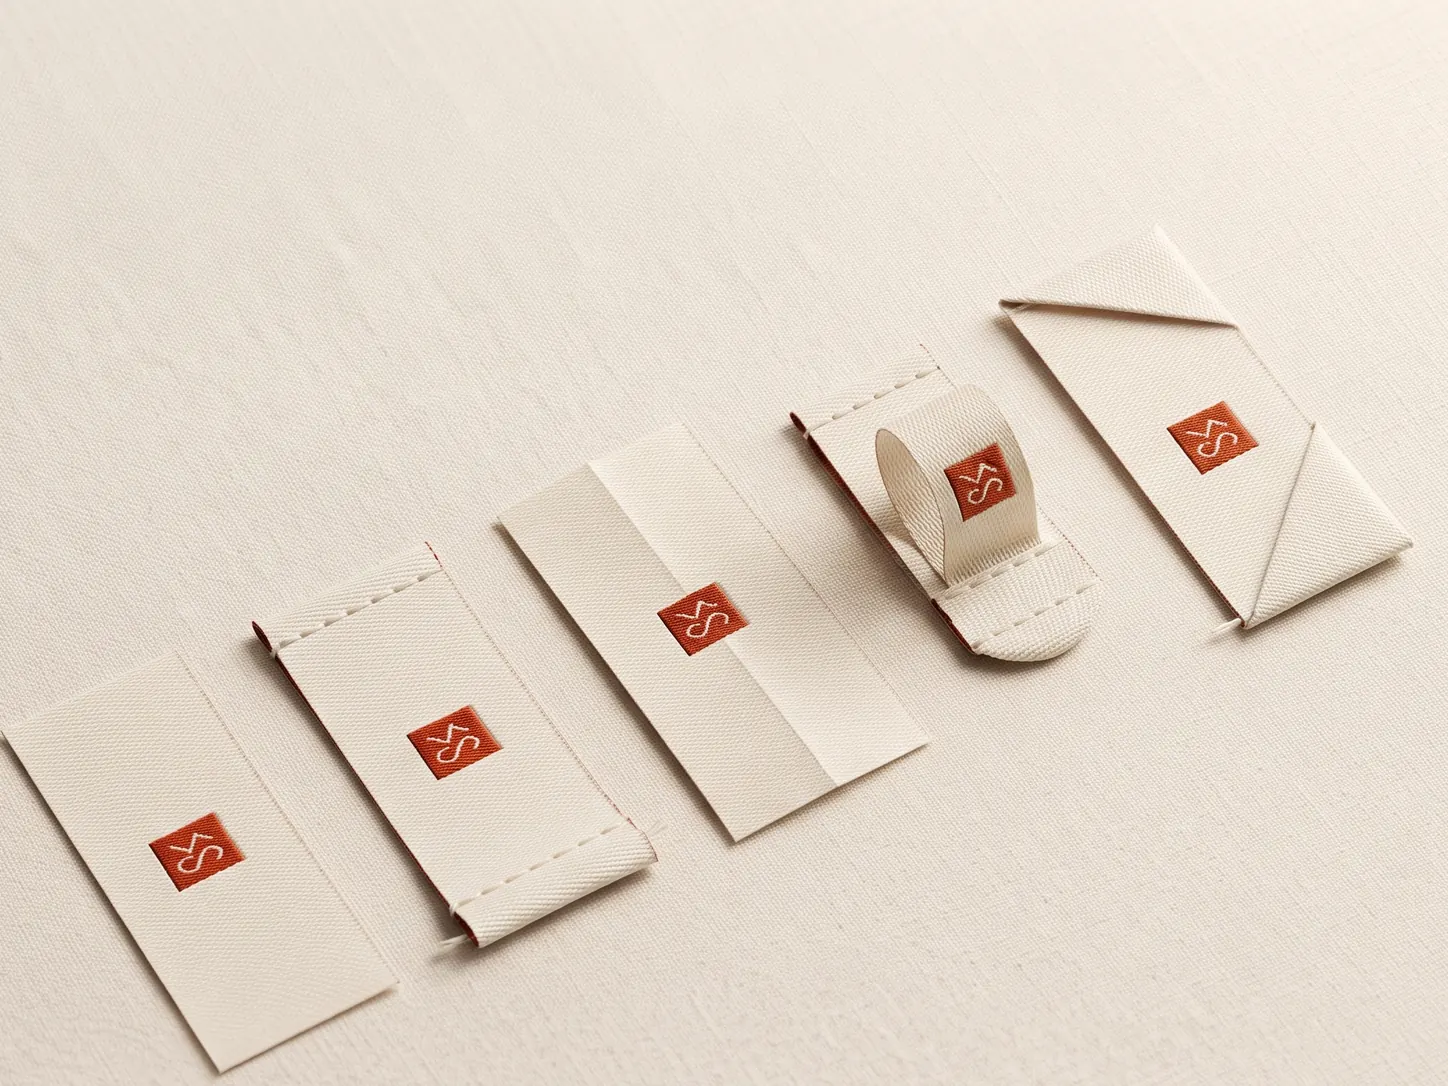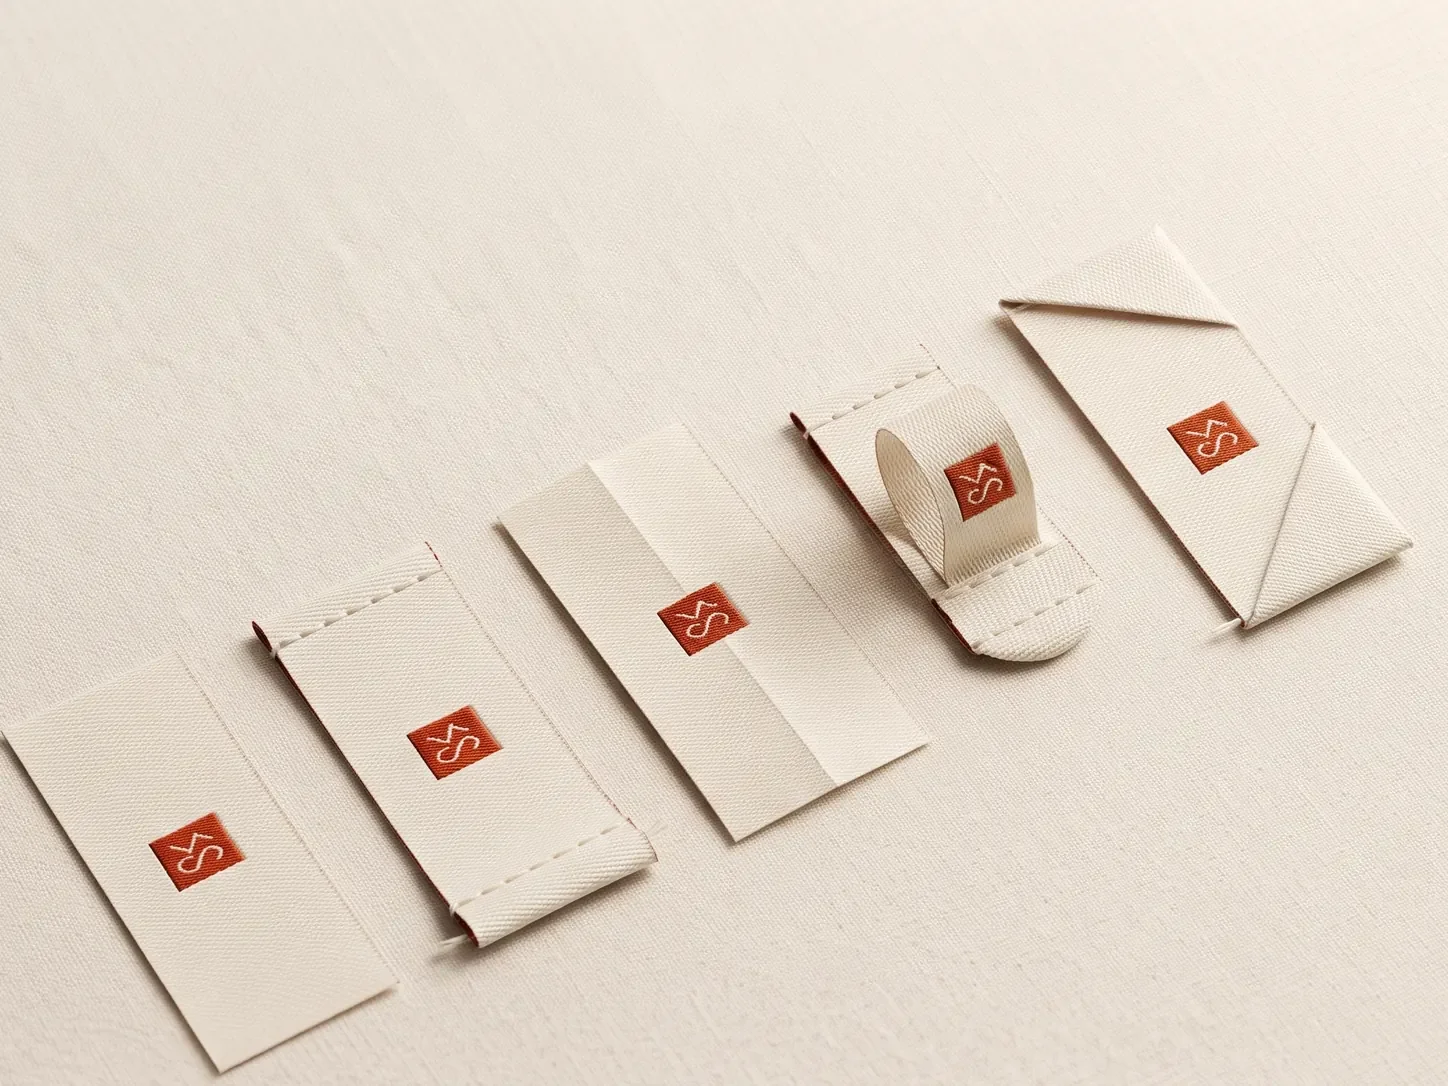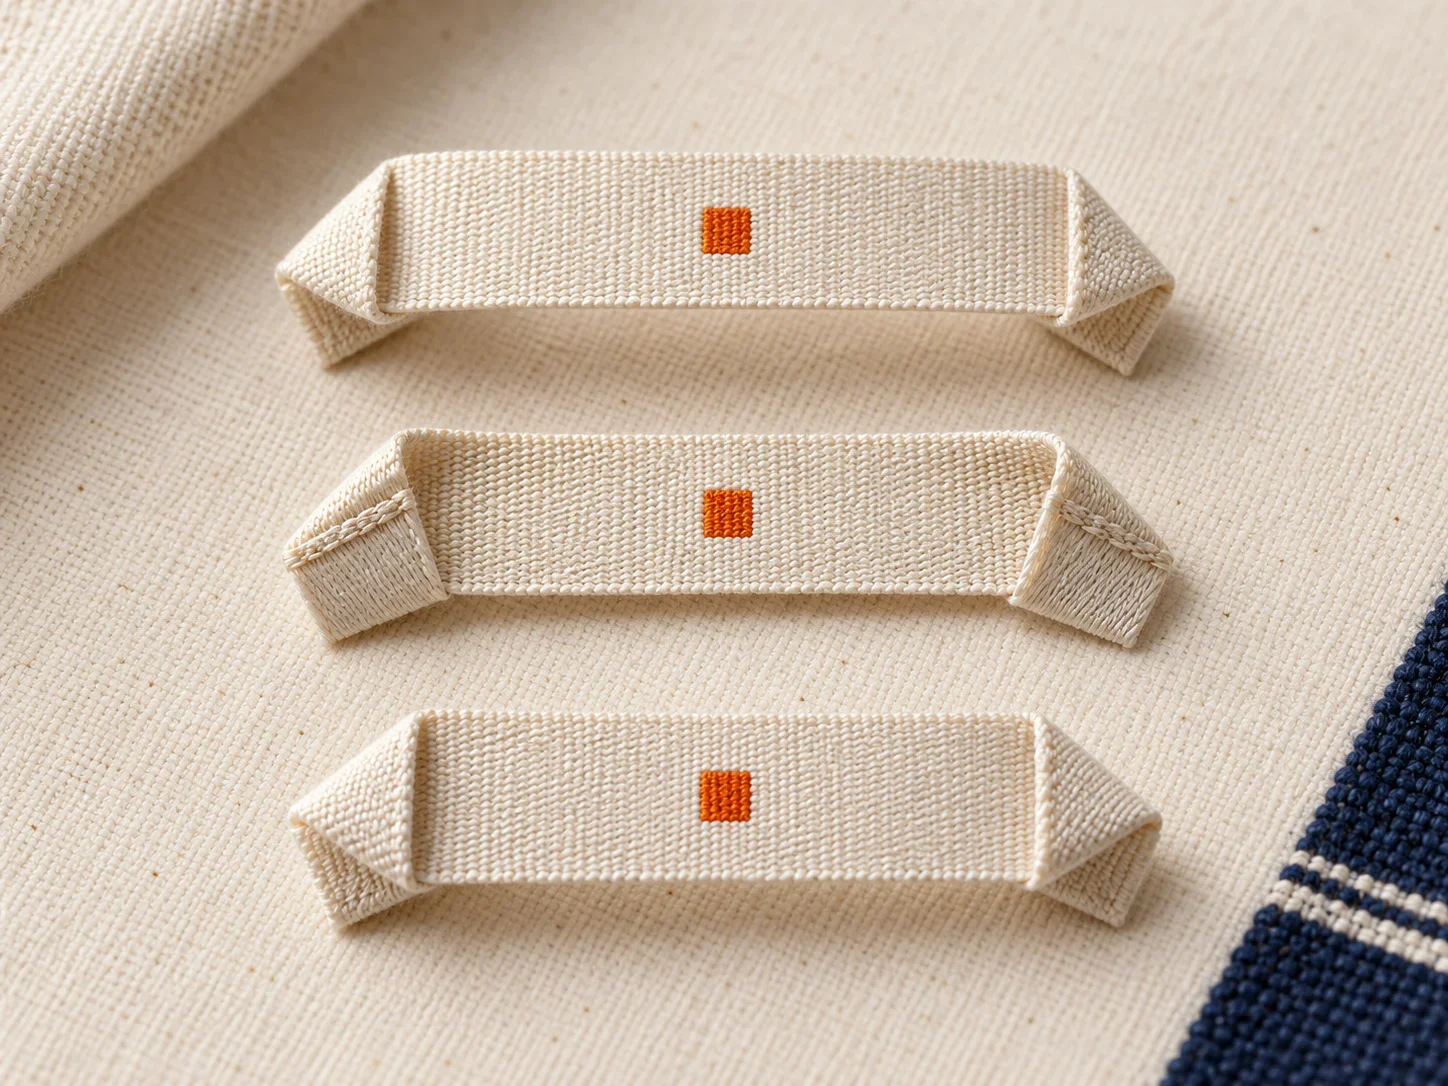
In brief
The reverse arrangement changes where the loop emerges and how it sits behind the face. It is selected for a particular sewing direction, product construction or display requirement rather than only for appearance.
Labelwala has made folded woven and printed labels in Ahmedabad since 2000, quotes within 2 hours on a working day, and ships to more than 20 cities across India and more than 15 countries.
The Hanger Loop Reverse Label is a specific label construction chosen for how its edges fold, how its panels sit and how it is attached to the garment. The fold changes the visible face, usable artwork area, sewing allowance and the way the label feels in the finished product. Fold allowances assume polyester satin or woven tape, which moves under 1% in a hot wash; untreated cotton tape can shrink 3 to 5%, so allow for it.
Two things are worth settling before anything else. The fold is dictated by how the garment is constructed, not by how the label looks, because a label meant to be caught in a seam is awkward to attach to a finished panel and the reverse is equally true. And the fold decides the flat size that actually has to be made, which is why it belongs in the quote rather than being treated as a finishing detail.
Defined fold
The fold line determines which edges or panels remain visible.
Made to brief
Unfolded size and allowance must be agreed before production.
Sample first
Sewn samples confirm the fold behaves correctly on the garment.
What is a Hanger Loop Reverse label?
The reverse arrangement changes where the loop emerges and how it sits behind the face. It is selected for a particular sewing direction, product construction or display requirement rather than only for appearance.
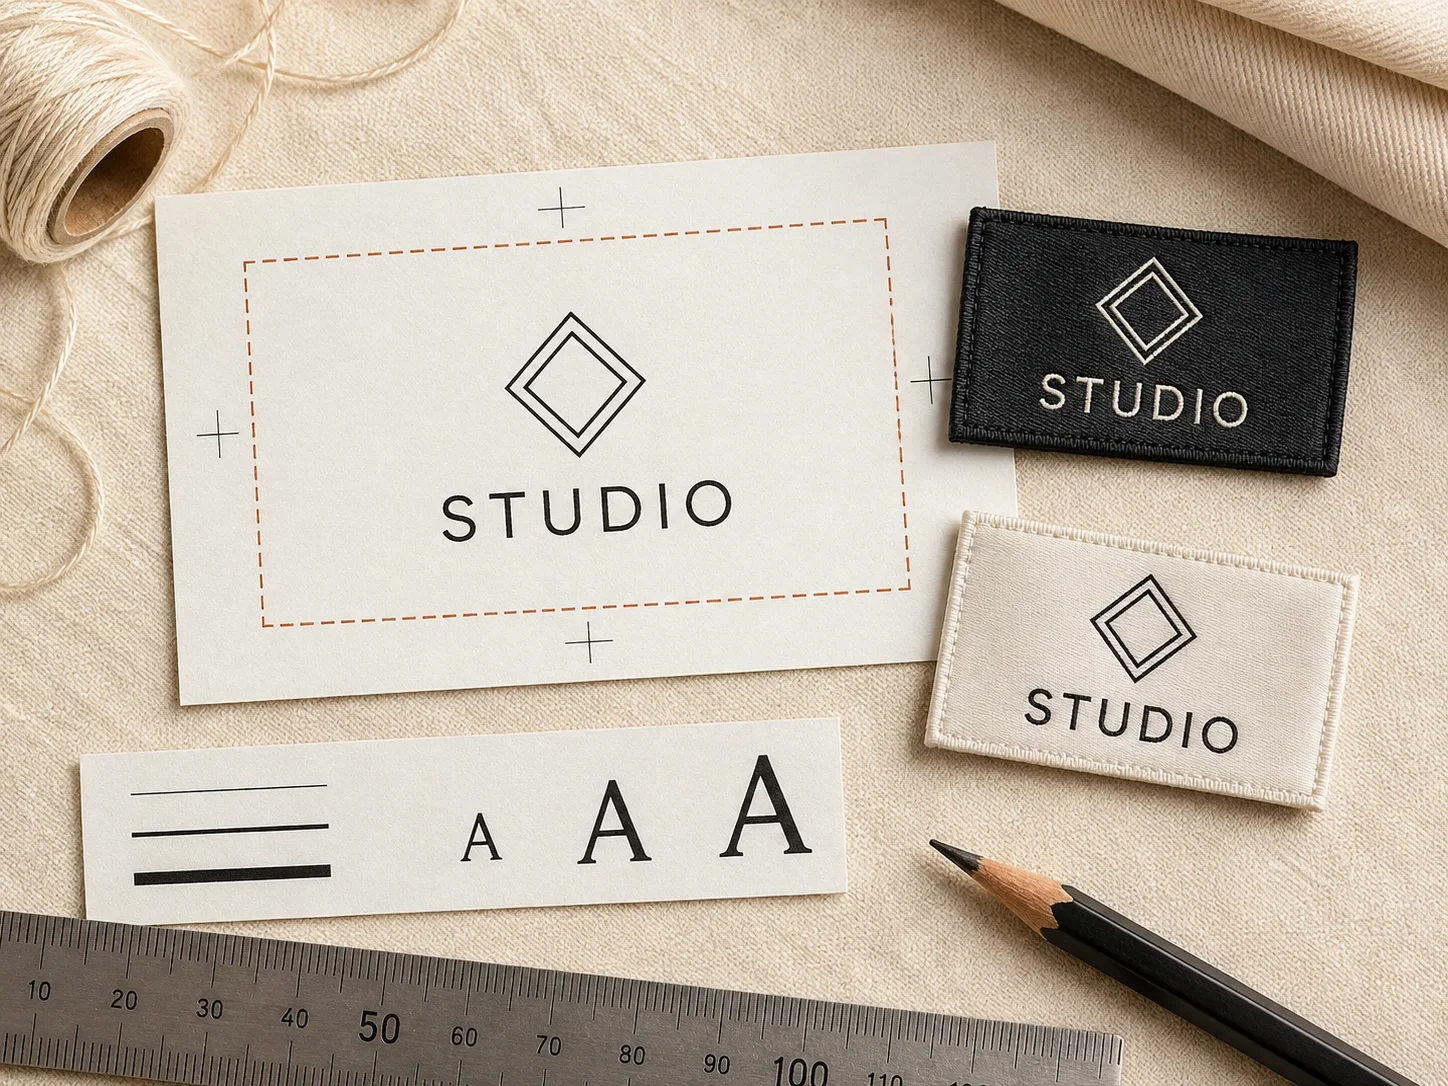
Preview this fold with your own artwork: the free label designer draws the flat piece, the turn-under and the visible face at true size, for every fold on this page.
How is the construction made?
The supplier marks the reverse loop direction in the production proof, forms the loop behind the face and secures the construction at the planned attachment zone. A physical sample is especially useful because the reverse orientation is easy to misunderstand in a flat drawing.
Brief the supplier clearly: name the fold, give the finished visible size, provide the unfolded size and mark every fold line in the artwork proof.
Where is it used?
- Seam placements with a reverse hanging direction
- Bags, caps and accessories with specific attachment orientation
- Labels that need the loop hidden behind the face
- Garments where the ordinary loop would emerge on the wrong side
Choose the fold by placement first. The right construction should support the seam, keep the label comfortable and make the intended face or panels easy to read.
Artwork and size planning
Add a clear front-view and back-view sketch with an arrow showing the loop direction. Mark the top of the label, reading direction and the exact area that will be caught in the seam.
Specify the face size, loop length, loop width, emergence point and seam allowance. The reverse orientation can change the usable attachment area, so approve the folded construction rather than relying only on a flat size.
- Show the finished visible face or closed panel size.
- Show the full unfolded strip and every fold allowance.
- Mark safe areas, reading direction and the stitch or seam zone.
- Approve the artwork at actual size, then check a physical sample.
Sewing and sample approval
Position the label according to the approved front and back views, then stitch through the correct allowance. Check that the loop falls behind the label, does not twist and does not pull the face out of alignment.
Check the sample on the actual garment, not only on a flat table. Look for a straight fold, even edges, comfortable contact, secure stitching and the correct artwork direction.
Which materials suit this fold?
Material choice for a reverse loop follows the same logic as an ordinary one, the tape has to carry a load and bend cleanly, with one addition. Because the loop falls in the opposite direction, the crease at the bend sits against the garment rather than away from it, so a material that marks or shines when creased will show that mark against the cloth instead of hiding it behind the face.
Woven is again the default for anything load-bearing. Damask holds the reverse bend crisply and resists the kink that a softer tape develops when it is folded back on itself. Taffeta works and costs less, but check the bend on a sample, because a reverse fold puts the crease in a more visible position than an ordinary loop does.
The single most useful thing you can do is send the supplier a sketch showing which way the loop falls, not just the words “reverse”. Terminology for loop direction is not consistent between factories, and a drawing removes the ambiguity that a word does not.
- Woven damask: holds the reverse bend without kinking. The safe choice for load-bearing loops.
- Woven taffeta: economical and strong enough, but inspect the crease on a sample.
- Printed satin: acceptable only where the loop is decorative and carries no weight.
- Cotton tape: soft and natural-looking, but it stretches wet and relaxes over time.
- Avoid anything that shines when creased, since the reverse bend sits against the garment where a shine will show.
Where does it sit on the garment?
A reverse loop is chosen because of how the garment is assembled, not because of how it looks. The direction of fall has to match the direction the seam is sewn and the way the garment is finished, which is why this construction is usually specified by the garment maker rather than by the brand.
Practically, it appears where an ordinary loop would sit the wrong way round once the seam is closed, a facing turned in a particular direction, a lining bagged out a particular way, or a construction where the seam allowance falls towards the neck rather than away from it. In those cases an ordinary loop ends up twisted, and the reverse arrangement is what makes it sit flat.
Because the difference is invisible in a written brief, this is the fold most likely to arrive correct in specification and wrong in practice. Agreeing it against a sewn sample rather than a drawing is the only reliable way to confirm it.
As with any loop, check it clears the collar or hood construction behind it, and confirm it is caught into a seam with enough substance to hold a garment’s weight.
- Centre back neck, facing turned inward: the commonest reason a reverse loop is specified.
- Bagged-out linings: where the seam allowance falls towards the neck.
- Hooded garments: where the hood seam dictates the direction the loop can lie.
- Waistband centre back, where the waistband is closed in a particular direction.
- Not a style choice: if an ordinary loop sits flat, use an ordinary loop, it is simpler to sew.
- Check it against the finished garment: the direction only becomes real once the seam is closed and the facing is turned.
Working sizes
Specify the finished face, the finished loop opening and the total unfolded tape length, exactly as for an ordinary loop. Add a note or sketch of the fall direction, because the numbers alone do not distinguish a reverse loop from an ordinary one.
| Use | Finished face | Unfolded |
|---|---|---|
| Light garment, decorative loop | 20 × 15 mm face | 70-80 mm total |
| Shirt or blouse | 25 × 15 mm face | 85-95 mm total |
| Jacket, load-bearing | 30 × 20 mm face | 110-125 mm total |
| Heavy coat | 35 × 20 mm face | 130-150 mm total |
| Hooded garment | 30 × 20 mm face | 120-135 mm total |
What goes wrong with this fold?
- Writing “reverse” without a sketch, and receiving an ordinary loop.
- Specifying reverse when an ordinary loop would have sat flat anyway.
- Quoting the loop opening without the total tape length.
- Choosing a material that shines at the crease, where the reverse bend makes it visible.
- Stitching into lining alone rather than a substantial seam.
- Approving the direction from a drawing instead of a sewn sample.
- Forgetting to check the loop clears a hood or collar stand behind it.
Direction is the whole point of this construction, and it is also the single thing least likely to survive a written brief intact, because it is the one attribute a list of dimensions cannot express. If you take one precaution, make it a photograph or sketch attached to the order showing the loop as it should sit in the finished garment.
The other trap is specifying reverse out of caution when the garment does not need it. It is not a better loop, only a differently oriented one, and it is marginally more awkward to sew. Confirm with whoever is making the garment before choosing it.
What does it cost to make?
A reverse loop costs essentially the same as an ordinary one to manufacture. The tape length, the material and the finishing are identical; only the orientation changes. Where a price difference appears, it is usually a sampling cost rather than a production one, because the first attempt is more likely to need a correction.
The real cost sits on the sewing line. A reverse loop has to be positioned deliberately not by habit, so an operator working quickly can attach it the wrong way round. Whether that matters commercially depends on how thoroughly the line is checked, and it is worth flagging to your garment maker instead of assuming.
As always with woven tabs, colour count moves the price more than construction does. Two or three thread colours is where most loop labels sit; going to five will cost more than the fold arrangement ever will.
One saving worth knowing about: if your range contains both ordinary and reverse loops for different styles, order them as one job in the same material and colourway. The setup is shared, and you avoid the situation where two garments in the same collection carry loops that are visibly a slightly different shade because they were run months apart.
How does it hold up in wear?
Reverse loops fail the same way ordinary ones do, at the stitch line not in the tape. Bar tacking or a box stitch spreads the load; a single straight line concentrates it. That is the specification worth insisting on wherever the loop carries weight.
The crease is slightly more exposed on a reverse loop, because the bend sits against the garment and rubs on the fabric behind it as well as on the hook in front. On printed material that doubles the abrasion at exactly the point where ink is weakest, which is a further argument for woven wherever the loop is used rather than decorative.
Check the sample after a wash with the garment hung to dry. A loop that carries a wet garment through a spin cycle and then holds it while it dries is under the most sustained load it will ever see, and that is the test that separates a tape that holds from one that gradually lengthens.
Sample checklist
Approve this one on a sewn, made-up garment. A reverse loop is defined by its orientation, and orientation cannot be checked on a loose sample.
- Does the loop fall in the direction you intended, with the garment finished?
- Does the face sit flat and the right way up?
- Does the loop clear the collar stand or hood behind it?
- Does it pass over the hooks and rail pegs the garment will meet?
- Is it caught into a substantial seam rather than lining alone?
- Does the stitching spread the load?
- Is there any shine or mark at the crease against the garment?
- Does it still sit correctly after a wash and hang-dry?
How do you brief it to a supplier?
A brief that works: Reverse hanger loop labels, 30 × 20 mm finished face, 25 mm finished loop opening, 118 mm total tape length, loop falling towards the neck as per attached sketch, woven damask, navy with cream, bar-tacked into the centre back neck seam, 2,000 pieces.
The brief gives production the construction, the finished size, the hidden allowances and the placement, which is everything needed to quote and proof without a follow-up call.
Getting hanger loop reverse labels made at Labelwala
We make woven and printed labels in Ahmedabad, Gujarat, and we have been doing it for 25 years. Fold constructions like this one are quoted from the finished size plus the hidden allowances, so the two numbers matter more than anything else you send.
- Minimum order: 1,000 pieces.
- Shipping: pan-India to 20+ cities and export orders to 15+ countries.
- Experience: making labels in Ahmedabad since 2000.
- Shrinkage: polyester satin and woven labels move under 1% in a hot wash; untreated cotton tape can shrink 3 to 5%.
- Quotes: we usually reply within 2 hours on a working day.
- Production: 7-10 days once artwork is approved. Rush jobs run 3-5 days.
- Delivery: nationwide within India, timed by destination and the size of the consignment.
If you are not certain the fold is right for your garment, send a photo of where the label will sit with a ruler beside it. That tells us more than a description, and we can say whether the construction will lie flat there before anything is made.
We are rated 5.0 on Google from 27 reviews. Ask for a sewn sample rather than a loose one. A fold only shows its real behaviour once it is in a seam.
When should you choose this fold?
Choose reverse hanger loop when the loop must fall behind in a specific opposite direction. Choose ordinary for the standard visible rise. Choose even when the loop needs balanced sides on both ends.
- Confirm where the label will be seen.
- Choose the face or panel arrangement.
- Share folded and unfolded measurements.
- Approve a sewn sample before bulk production.
Final recommendation
Hanger Loop Reverse Label works when its fold matches the garment construction and the artwork respects the hidden allowances. If you are comparing all options, use the complete fold and finishing guide before requesting a quotation.