In brief
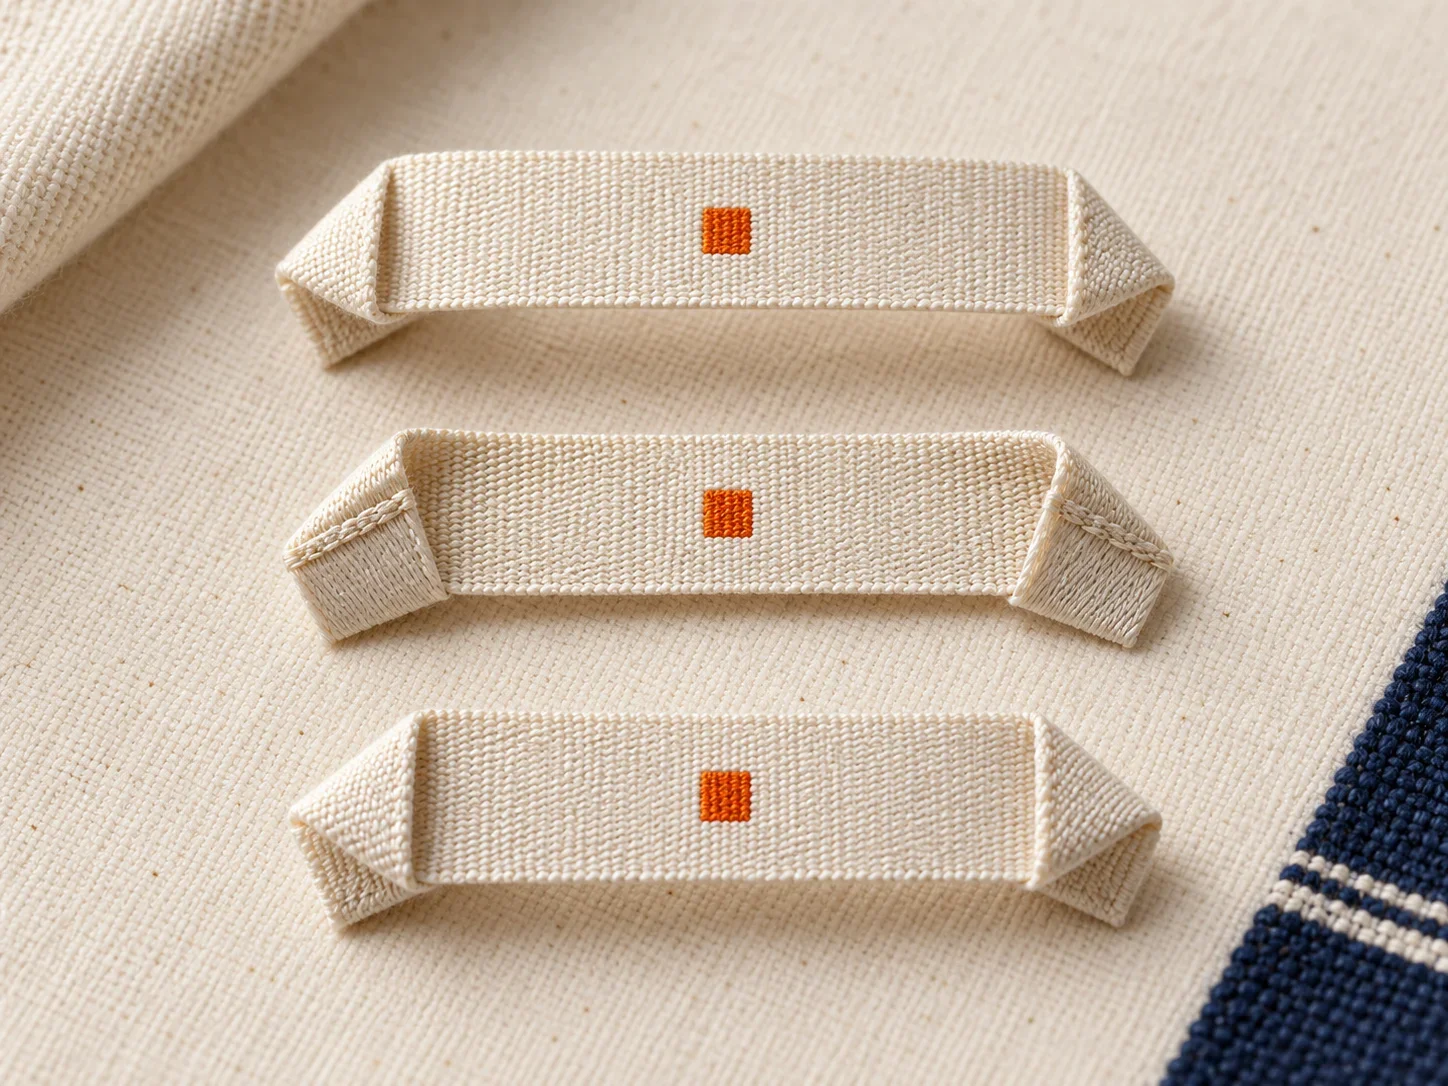
The loop is positioned in the expected direction behind the label, with enough length to serve its intended hanging or attachment purpose. The main label and loop must be specified together because the seam and load affect both pieces.
Labelwala has made folded woven and printed labels in Ahmedabad since 2000, quotes within 2 hours on a working day, and ships to more than 20 cities across India and more than 15 countries.
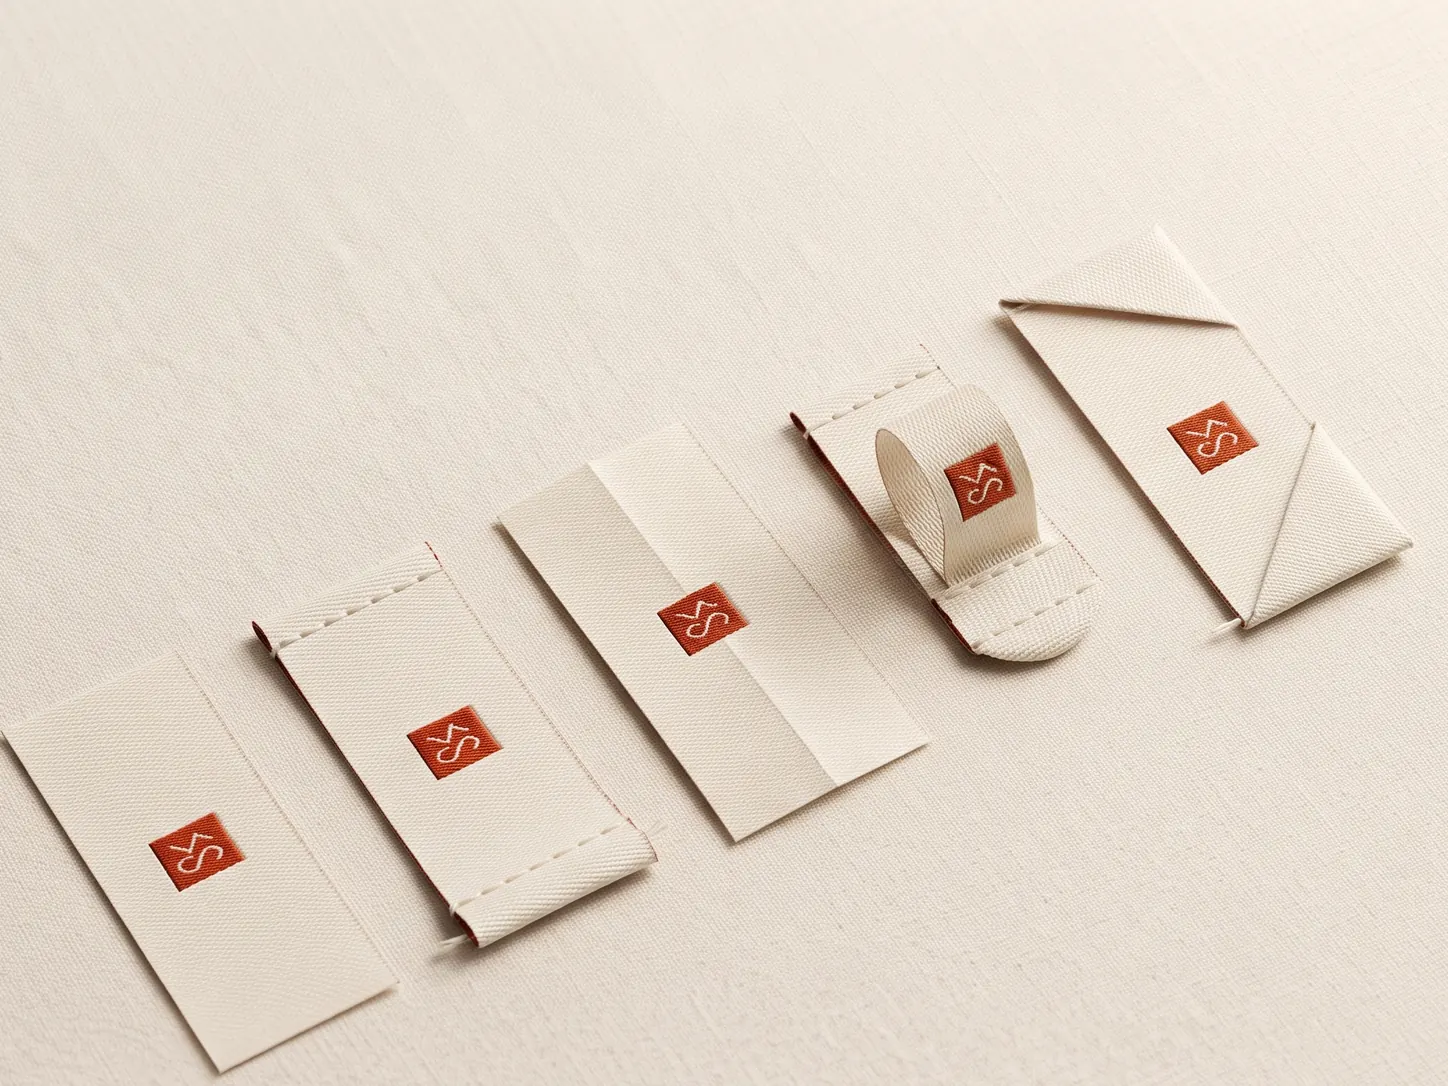
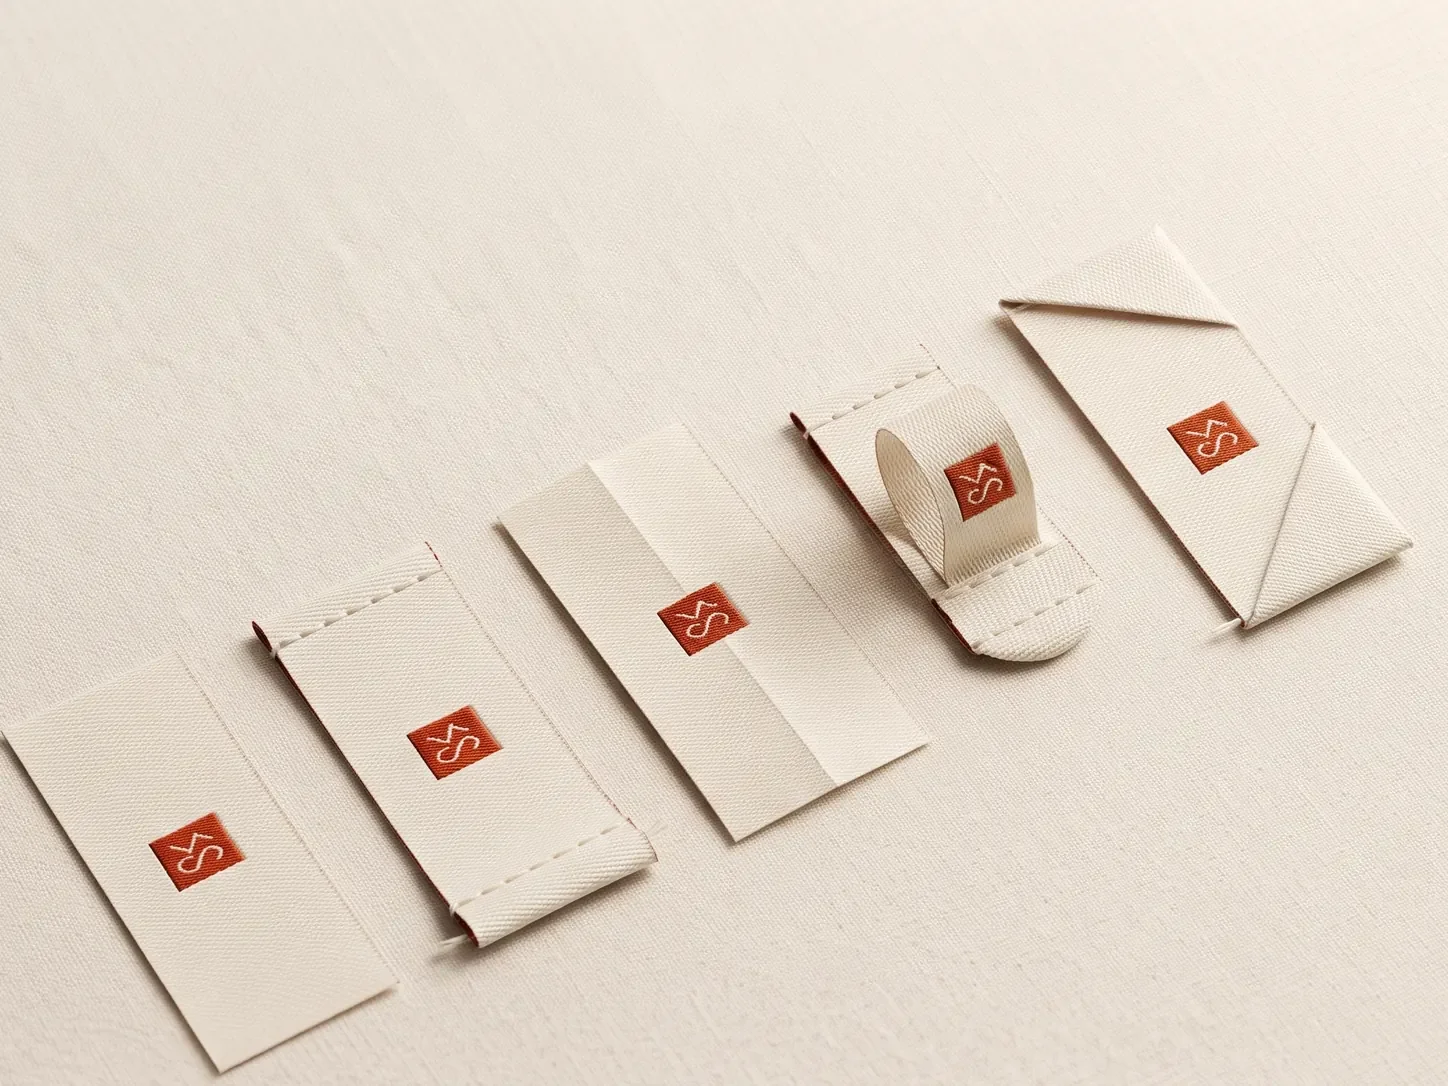
The Hanger Loop Ordinary Label is a specific label construction chosen for how its edges fold, how its panels sit and how it is attached to the garment. The fold changes the visible face, usable artwork area, sewing allowance and the way the label feels in the finished product. Fold allowances assume polyester satin or woven tape, which moves under 1% in a hot wash; untreated cotton tape can shrink 3 to 5%, so allow for it.
Two things are worth settling before anything else. The fold is dictated by how the garment is constructed, not by how the label looks, because a label meant to be caught in a seam is awkward to attach to a finished panel and the reverse is equally true. And the fold decides the flat size that actually has to be made, which is why it belongs in the quote rather than being treated as a finishing detail.
Defined fold
The fold line determines which edges or panels remain visible.
Made to brief
Unfolded size and allowance must be agreed before production.
Sample first
Sewn samples confirm the fold behaves correctly on the garment.
What is a Hanger Loop Ordinary label?
The loop is positioned in the expected direction behind the label, with enough length to serve its intended hanging or attachment purpose. The main label and loop must be specified together because the seam and load affect both pieces.
Preview this fold with your own artwork: the free label designer draws the flat piece, the turn-under and the visible face at true size, for every fold on this page.
How is the construction made?
The label face and loop are produced as one planned construction or joined according to the approved sample. The loop is folded and secured behind the face, then the attachment allowance is sewn into the garment, bag or accessory.
Brief the supplier clearly: name the fold, give the finished visible size, provide the unfolded size and mark every fold line in the artwork proof.
Where is it used?
- Hanging brand labels on garments and accessories
- Side-seam labels with a visible loop
- Caps, bags and lifestyle products
- Labels that need both a face and a hanging attachment
Choose the fold by placement first. The right construction should support the seam, keep the label comfortable and make the intended face or panels easy to read.
Artwork and size planning
Keep the front artwork centred within the face and mark which direction the loop should rise. Include the loop length, width, colour and attachment point in the artwork or production brief.
Specify the finished face size separately from the loop length and width. Confirm how much of the label will be caught in the seam and how much loop must remain visible after sewing.
- Show the finished visible face or closed panel size.
- Show the full unfolded strip and every fold allowance.
- Mark safe areas, reading direction and the stitch or seam zone.
- Approve the artwork at actual size, then check a physical sample.
Sewing and sample approval
Sew through the planned attachment allowance and avoid trapping the loop in a twist. Check the label under light tension so the loop sits straight and the face remains readable.
Check the sample on the actual garment, not only on a flat table. Look for a straight fold, even edges, comfortable contact, secure stitching and the correct artwork direction.
Which materials suit this fold?
A hanger loop has to do two jobs at once, and they pull in opposite directions. The face wants to look good and lie flat; the loop wants to be strong enough to carry a load and flexible enough to bend without kinking. One material has to satisfy both, which is why loop labels are more material-sensitive than a flat neck label.
The load is the part buyers underestimate. A loop on a coat is expected to hold the weight of the whole garment on a hook, sometimes wet, sometimes for months in storage. A soft printed satin that is perfect for a neck label will stretch and eventually tear at the stitch line under that. Woven, with the loop cut so its length runs along the stronger warp direction, is the sensible default wherever the loop is actually going to be hung from.
Where the loop is decorative rather than load-bearing, a small tab that exists for the look of it, the material choice opens up again. Say which you are making at quote stage, because a supplier quoting a decorative loop and a supplier quoting a hanging loop are quoting two different products at two different prices.
- Woven damask: the strongest option and the usual answer for load-bearing loops on outerwear.
- Woven taffeta: good strength at lower cost, though it kinks more visibly at the bend than damask.
- Printed satin: soft and good-looking, but only for decorative loops. It will not hold garment weight reliably.
- Cotton tape: suits natural and organic ranges, but stretches when wet and must be folded, never left cut.
- Grosgrain or twill tape: where the loop is purely functional and no branding sits on it.
Where does it sit on the garment?
The ordinary hanger loop sits at the centre back neck in almost every case, immediately under the collar seam, with the loop rising behind the main label face. That is where a hook expects to find it and where the garment hangs level from.
Position matters more than it does for a flat label, because the loop determines how the garment hangs. A loop set even slightly off centre makes a coat hang crooked on a rail, and a customer reads that as a fault in the garment rather than in the label.
The other constraint is what the loop is stitched into. It has to be caught in a seam with enough substance to take the load, the neck seam or a facing, not into a single layer of lining. A loop that pulls out takes a hole in the garment with it, which is a repair rather than a replacement.
On lighter garments the loop is often there for retail display rather than domestic use, and can be smaller and lighter accordingly. Say which you intend, because it changes both the tape and the stitch specification.
Think about the loop against the collar it sits under, too. On a garment with a substantial collar stand or a hood, the loop has to clear the construction behind it or it will be trapped and unusable. This is easy to miss on a technical drawing and obvious the first time someone tries to hang the sample, which is a good argument for checking it on a made-up garment rather than on paper.
- Centre back neck: the standard, caught into the neck seam or the facing.
- Inside a collar stand: on shirting, where the loop hides under the collar.
- Waistband centre back: on trousers and skirts, where there is no neck to use.
- Between shoulder seams on a lined coat: anchored through the lining into the shell, never the lining alone.
- Not into a single lightweight layer: the loop will tear the fabric before it tears itself.
Working sizes
Give three numbers for a hanger loop: the finished face, the finished loop opening, and the total unfolded length of the piece including both seam allowances. The loop consumes far more tape than the visible opening suggests, because both ends disappear into the seam.
| Use | Finished face | Unfolded |
|---|---|---|
| Light garment, decorative loop | 20 × 15 mm face | 70-80 mm total |
| Shirt or blouse | 25 × 15 mm face | 85-95 mm total |
| Jacket, load-bearing | 30 × 20 mm face | 110-125 mm total |
| Heavy coat | 35 × 20 mm face | 130-150 mm total |
| Waistband loop | 25 × 15 mm face | 80-90 mm total |
What goes wrong with this fold?
- Quoting the loop opening and letting the supplier guess the total tape length.
- Choosing a soft printed material for a loop that will carry a coat.
- Setting the loop off centre, so the garment hangs crooked on a rail.
- Stitching the loop into lining alone, where it pulls out and tears the fabric.
- Making the loop opening too small for the hooks the garment will actually meet.
- Putting artwork on the part of the tape that becomes the loop, where it is upside down or hidden.
- Approving the loop flat rather than hung with the garment’s real weight on it.
The load failure is the one that costs most, because it does not show up at sampling. A loop that holds a folded sample on a desk can tear the first time a wet winter coat hangs on it, and by then the garments are with customers.
The second is loop size. A 15 mm opening looks generous next to a small label and will not pass over a thick wooden hanger hook or a shop rail peg. Test with the actual hardware the garment will meet in retail, not with a wire hanger.
What does it cost to make?
A hanger loop costs more than a flat label of the same face size, and most of the difference is tape rather than labour. A 20 mm visible loop opening can consume 110 mm of woven tape once both seam allowances are counted, so you are buying five times the material the face suggests.
The second cost sits with your garment maker rather than on the label invoice. A loop is a separate sewing operation that has to be positioned accurately and stitched securely, which is slower than catching a flat label in a seam that was being sewn anyway.
Where the loop is genuinely decorative, a shorter tape and a lighter material bring the cost down considerably. Where it is load-bearing, this is not a place to economise. A failed loop damages the garment, and the saving is measured in paise against a repair measured in rupees.
How does it hold up in wear?
Loops fail at the stitch line, almost without exception. The tape itself is rarely the weak point; the join between tape and garment is. That means the stitch specification matters as much as the material: a bar tack or a box stitch spreads the load, while a single straight line of stitching concentrates it at two points.
The bend is the second wear point. A loop is permanently creased at the top where it passes over a hook, and on a printed material the ink at that crease abrades before anything else does. Woven labels avoid this because the colour is structural rather than applied.
Storage is the quiet test. A garment hanging for a season puts a constant, unchanging load on the loop, which is harder on it than repeated short loads. If your product is seasonal outerwear that will hang in a wardrobe for eight months of the year, specify accordingly.
Washing does something specific to loops that it does not do to flat labels. A wet loop carries the weight of a saturated garment during the spin cycle, and cotton tape in particular stretches when wet and does not fully recover. After a season the loop is longer and slacker than it started, which is why cotton tape is a poor choice anywhere the garment is washed while hanging or hung up damp.
Sample checklist
Ask for the loop sewn into a real garment and then hang that garment, wet if it will ever be wet. A loop is the one label that cannot be judged lying flat.
- Does the loop pass over the hooks and rail pegs your garment will actually meet?
- Is the loop centred, so the garment hangs level?
- Is it stitched into a substantial seam rather than lining alone?
- Does the stitching spread the load, or concentrate it at two points?
- Does the face sit flat and the right way up with the loop behind it?
- Does the loop hold the garment’s full weight, including wet?
- Has the crease at the top of the loop been checked after a wash?
- Is the total tape length what you specified, not just the opening?
How do you brief it to a supplier?
A brief that works: Ordinary hanger loop labels, 30 × 20 mm finished face, 25 mm finished loop opening, 115 mm total tape length, woven damask, navy with cream, bar-tacked into the centre back neck seam of a lined jacket, 2,000 pieces.
The brief gives production the construction, the finished size, the hidden allowances and the placement, which is everything needed to quote and proof without a follow-up call.
Getting hanger loop ordinary labels made at Labelwala
We make woven and printed labels in Ahmedabad, Gujarat, and we have been doing it for 25 years. Fold constructions like this one are quoted from the finished size plus the hidden allowances, so the two numbers matter more than anything else you send.
- Minimum order: 1,000 pieces.
- Shipping: pan-India to 20+ cities and export orders to 15+ countries.
- Experience: making labels in Ahmedabad since 2000.
- Shrinkage: polyester satin and woven labels move under 1% in a hot wash; untreated cotton tape can shrink 3 to 5%.
- Quotes: we usually reply within 2 hours on a working day.
- Production: 7-10 days once artwork is approved. Rush jobs run 3-5 days.
- Delivery: nationwide within India, timed by destination and the size of the consignment.
If you are not certain the fold is right for your garment, send a photo of where the label will sit with a ruler beside it. That tells us more than a description, and we can say whether the construction will lie flat there before anything is made.
We are rated 5.0 on Google from 27 reviews. Ask for a sewn sample rather than a loose one. A fold only shows its real behaviour once it is in a seam.
When should you choose this fold?
Choose ordinary hanger loop when the loop should rise visibly behind the face. Choose reverse when the loop needs a different fall direction. Choose even when the loop sides should be balanced around the label.
- Confirm where the label will be seen.
- Choose the face or panel arrangement.
- Share folded and unfolded measurements.
- Approve a sewn sample before bulk production.
Final recommendation
Hanger Loop Ordinary Label works when its fold matches the garment construction and the artwork respects the hidden allowances. If you are comparing all options, use the complete fold and finishing guide before requesting a quotation.