In brief
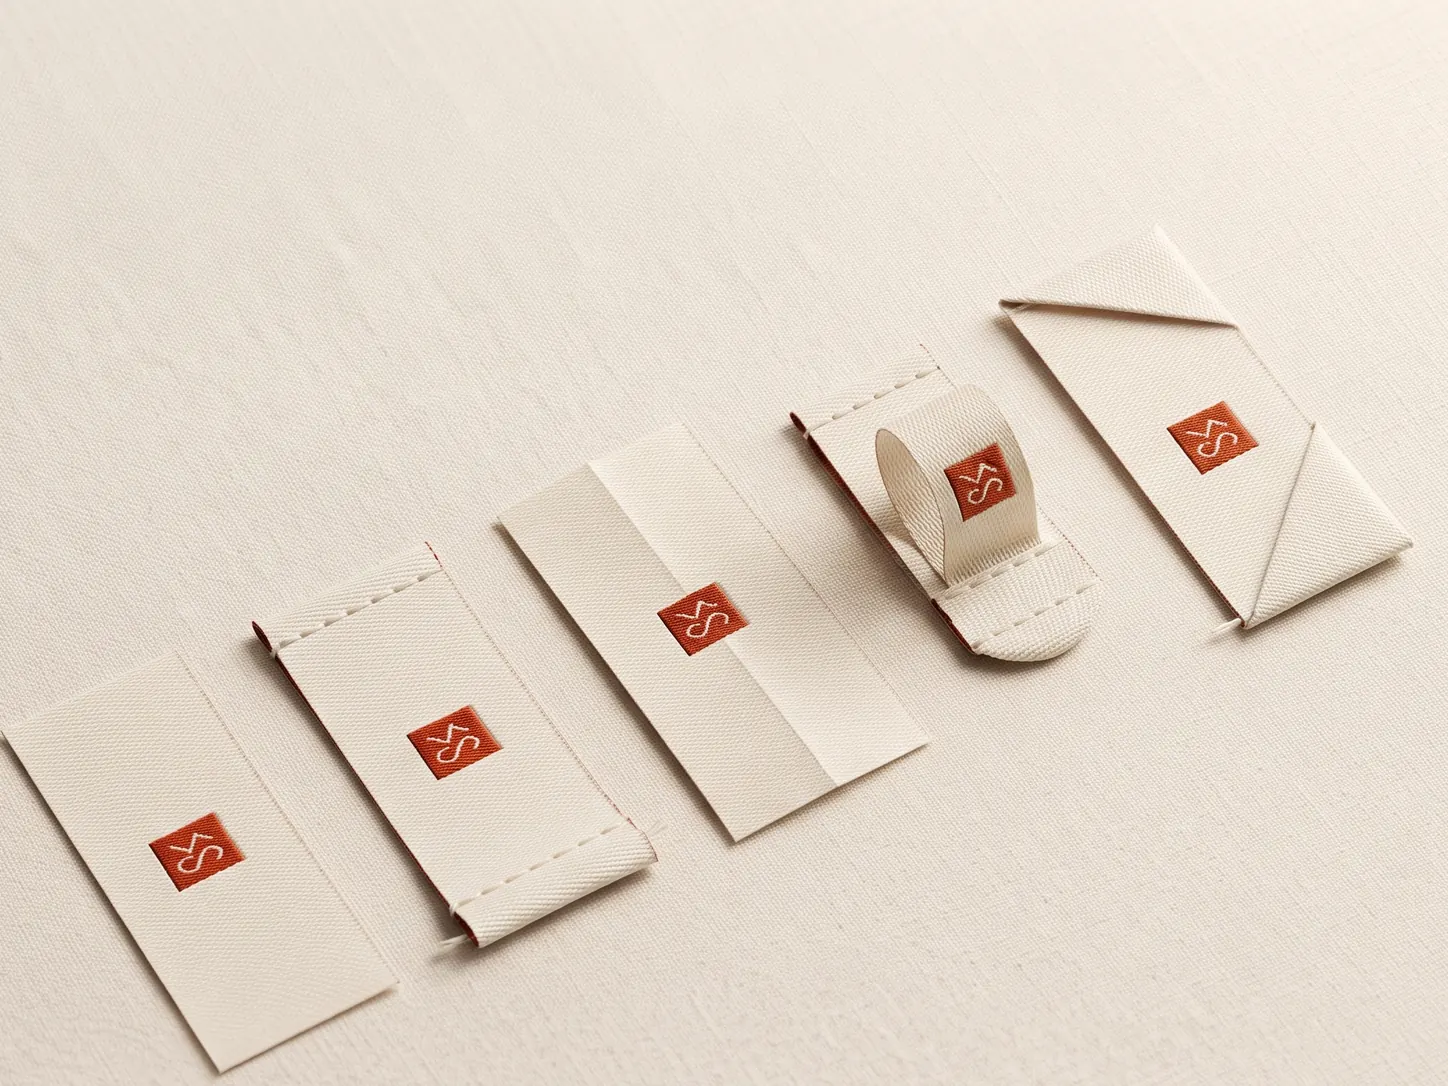
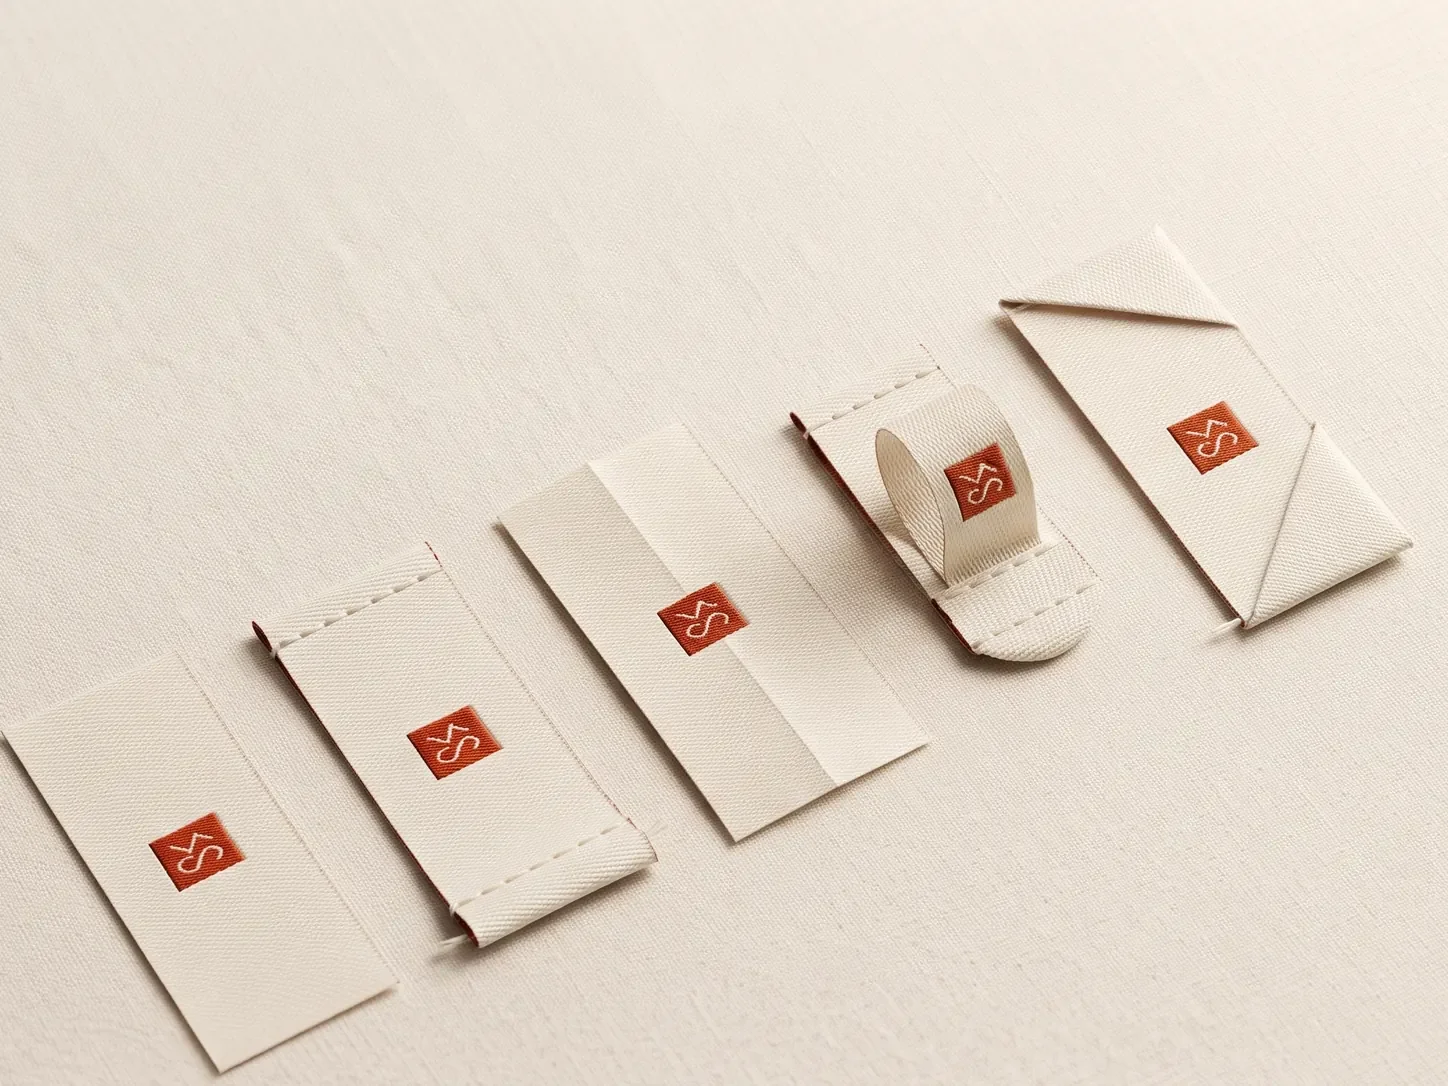
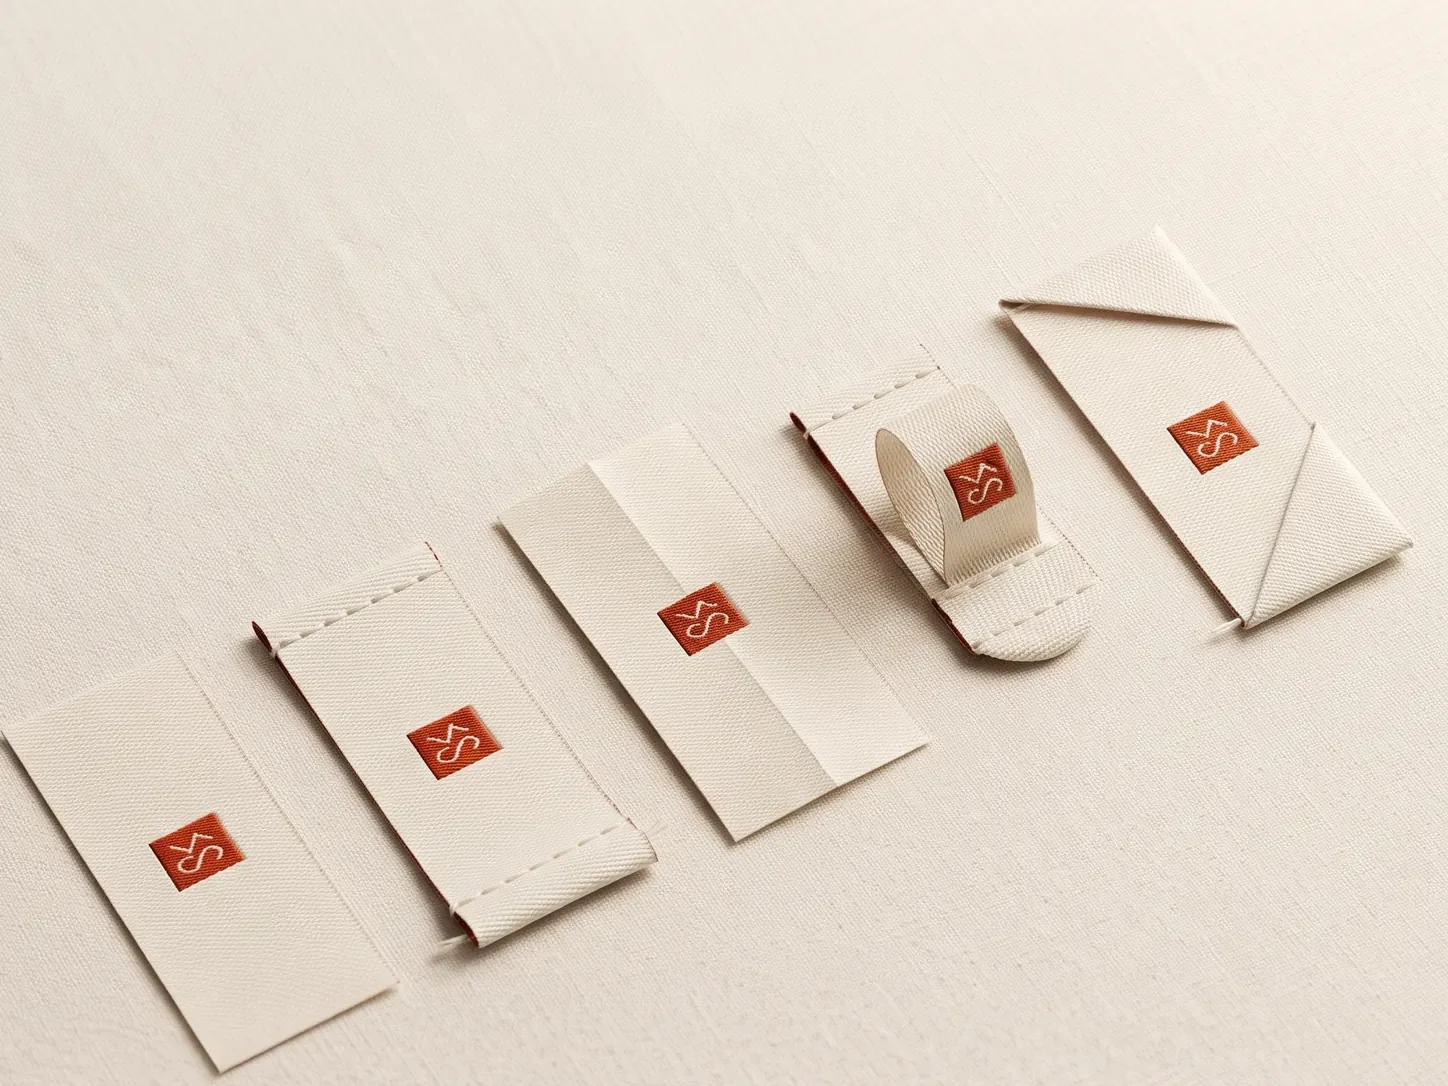
Unlike a regular end fold, which turns the left and right ends under, an end fold along construction turns the upper and lower edges. The finished label can then be sewn through the side areas or placed into a narrow seam without exposed horizontal cut edges.
Labelwala has made folded woven and printed labels in Ahmedabad since 2000, quotes within 2 hours on a working day, and ships to more than 20 cities across India and more than 15 countries.
The End Fold Along Label is a specific label construction chosen for how its edges fold, how its panels sit and how it is attached to the garment. The fold changes the visible face, usable artwork area, sewing allowance and the way the label feels in the finished product. Fold allowances assume polyester satin or woven tape, which moves under 1% in a hot wash; untreated cotton tape can shrink 3 to 5%, so allow for it.
Two things are worth settling before anything else. The fold is dictated by how the garment is constructed, not by how the label looks, because a label meant to be caught in a seam is awkward to attach to a finished panel and the reverse is equally true. And the fold decides the flat size that actually has to be made, which is why it belongs in the quote rather than being treated as a finishing detail.
Defined fold
The fold line determines which edges or panels remain visible.
Made to brief
Unfolded size and allowance must be agreed before production.
Sample first
Sewn samples confirm the fold behaves correctly on the garment.
What is a End Fold Along label?
Unlike a regular end fold, which turns the left and right ends under, an end fold along construction turns the upper and lower edges. The finished label can then be sewn through the side areas or placed into a narrow seam without exposed horizontal cut edges.
Preview this fold with your own artwork: the free label designer draws the flat piece, the turn-under and the visible face at true size, for every fold on this page.
How is the construction made?
The supplier produces the label at its unfolded height, including the two hidden turn-under allowances. The top and bottom edges are folded to the back, pressed or held in position, and finished so the visible face remains straight. The side edges stay available for the sewing plan.
Brief the supplier clearly: name the fold, give the finished visible size, provide the unfolded size and mark every fold line in the artwork proof.
Where is it used?
- Narrow vertical brand tabs
- Side labels on garments, bags and accessories
- Labels where the top and bottom edges need a clean hidden finish
- Small information labels placed into a vertical seam or binding
Choose the fold by placement first. The right construction should support the seam, keep the label comfortable and make the intended face or panels easy to read.
Artwork and size planning
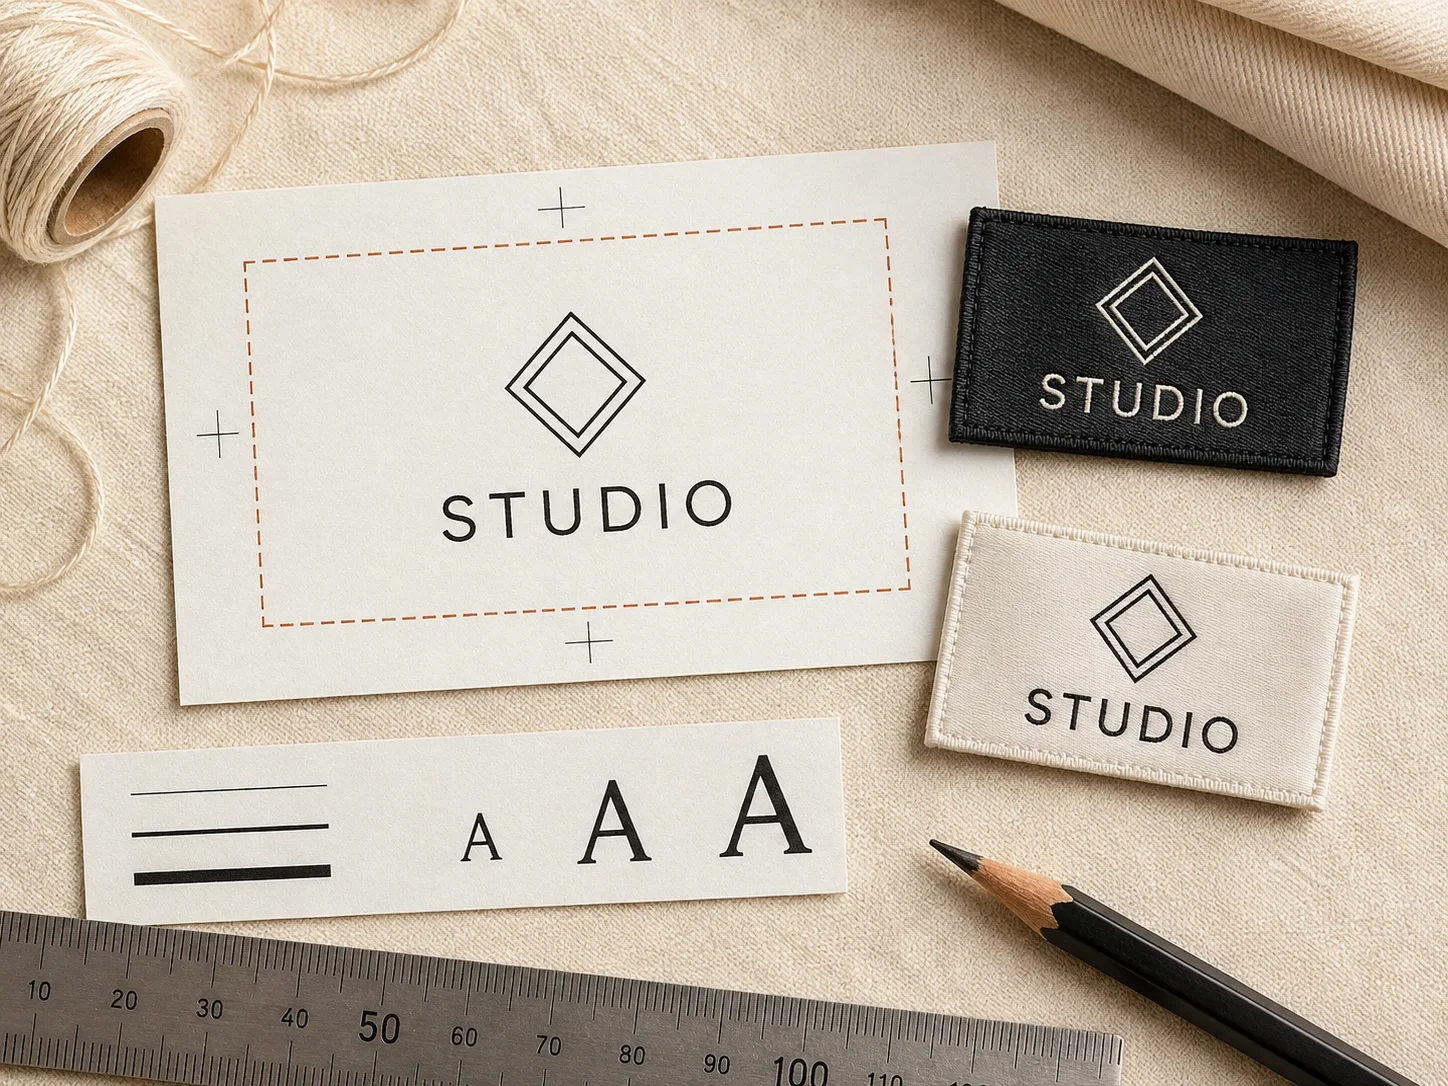
Keep important artwork away from the top and bottom fold allowances. Logos, borders and small type should sit inside the finished visible face, not across the area that will disappear behind the label.
Ask for the finished visible width and height, the unfolded height, and the depth of both horizontal folds. The hidden allowances reduce the usable face height, so a file prepared only to the folded size can become cramped after production.
- Show the finished visible face or closed panel size.
- Show the full unfolded strip and every fold allowance.
- Mark safe areas, reading direction and the stitch or seam zone.
- Approve the artwork at actual size, then check a physical sample.
Sewing and sample approval
End fold along labels are commonly secured through the side attachment areas or caught into a seam. The sewing method depends on whether the label is being mounted flat or inserted into a construction. Approve a sewn sample to check that the folded top and bottom edges stay flat.
Check the sample on the actual garment, not only on a flat table. Look for a straight fold, even edges, comfortable contact, secure stitching and the correct artwork direction.
Which materials suit this fold?
The fold runs across the short axis here, so the material has to take a crease along its width rather than its length. That sounds like a small distinction and it decides how the finished label behaves. A stiff woven taffeta folded across the width springs back harder than the same taffeta folded lengthways, because the fold is working against the denser warp direction.
For a narrow vertical tab, softness matters more than it does on a flat neck label. The label is often caught along one side only, so the free edge is unsupported. A material with too much body will stand away from the garment instead of lying against it.
Weave direction is worth asking about if the tab is long. A label cut with its length along the warp is stiffer down its length than one cut across it, and on a 70 or 80 mm tab that difference is visible in how the label hangs. Most suppliers cut whichever way is efficient unless you say otherwise, so if the drape matters, say so at quote stage rather than after seeing the sample.
- Woven damask: holds the fold crisply and looks premium. Best where the tab is caught on both sides.
- Woven taffeta: economical and stable, but check the crease on a sample, it can spring back on narrow widths.
- Printed satin: the softest option and the most forgiving on a free edge. Takes fine detail if the tab is small.
- Printed cotton or canvas: matte and natural, folds softly, suits workwear and organic-positioned ranges.
- Avoid heavy or coated stock: anything that resists creasing will not hold a horizontal fold on a narrow label.
Where does it sit on the garment?
End fold along suits placements where the label runs vertically and only the side edges are available for stitching. That is a narrower set of positions than a standard end fold, which is why the construction is chosen deliberately rather than by default.
The commonest use is a vertical brand tab down a side seam, a bag gusset or the inside of a binding. In each case the horizontal edges would otherwise be exposed at the top and bottom of the tab, which is exactly what this fold hides.
Check the placement against the garment’s smallest size before committing. A 60 mm vertical tab that sits neatly on an adult large can run past the end of the seam on an extra small, and unlike a neck label there is no obvious second position to move it to. Set the placement on the smallest size and let the larger sizes carry the spare room.
One practical constraint people meet late: the fold has to sit clear of any cross seam. If the tab crosses a horizontal join, the folded edge and the seam allowance stack up and the label will not press flat. Where a cross seam is unavoidable, shorten the tab so it finishes short of the join.
- Side seam, vertical: the standard use. Caught along one or both long edges.
- Bag gusset or panel join: the fold keeps the short edges clean where the label crosses a structural seam.
- Inside a binding: the label slots into the binding channel with no raw horizontal edge showing.
- Under a zip guard or placket: where a short exposed edge would catch.
- Not for centre back neck: a loop or centre fold sits better there and is cheaper to sew.
Working sizes
Two numbers matter on every end fold along quote: the finished visible face, and the unfolded height including both hidden allowances. A turn-under of 5 to 7 mm at each edge is normal, so the unfolded piece is typically 10 to 14 mm taller than the face you will see.
| Use | Finished face | Unfolded |
|---|---|---|
| Narrow brand tab | 15 × 45 mm | 25-29 × 45 mm |
| Standard vertical tab | 20 × 60 mm | 30-34 × 60 mm |
| Bag or accessory tab | 25 × 70 mm | 35-39 × 70 mm |
| Wide statement tab | 30 × 80 mm | 40-44 × 80 mm |
| Short information tab | 20 × 40 mm | 30-34 × 40 mm |
What goes wrong with this fold?
- Giving one height and letting the supplier guess whether it is the face or the unfolded piece.
- Designing to the finished face, then losing the top and bottom of the artwork to the turn-under.
- Choosing a stiff material that will not hold a crease across the short axis.
- Putting a border close to the top or bottom edge, where the fold will cut through it.
- Specifying this fold for a centre back neck, where a loop fold is simpler and cheaper.
- Forgetting that only the side edges are available for stitching.
- Leaving the free long edge unsupported on a soft garment, so the tab flaps.
- Approving a flat sample instead of one sewn into the actual seam.
The height confusion is the expensive one, because it is not visible until the labels arrive. A piece made 10 mm short on the unfolded height cannot be re-folded to recover the face; it has to be remade.
The second most common is the free edge. On a soft jersey or a lightweight lining, a tab caught along only one long side will lift and curl after a few washes, because nothing is holding the opposite edge down. If the sample curls on the first wash, the answer is usually to catch both long edges rather than to change material.
What does it cost to make?
End fold along costs slightly more per piece than a straight cut label of the same visible size, for one straightforward reason: you are paying for the material hidden behind the fold. A 20 mm face with 7 mm allowances top and bottom uses a 34 mm piece, so roughly 70 per cent more material than the face suggests.
The folding itself adds a finishing step, though on most runs that is a smaller cost than the extra cloth. Where it does become significant is on very short runs, because the fold has to be set up regardless of quantity.
If budget is tight and the horizontal edges will be hidden by the seam anyway, a straight cut label with sealed edges does the same job for less. The fold earns its cost when the edges are genuinely visible.
Colour count matters more than fold choice on a woven tab. Each colour is a separate thread on the loom, and two or three colours is where most tabs sit. Going to five will move the price more than the fold ever will, so if the budget is tight, simplify the palette before simplifying the construction.
How does it hold up in wear?
A folded edge is stronger than a cut one, which is the practical reason this construction exists at all. The turn-under doubles the material at the top and bottom, so the two edges most likely to fray are the two that are protected. On a tab that gets handled, a bag pull, a zip guard, anything a hand reaches for, that doubling is worth more than it looks on a spec sheet.
What fails instead is the crease. A fold pressed into synthetic taffeta will hold indefinitely; the same fold in a soft cotton tape relaxes after a dozen washes and the tab starts to look untidy at the ends. If the garment goes through industrial laundering, ask for the fold to be heat-set rather than simply pressed, and check the sample after a hot wash rather than a cold one.
Colour holds better on this construction than on a printed hem tag, because the visible face is flat and takes less abrasion than a folded-over edge would. Where colour does go is at the fold line itself on printed material, where the ink sits on a curve and rubs first. Woven labels do not have this problem at all, which is one more reason woven suits a tab that will be touched.
Sample checklist
Ask for the tab sewn into the actual seam, not supplied loose. A folded label only shows how it behaves once something is holding it.
- Is the visible face the height you specified, not the unfolded height?
- Are both turn-unders the same depth, so the face sits centred?
- Does any artwork disappear into the fold at the top or bottom?
- Does the tab lie flat against the garment, or stand away from it?
- Is the free long edge held, or does it lift?
- Does the fold clear any cross seam?
- Does the tab still sit flat after one wash?
- Does the placement work on the smallest size in the range?
- Is the material soft enough for where it sits, if it touches skin?
How do you brief it to a supplier?
A brief that works: End fold along labels, 20 mm finished face height × 60 mm wide, 7 mm turn-under top and bottom, 34 mm unfolded, woven damask, navy with cream, caught along both long edges into a vertical side seam, 2,000 pieces.
The brief gives production the construction, the finished size, the hidden allowances and the placement, which is everything needed to quote and proof without a follow-up call.
Getting end fold along labels made at Labelwala
We make woven and printed labels in Ahmedabad, Gujarat, and we have been doing it for 25 years. Fold constructions like this one are quoted from the finished size plus the hidden allowances, so the two numbers matter more than anything else you send.
- Minimum order: 1,000 pieces.
- Shipping: pan-India to 20+ cities and export orders to 15+ countries.
- Experience: making labels in Ahmedabad since 2000.
- Shrinkage: polyester satin and woven labels move under 1% in a hot wash; untreated cotton tape can shrink 3 to 5%.
- Quotes: we usually reply within 2 hours on a working day.
- Production: 7-10 days once artwork is approved. Rush jobs run 3-5 days.
- Delivery: nationwide within India, timed by destination and the size of the consignment.
If you are not certain the fold is right for your garment, send a photo of where the label will sit with a ruler beside it. That tells us more than a description, and we can say whether the construction will lie flat there before anything is made.
We are rated 5.0 on Google from 27 reviews. Ask for a sewn sample rather than a loose one. A fold only shows its real behaviour once it is in a seam.
When should you choose this fold?
Choose end fold along when the top and bottom edges need to disappear. Choose regular end fold when the left and right edges need to be hidden on a flat neck label. Choose centre fold when two faces should show from opposite sides of a seam.
- Confirm where the label will be seen.
- Choose the face or panel arrangement.
- Share folded and unfolded measurements.
- Approve a sewn sample before bulk production.
Final recommendation
End Fold Along Label works when its fold matches the garment construction and the artwork respects the hidden allowances. If you are comparing all options, use the complete fold and finishing guide before requesting a quotation.