In brief
Most adult left-chest patches are 60 to 80 mm wide, with 70 mm the safest start; sleeves take 50 to 70 mm, cap fronts 50 to 65 mm and school crests 70 to 100 mm wide. Under 40 mm fine text fills in on embroidery, and anything washed regularly should be sewn on rather than ironed on.
Labelwala has made woven and embroidered patches in Ahmedabad since 2000, quotes within 2 hours on a working day, and ships to more than 20 cities across India and more than 15 countries.
Patches are the most visible piece of branding you can put on a garment. Unlike a neck label or a care label, it is meant to be seen. That changes what matters: size, placement and how well the logo holds up at the size you have chosen.
Patches go wrong in one main way. The logo is designed on screen, scaled down to 50 mm, and the fine detail that made it good disappears. Embroidery in particular has a hard floor on detail, because a stitch takes up physical space and cannot be made arbitrarily small.
Our guide covers the sizes by placement, then how much detail each size holds, backing choices and edges. For labels rather than patches, see our full clothing label size guide. For artwork limits, see the label artwork size guide. Patch sizes assume a polyester or twill base, which moves under 1% in a hot wash; a cotton garment under the patch can shrink 3 to 5%, so sample on the real fabric.
Placement sets the size
A chest patch and a cap patch are different jobs. Pick the spot first.
Stitches need room
Embroidery cannot go below a certain detail. Woven can.
Sew it if it is washed
Iron-on lifts at the edges over time. Uniforms need stitching.
What are the standard patch sizes by placement?
Patch sizes are usually quoted by width, with the height following the shape of the design. Start from where it goes, because that decides how much room you actually have.
| Placement | Typical size | Notes |
|---|---|---|
| Left chest | 60-80 mm wide | Polos, shirts, workwear, jackets |
| Kidswear chest | 45-55 mm wide | Scale down with the garment |
| Sleeve patch | 50-70 mm wide | Keep clear of the seams |
| School crest | 70-100 mm wide, 80-110 mm tall | Blazer and uniform chest |
| Cap front | 50-65 mm wide | Match the crown height |
| Cap side | 30-45 mm wide | Small marks only |
| Bag or backpack | 60-100 mm wide | Needs a stronger backing |
| Back panel | 150-250 mm wide | Jackets, workwear, biker style |
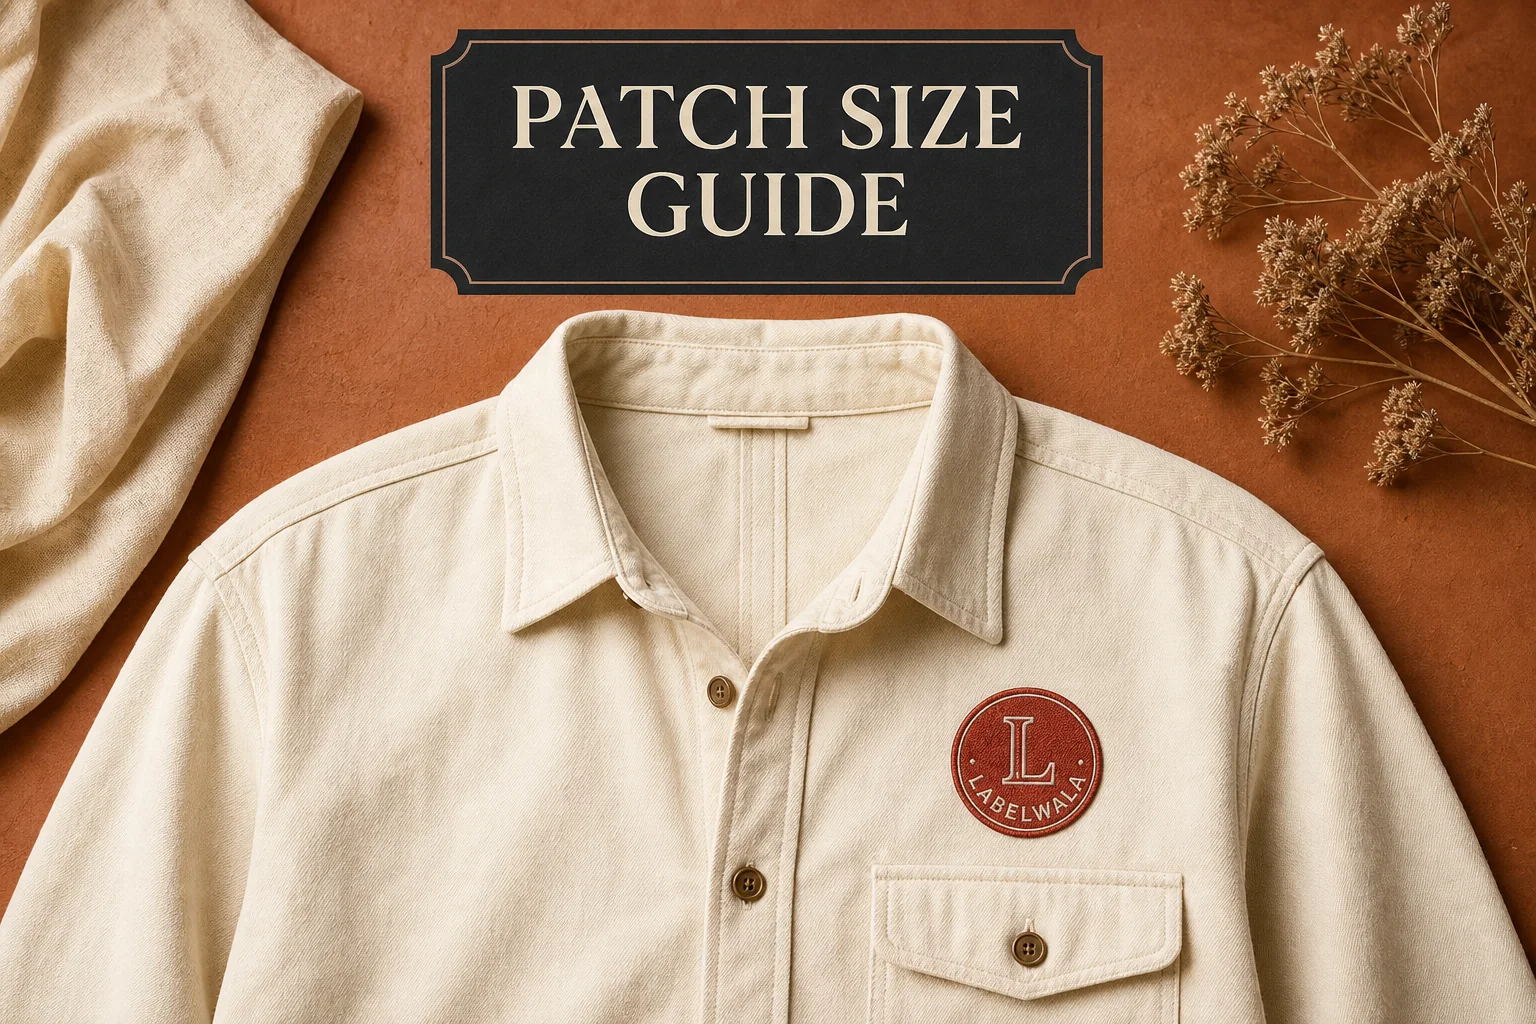
For a normal adult left chest, 70 mm wide is the safest starting point. It is big enough to hold a wordmark and a symbol together, and small enough to sit properly on a polo or a shirt without dominating it.
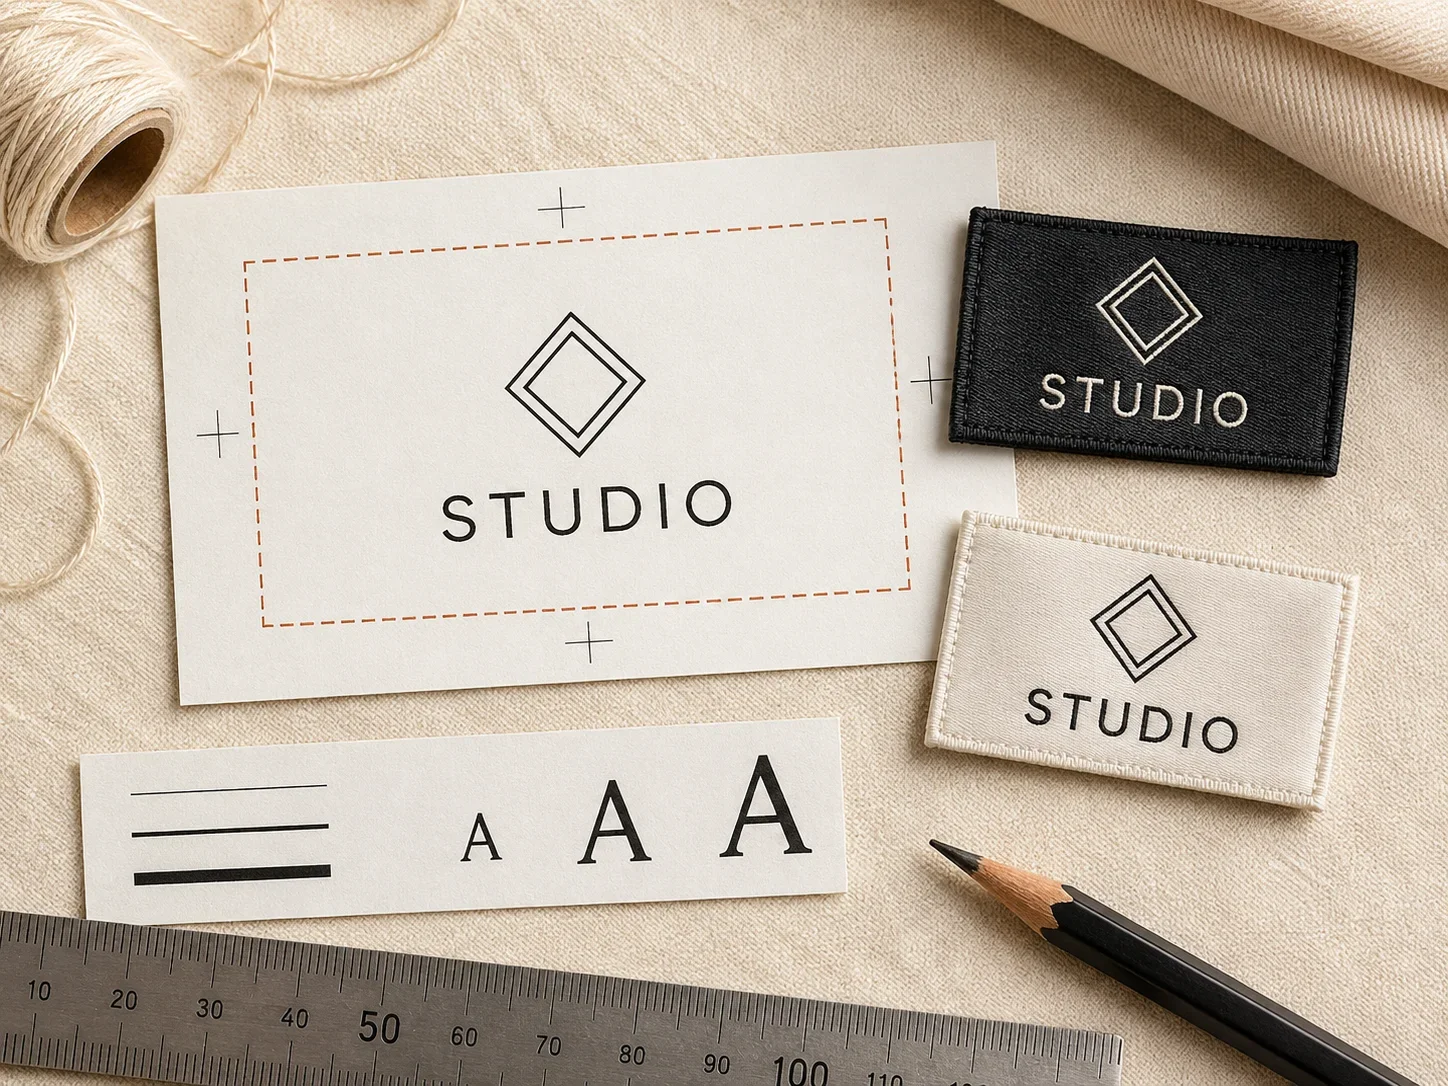
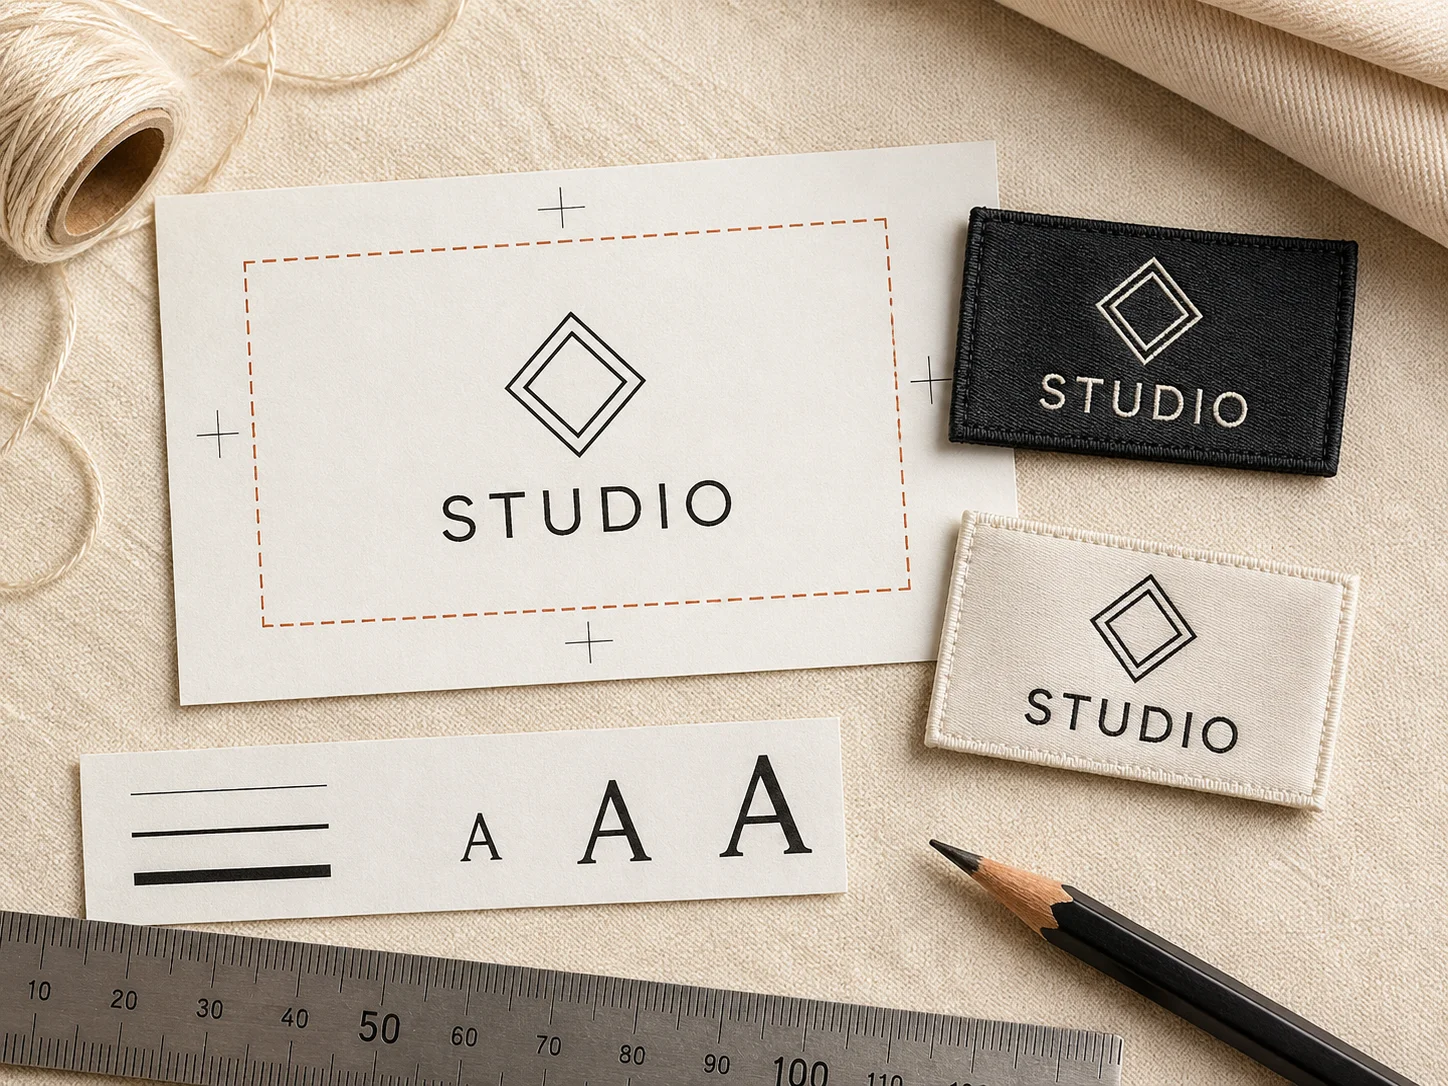
One quick check: print your patch at actual size, cut it out and pin it to the garment. Two minutes, and it settles the size argument faster than any amount of discussion.
Unsure whether the size works? Set it in the free label designer: it shows your label at true size and warns when text drops under what a loom can weave.
Embroidered or woven?
Embroidered and woven patches are two different products, and the choice is mostly about detail.
Embroidered patches are stitched with thread onto a backing cloth. The result is raised and textured, and it reads as premium and traditional. The catch is detail: a stitch has real width, so fine lines and small text either disappear or turn into a lump. Embroidery suits bold shapes, simple type and strong outlines.
Woven patches are made on a loom like a woven label, using much finer threads. They come out flat and thin, and they hold far more detail. Small text, thin lines and complex crests all reproduce. They look less traditional and have no raised texture, but they can carry artwork embroidery simply cannot.
- Go embroidered for a bold logo, a classic look, or when you want the raised feel.
- Go woven for fine detail, small text, complex crests, or a flatter and lighter patch.
- Go woven when the patch must be small but the logo is detailed.
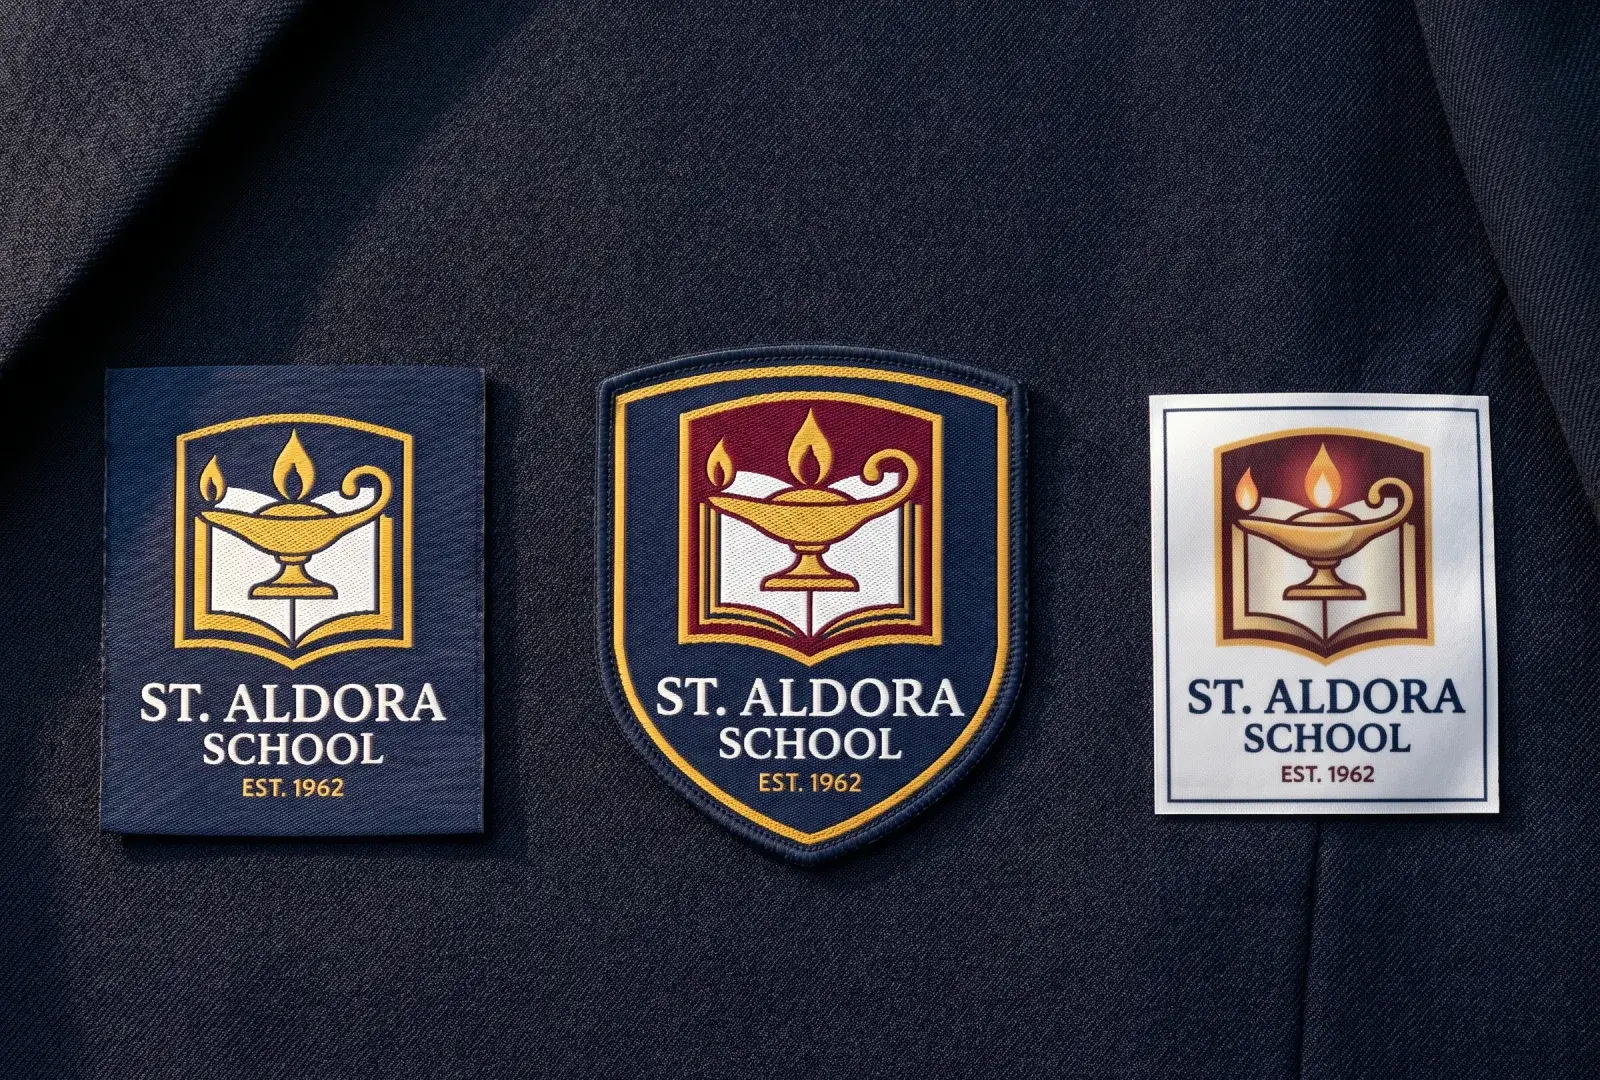
Many school crests end up woven for exactly this reason. A crest with a motto, a date and a fine illustration cannot be embroidered at 80 mm without losing most of it. Woven at the same size, it stays readable.
How much detail fits at each patch size?
Detail capacity is the part people usually find out too late. Under roughly 40 mm, fine text and thin lines start to fill in on embroidery. The smaller the patch, the more you have to simplify.
- Under 40 mm: a symbol or one short word. No secondary text.
- 40-60 mm: a wordmark, or a symbol plus a very short word.
- 60-80 mm: a logo with a name. Small supporting text if woven.
- 80-110 mm: a full crest, a motto and finer illustration.
- 150 mm and up: almost anything, including detailed artwork.
For embroidery, keep text at 5 mm minimum height and lines at 1 mm minimum thickness. Those are much coarser limits than a printed label, and they are physical rather than adjustable. Under those limits the stitches merge.
Woven patches follow the same limits as woven labels: around 2 mm text and 0.4 mm lines. That is why a design that fails as embroidery at 60 mm often works woven at the same size.
If your logo will not survive, simplify it for the patch rather than shrinking it. Drop the tagline, thicken the strokes, remove the fine illustration. A simplified patch version is normal practice, not a compromise.
Which backing should a patch have?
The backing decides how the patch goes on and how long it stays there. This is where most complaints come from, and it is usually because iron-on was chosen for something that gets washed.
- Sew-on: no backing adhesive. The strongest and most permanent. Standard for uniforms and workwear.
- Iron-on: heat-activated glue on the back. Quick, but lifts at the edges over time, especially with washing.
- Velcro: hook-and-loop, so the patch can be removed. Used for tactical wear, name patches and anything that changes.
- Adhesive: peel-and-stick. Temporary only. Events and short-term use.
Treat iron-on as a way to hold the patch in place while it is stitched, rather than as the attachment itself. On anything washed regularly, the glue softens and the corners lift, and a half-attached patch looks worse than no patch. If the garment is a uniform, sew it.
Velcro is worth considering for uniforms where roles change. A hospital or security uniform with a removable name patch means one garment serves several people, and the patch moves with the person rather than the shirt.
Which edge finish and shape should a patch have?
Every patch edge has to be finished or it frays. The two common finishes look quite different. They also wear differently on the garment and in the hand.
- Merrowed edge: a thick stitched border wrapped around the outside. The classic patch look. Only works on simple shapes, circles, squares, shields.
- Laser-cut or heat-cut edge: cut and sealed. Thin and neat, and it can follow any shape, including complex outlines and cut-outs.
Shape affects cost and lead time. A circle or a shield is straightforward. A shape that follows the outline of a detailed logo needs a custom cut and usually costs more. If budget matters, a simple outer shape with the detail inside it is the economical choice.
Border colour matters more than people expect. A merrowed border in a contrasting colour frames the design and makes it read from further away. A border matching the garment makes the patch look like part of the fabric. Neither is wrong, but decide it deliberately.
Getting placement right
Placement is judged by eye more than by rule, but there are a few reliable starting points. They hold for the common garment types.
- Left chest: roughly in line with the pocket, or where a pocket would be. Around 180-200 mm down from the shoulder seam on an adult shirt.
- Sleeve: 80-100 mm under the shoulder seam, centred on the outer arm.
- Cap front: centred, sitting just above the peak with even margin either side.
- Back panel: centred, below the yoke seam.
Check placement on your smallest size first. A 70 mm chest patch that sits nicely on an XL can crowd the armhole on an XS. If one placement has to work across the whole size run, set it on the smallest garment and let the larger sizes carry the extra space.
Watch out for seams and pockets. A patch that crosses a seam will not lie flat, and a patch stitched over a pocket seals the pocket shut. Both are found at the sewn-sample stage, which is why the sewn sample matters.
How many colours can a patch carry?
Colour works differently on the two methods, and it affects what you pay as well as how it looks.
On an embroidered patch, every colour is a separate thread and a separate pass on the machine. Each one adds stitching time, so colour count is a real cost driver. Most embroidered patches use three to six colours. Gradients are not possible. The closest you get is blending two thread colours in adjacent stitches, which reads as texture rather than a smooth blend.
On a woven patch, colours are threads too, but they are set up on the loom rather than stitched in passes. Extra colours cost less than they do in embroidery, though there is still usually a practical limit of six to eight before the weave gets crowded.
- Keep the design to as few colours as it genuinely needs.
- Pick colours from a physical thread card, not a screen value.
- Check contrast between the design and the patch background.
- Check contrast between the patch background and the garment.
- Record your thread references so reorders match.
The double contrast check matters. A navy patch with a black design reads as a dark blob. A cream patch on a cream shirt disappears entirely. Both look fine in a mockup on a white screen and fail on the actual garment, so hold the thread card against the real fabric.
Metallic threads, gold and silver, behave differently from ordinary ones. They are stiffer, they catch light unevenly, and they can be harsher against skin. They look excellent on a blazer crest and less good on a soft T-shirt. If you want metallic, ask to see it stitched rather than on a card.
What drives the price of a patch?
Patch pricing is less obvious than label pricing, because two patches of the same size can cost very different amounts depending on how much work is in them.
- Size: the biggest single factor. A patch twice as wide is roughly four times the area.
- Stitch count: for embroidery, how densely the design is filled. A solid background costs far more than an outline on a plain ground.
- Colour count: each embroidered colour is another pass.
- Shape: a circle or shield is standard; a custom outline needs its own cut.
- Backing: velcro costs more than sew-on; iron-on sits in between.
- Quantity: setup is spread across the run, so unit cost falls sharply with volume.
Stitch count is the one people miss. If you fill the whole patch background with stitching, you are paying for every one of those stitches. Leaving the backing cloth visible as the background, and stitching only the design, can cut the cost substantially while looking just as good. Choose the backing cloth colour deliberately and it becomes your background for free.
Getting patches made at Labelwala
We make woven and printed labels and patches in Ahmedabad, Gujarat, and we have been doing it for 25 years. School crests and workwear chest patches are the two we quote most often.
- Minimum order: 1,000 pieces.
- Shipping: pan-India to 20+ cities and export orders to 15+ countries.
- Experience: making labels in Ahmedabad since 2000.
- Shrinkage: polyester satin and woven labels move under 1% in a hot wash; untreated cotton tape can shrink 3 to 5%.
- Quotes: we usually reply within 2 hours on a working day.
- Production: 7-10 days once the artwork is approved. Rush jobs run 3-5 days.
- Delivery: India-wide, on a schedule that depends on the destination and how large the consignment is.
Two things make a patch quote accurate. Tell us the width you want and where it goes, because the same logo needs different treatment on a cap and on a blazer. And send the logo as a vector file, so we can tell you whether it holds up at that size before anything is made.
If your logo has fine detail and you want it small, say so early. That is usually the point where woven beats embroidery, and it is much cheaper to make that call at quote stage than after seeing a sample.
We are rated 5.0 on Google from 27 reviews. For patches, ask for a sewn sample rather than a loose one, how it sits on the fabric is most of the result.
Common mistakes
- Scaling a detailed logo down instead of simplifying it for the patch.
- Choosing embroidery for artwork that needs woven detail.
- Using iron-on backing on a uniform that gets washed weekly.
- Setting the size on screen instead of pinning a printout to the garment.
- Placing the patch across a seam, so it will not lie flat.
- Stitching over a pocket and sealing it shut.
- Using the same size on adult and kids garments.
- Picking a border colour that disappears against the fabric.
- Approving a loose sample rather than a sewn one.
- Choosing a complex cut shape when a simple outline would do.
The detail-versus-size mistake is the expensive one. It is decided before anything is made, and the only fixes afterwards are remaking the patches or accepting a logo that does not read.
Sample checklist
- Is the logo readable from about two metres?
- Does the size look balanced on the smallest garment in the range?
- Is the smallest text still clear, and are the thin lines still separate?
- Does the patch lie flat, clear of seams and pockets?
- Does the border read against the garment fabric?
- Is the backing right for how the garment will be washed?
- Does the edge finish suit the shape?
- Does it still look right after one wash?
- Are the colours consistent with your references?
Wash the sample, especially with iron-on backing. One cycle tells you whether the corners will lift, which is the single most common patch complaint.
What to send your supplier
- Width in mm, and the height if the shape is fixed.
- Method: embroidered or woven.
- Where it goes on the garment.
- Backing: sew-on, iron-on, velcro or adhesive.
- Edge finish: merrowed or laser-cut.
- Shape: circle, square, shield or custom outline.
- Colours, with references if you have them.
- The garment fabric and its colour.
- Quantity.
- Vector artwork with the fonts outlined.
One brief that works: "Woven patches, 70 mm wide shield shape, laser-cut edge, sew-on backing, navy with gold, left chest on a cream cotton blazer, 1,500 pieces, artwork attached as vector."
What we would recommend
For a standard adult chest patch, start at 70 mm wide, sew-on backing. Choose embroidery if the logo is bold and simple, woven if it has fine detail or small text.
Use 50-65 mm for caps, 50-70 mm for sleeves, 70-100 mm for school crests and 45-55 mm for kidswear. Keep embroidered text at 5 mm minimum and embroidered lines at 1 mm minimum.
And print the patch at actual size, cut it out and pin it to the garment before you approve anything. It takes two minutes and it prevents the two mistakes that cost the most, wrong size and too much detail.