In brief
On printed satin or taffeta, keep text at least 1.5 mm high and lines 0.2 mm thick; on woven labels, text needs around 2 mm and lines 0.4 mm. Below those sizes letter gaps fill in and fine lines break up, so check the artwork printed at 100 per cent on paper.
A label can only show detail that is big enough for the way it is made. That sounds obvious, and it is still the reason most label artwork comes back with questions.
The problem is scale. You design on a screen where the label fills half the window. It gets made at 25 mm across. Detail that looked crisp at 400 per cent zoom turns into a smudge at actual size, and you do not find out until the samples arrive.
This guide gives you the actual numbers, smallest text, thinnest line, tightest gap, for both woven and printed labels. Then it covers safe margins and how to hand files over. For physical label sizes, see our full clothing label size guide. For file setup in more depth, see how to prepare label artwork files.
Check at actual size
Print the label at 100 per cent on paper. That is the only honest test.
Woven works on a grid
A woven label cannot show detail finer than its threads. That is a hard limit.
Margins eat space
On a small label, safe margins can take up a third of the area.
Why do woven and printed labels have different limits?
Understanding this one difference explains every number in this guide.
A woven label is made on a loom. The design is built from threads crossing each other, so the smallest thing the label can show is about one thread wide. You cannot have a line thinner than a thread, and you cannot have a gap narrower than a thread. It is a grid, and your artwork has to fit that grid.
A printed label is made by putting ink onto finished fabric. The detail limit is much finer, closer to what a printer can resolve. But ink spreads a little as it soaks into the cloth, so very fine gaps still close up, just less dramatically than on a loom.
So woven labels need bolder artwork with more space between elements. Printed labels can carry finer detail, which is why care labels with a lot of small text are almost always printed rather than woven.
Not sure the size works? Set it in the free label designer: it shows your label at true size and warns when text drops below what a loom can weave.
What are the minimum text and line sizes for labels?
These are working minimums, not targets. Design at or above them and your label will come out looking like your artwork.
| What | Woven | Printed satin or taffeta |
|---|---|---|
| Text height | 2 mm | 1.5 mm |
| Line thickness | 0.4 mm | 0.2 mm |
| Gap between elements | 0.4 mm | 0.3 mm |
| Smallest solid dot | 0.6 mm | 0.3 mm |
| Edge margin | 2-3 mm | 2-3 mm |
| Clear space at a fold | 3 mm | 3 mm |
Treat these as floors. If your text is exactly 2 mm on a woven label it will be readable, but only just. Going to 2.5 or 3 mm costs you nothing and leaves room for how the threads settle after a few washes.
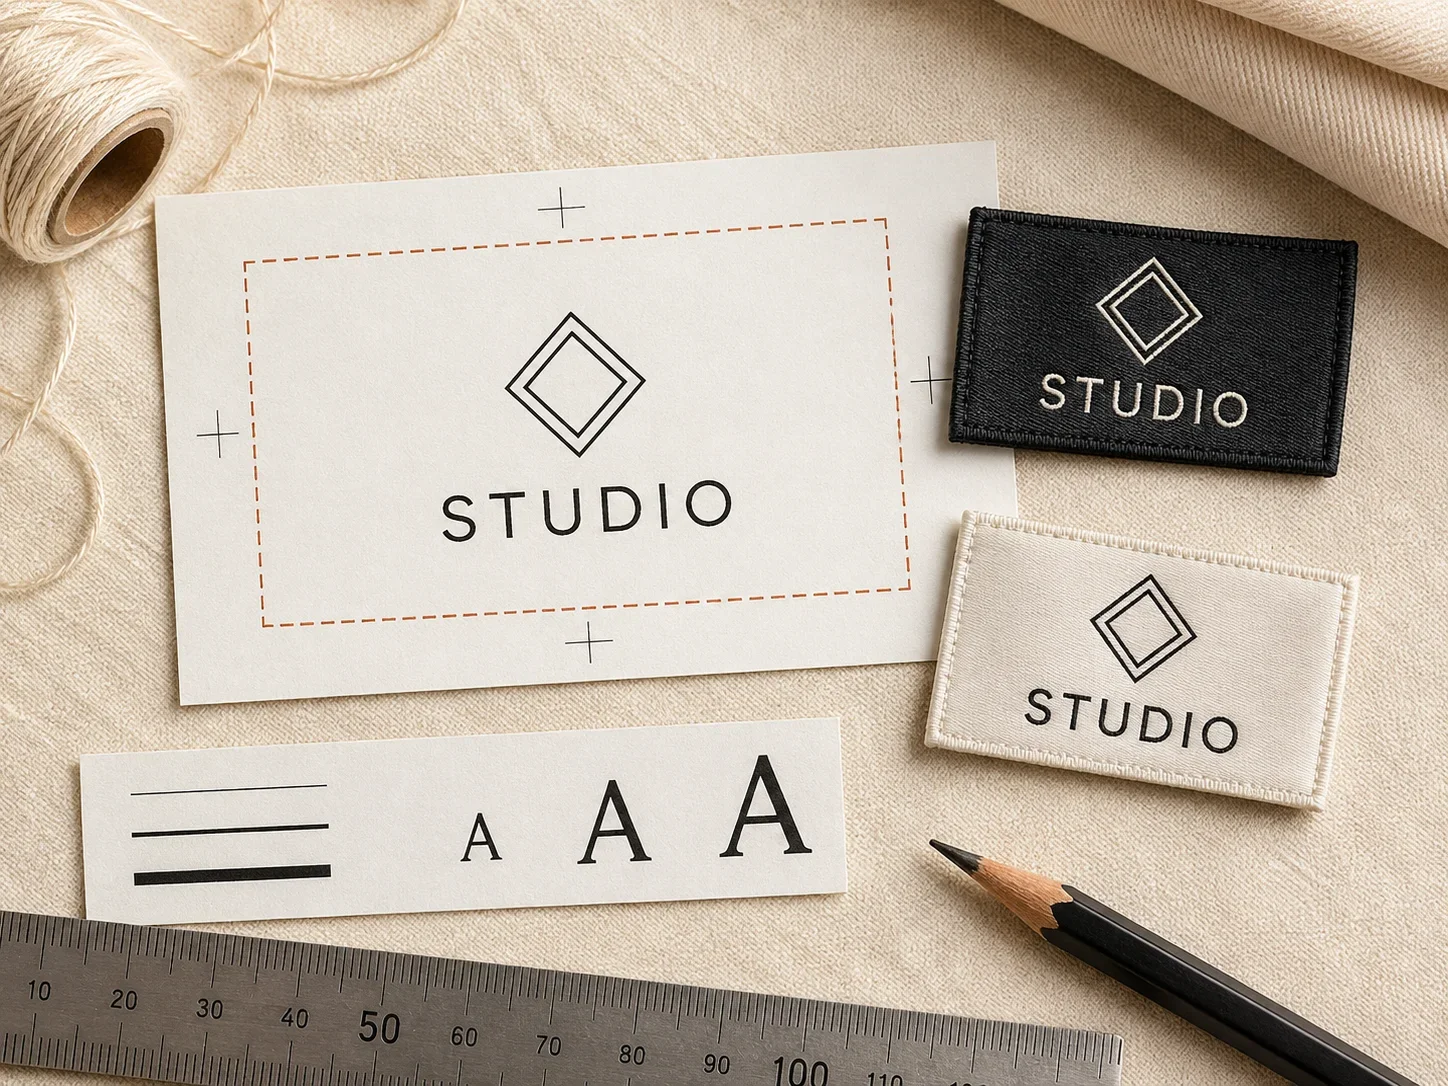
The one test that matters: print your label artwork at 100 per cent on plain paper and put it on the desk. If you cannot read it there, it will not read on fabric, cloth is always less sharp than paper.
Text height in practice
Text height here means the height of a capital letter in millimetres. Not the point size. A point size means different physical heights in different fonts, and your supplier is matching a physical measurement, so give them millimetres.
- 1.5 mm: the absolute floor for printed care-label small print. Legible, but only just.
- 2 mm: the floor for woven. Also a sensible minimum for printed fibre content.
- 2.5-3 mm: comfortable for care instructions and secondary text.
- 4-6 mm: brand names, size codes and anything meant to be read at a glance.
- 6 mm and up: the main element on a neck label or hem tag.
Font choice changes what these numbers actually give you. A narrow font at 2 mm has much tighter gaps inside its letters than a normal-width font at 2 mm, so it closes up sooner. If space is tight, do not reach for a narrow font. Either shorten the text or make the label longer.
Avoid thin or light font weights on woven labels entirely. The loom builds letters out of threads, so a hairline stroke either disappears or jumps to a full thread thick. That makes the weight look uneven across a single word. Regular and bold weights behave far more predictably.
How thin can lines and fine detail be on a label?
Lines are where logos most often fail. A logo drawn for a website has strokes measured in pixels, and those strokes can end up well under 0.1 mm once the logo is scaled down to 20 mm wide.
- Check every stroke in your logo at final size, not just the obvious ones.
- Watch for hairline rules, thin borders and decorative flourishes.
- Watch for the thin parts of serif letters, which are often far thinner than the thick parts.
- Watch for outlined text, where the outline itself may be under 0.1 mm.
- Increase the stroke weights rather than scaling the whole logo up.
The same applies to gaps. Two elements sitting 0.2 mm apart on a woven label will merge into one shape. That is what turns a monogram into a blob. Check your gaps as carefully as your lines. They fail the same way and are easier to miss.
If your logo genuinely cannot survive at label size, you have three options: simplify it into a label-only version, make the label bigger, or switch from woven to printed. All three are normal. What does not work is sending the full logo and hoping.
Where do safe margins go on label artwork?
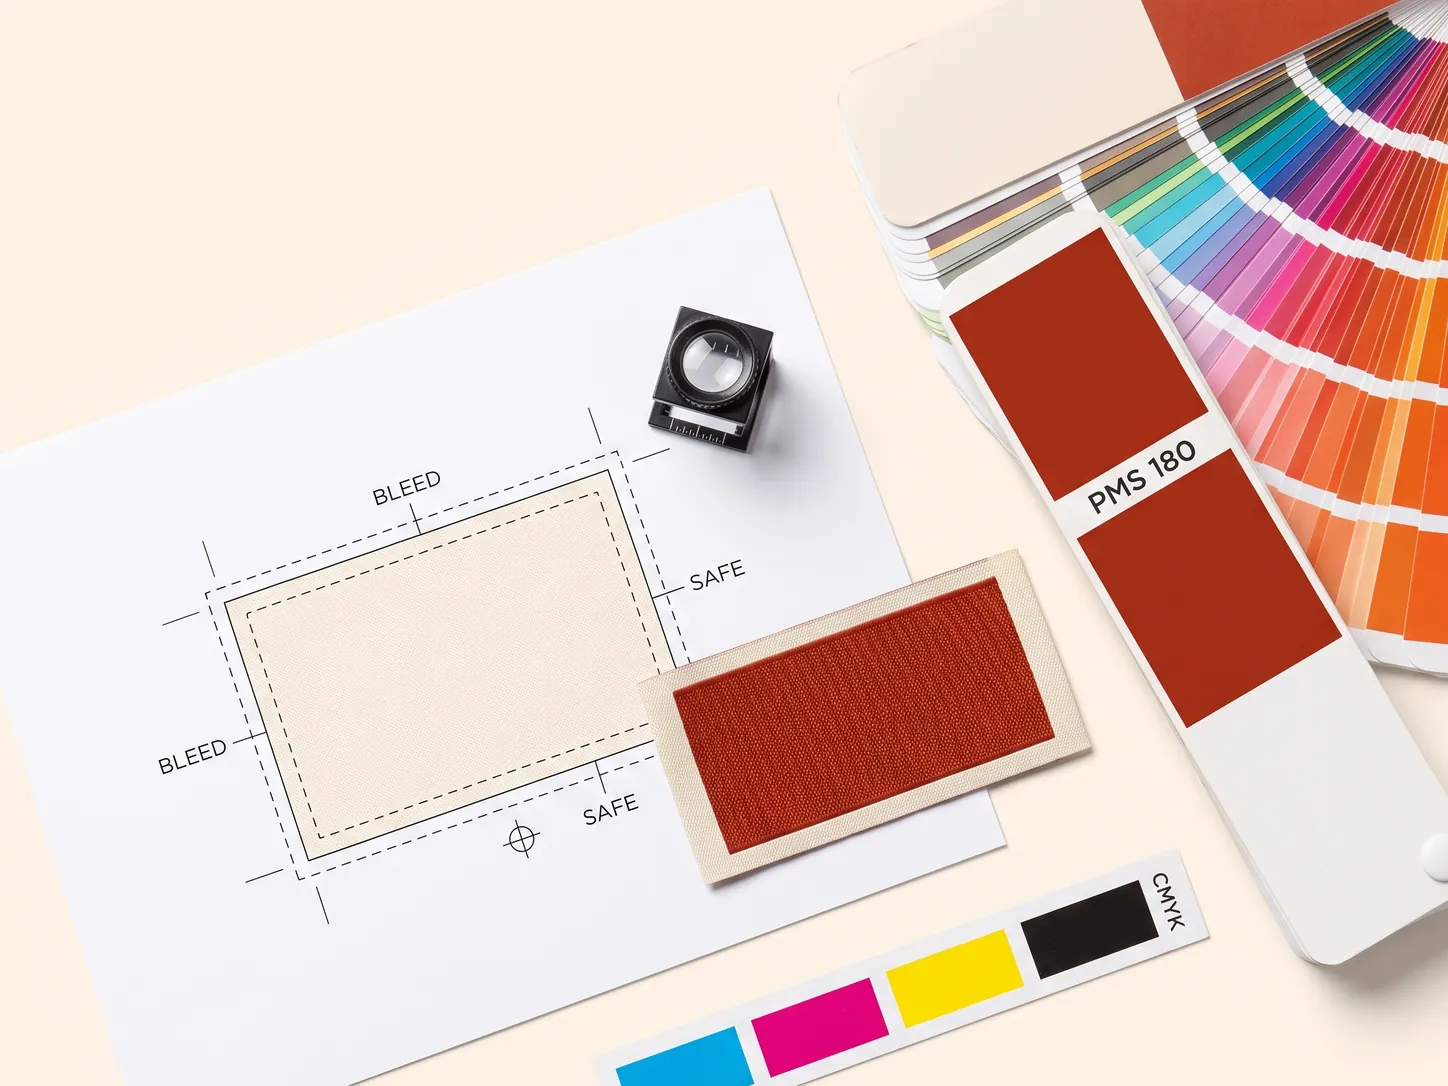
Safe margin is the clear space between your artwork and any edge that gets cut, folded or stitched. On a poster this is a detail. On a 25 mm label it can be a third of your usable area.
- Cut edges: 2 mm minimum. Cutting is accurate, but not perfect.
- Stitched edges: 2-3 mm. The stitch line has to sit somewhere.
- Fold lines: 3 mm either side. A fold is pressed in permanently.
- Seam allowance: whatever goes inside the seam is simply not visible.
Work out your usable area before you start designing, not after. Take the finished label size, subtract the margins from all four sides, and design inside what is left. A 25 x 25 mm panel with 2 mm margins gives you 21 x 21 mm to work with, which is noticeably smaller than it sounds.
Folds are the ones people forget. On a centre-fold label the fold runs through the middle of the flat piece, so you have two separate panels with a dead zone between them. Nothing can cross that dead zone. A logo centred on the flat artwork will end up folded in half.
Colour in label artwork
Colour on labels behaves differently from colour on screen or on paper, and the difference is worth knowing before you specify anything.
On a woven label, each colour is a separate thread. Colours are picked from a physical thread card, not mixed. So you cannot have gradients, and every extra colour usually adds cost. Most woven labels use two or three colours for good reason.
On a printed label, colour is ink on cloth. You can have gradients and photographic images, but the base fabric affects the result. The same ink looks different on bright white satin and on off-white cotton, because the cloth underneath shows through.
- Give colour references your supplier can match physically, not just screen values.
- Ask what the base fabric colour is before approving a print colour.
- Keep strong contrast between text and background. That matters more than the exact shade.
- Write down your final colour references so reorders match.
Contrast is the practical point. A label is small and often seen in poor light inside a garment. Dark text on light cloth, or light text on dark cloth, will always beat a subtle tone-on-tone combination that looks refined in a mockup and unreadable in a shop.
Which file formats should you hand over for labels?
Send vector files. This is the single biggest thing you can do to make a label order go smoothly.
- Send: AI, PDF, EPS or SVG.
- Convert all text to outlines before sending, so fonts cannot substitute on another machine.
- Set the artboard to the finished label size so the scale is unambiguous.
- Only send a raster file such as PNG or TIFF if the artwork is genuinely photographic, and then at high resolution at final size.
- Never send a screenshot, a WhatsApp image, or a logo pulled off a website.
A vector file can be scaled to any size without losing quality, which is exactly what a label supplier needs. A low-resolution PNG has to be redrawn by hand before it can be woven or printed, and a redrawn logo is never quite the same as yours.
Mark up the file as well as supplying it. Show where the folds are, which panel faces out, and what the finished size is. A file with these marked gets quoted quickly. A bare logo on a white background generates a round of questions.
Outline your fonts. This is the most common file problem there is. If the font is not outlined and your supplier does not own it, their software quietly swaps in a different one, and nobody notices until the sample arrives looking subtly wrong.
How do you match your logo to a label size?
Sometimes it helps to work the other way round. Instead of asking what fits your label, ask what label your logo needs.
- Under 20 mm wide: a simple monogram, a single letter or a very short wordmark.
- 25-30 mm wide: a standard brand name, with room for a size code underneath.
- 35-40 mm wide: a detailed logo, a longer name, or a name plus a tagline.
- 50 mm and wider: care instructions, fibre content, or multiple languages.
If your brand name is long, the label has to be long. Squeezing a nine-letter name into 20 mm means dropping the text below the legible minimum. Widening the label to 35 mm costs very little and solves the problem completely.
Many brands keep a separate, simplified version of their logo just for labels. Thicker strokes, fewer details, no tagline. That is normal practice not a compromise. It is the same reason a logo is drawn differently for a billboard and a business card.
Sending artwork to Labelwala
We make woven and printed labels in Ahmedabad, Gujarat, and we have been doing it for 25 years. A good share of the questions we send back at quote stage are artwork questions, so getting the file right speeds everything up.
- Minimum order: 1,000 pieces.
- Quotes: we usually reply within 2 hours on a working day.
- Production: 7-10 days once the artwork is approved. Rush jobs run 3-5 days.
- Care symbols: we set these to ISO 3758 when your label carries washing instructions.
- Delivery: to any address in India. Timing varies with distance and the size of the consignment.
Send a vector file with the fonts outlined, the artboard set to the finished label size, and the folds marked. That is enough for us to check your smallest detail against the method you have chosen, and tell you before anything is made.
If you are not sure whether your logo will hold up at label size, send it anyway and tell us the size you want. We would rather flag a stroke that is too thin at quote stage than have you find out from the samples.
We are rated 5.0 on Google from 27 reviews. For anything with small text or fine detail, ask for a physical sample before the full run.
Common mistakes
- Judging artwork on screen at high zoom instead of printing it at actual size.
- Using a logo built for a website, with strokes far too thin for fabric.
- Using a narrow or light font to squeeze text into a tight space.
- Forgetting the safe margins, so the design runs into the stitch line.
- Placing artwork across a fold line.
- Sending a PNG or a screenshot instead of a vector file.
- Not outlining the fonts, so they substitute silently.
- Specifying text in points rather than millimetres.
- Choosing tone-on-tone colours that only look good in a render.
- Not marking which panel faces outward on a folded label.
Nearly all of these are caught by two habits: print at actual size, and send a marked-up vector file. Together they prevent most of the back-and-forth that slows a label order down.
Artwork checklist
Run through this before you send anything. It takes a few minutes and saves a round of proofs.
- Is the file vector, with all text converted to outlines?
- Is the artboard set to the finished label size?
- Is every stroke at or above the minimum for your method?
- Is every gap wide enough not to close up?
- Is the smallest text at or above the minimum height?
- Are the safe margins clear on all four edges?
- Are fold lines marked, with clear space either side?
- Is the outward-facing panel marked?
- Are colour references physical, not just screen values?
- Have you printed it at 100 per cent and read it on the desk?
The last item catches the most. Everything else is a rule you can check on screen. Printing it out is the test that tells you whether the rules were enough.
What we would recommend
Design to 2 mm minimum text and 0.4 mm minimum lines for woven, and 1.5 mm text and 0.2 mm lines for printed. Leave 2 to 3 mm clear at every edge and 3 mm either side of any fold. Then print it at actual size and read it.
If your logo will not survive those limits, make a simplified label version rather than shrinking the original. Thicker strokes, fewer details, no tagline. It will look better on the garment than a faithful copy that has turned into a smudge.
And send vector files with the fonts outlined. That is the difference between a supplier making your label and a supplier redrawing it.