In brief
For school and staff uniforms, a 15 x 75 mm to 15 x 90 mm tape suits first-and-last names, rising to 20 x 90 or 20 x 110 mm when class or department is added. Use 5 to 6 mm letters for school tapes and 6 to 8 mm for staff and workwear, sized from the longest name.
Labelwala has made woven name tapes in Ahmedabad since 2000, quotes within 2 hours on a working day, and ships to more than 20 cities across India and more than 15 countries.
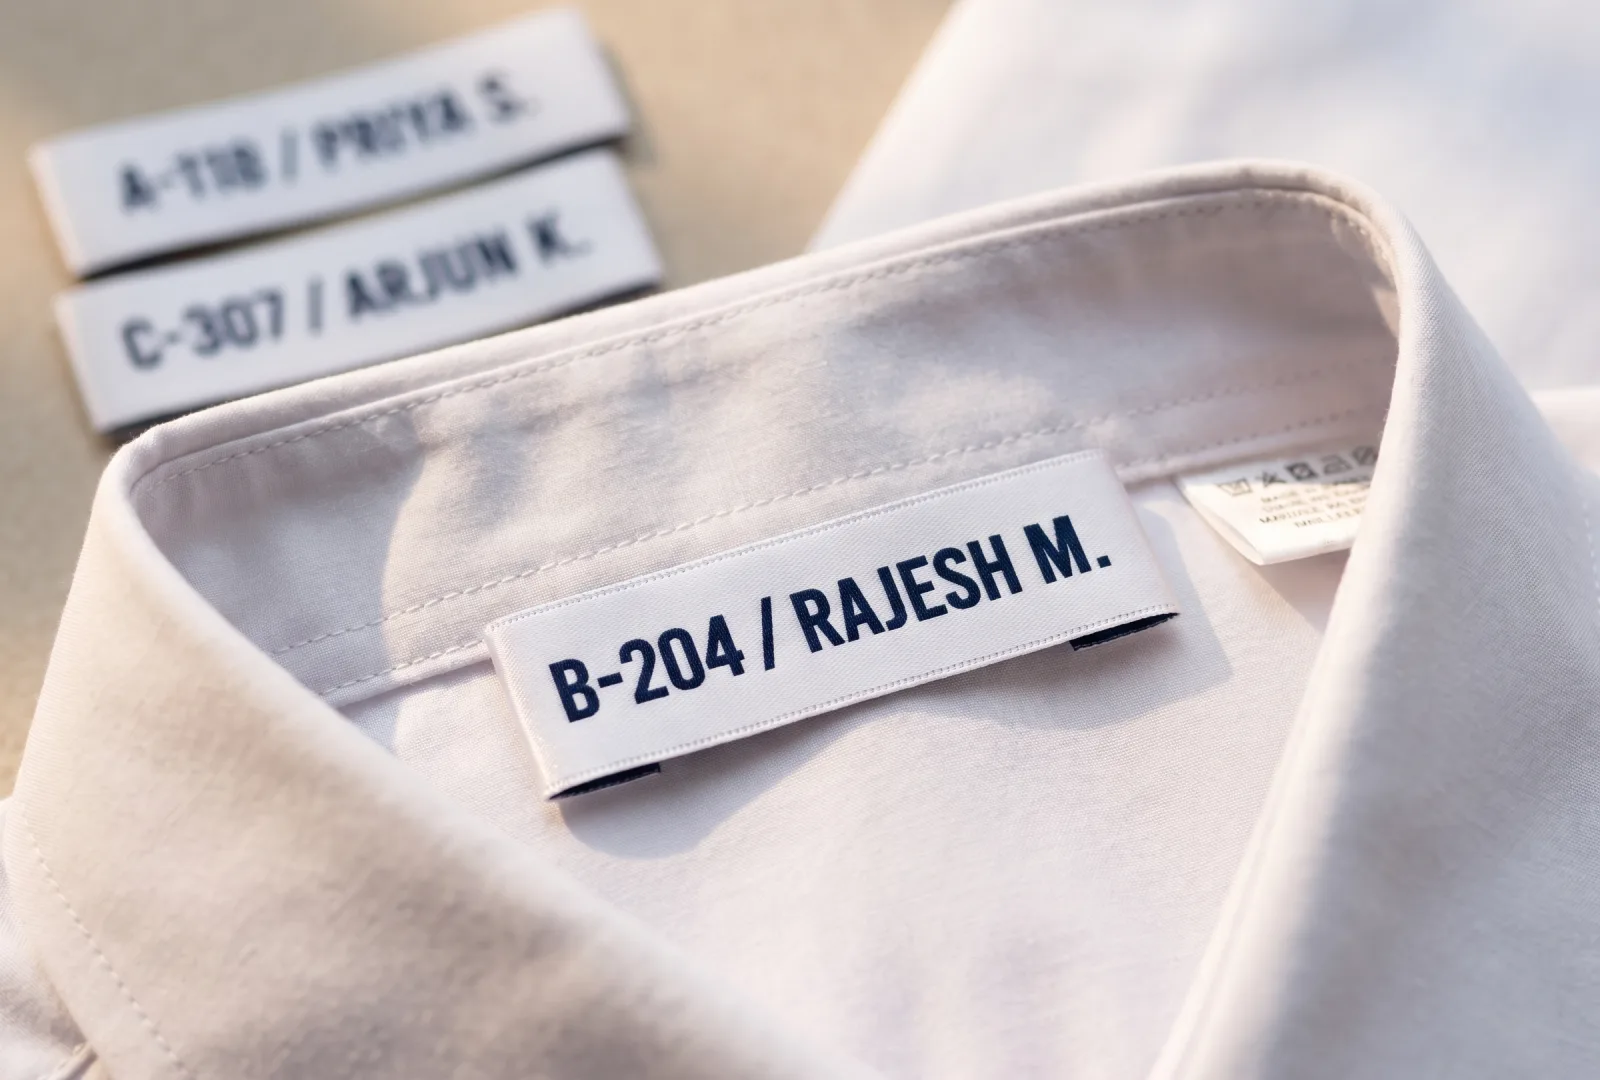
Every name tape is a personalised garment label that carries a student name, staff name, department, roll number, batch code or organisation identifier. It looks simple, but small sizing mistakes can create big problems: long names get squeezed, letters become unreadable after washing, the tape overpowers a kids' shirt, or the stitching covers the first and last letter.
The right name tape size depends on four things: the longest name in the order, the garment size range, the placement and the way the tape will be made. A school uniform name tape over a pocket has different needs from a hostel laundry label inside a waistband. A staff workwear name tape must often be read from farther away than a child's inside-neck ownership label.
Our guide gives practical name tape dimensions in millimetres, plus artwork, placement, material and ordering checks. For broader garment label sizing, use the complete clothing label size guide. For school logo decisions, see our guide on woven crests, patches and printed school logos. Sizes here assume polyester satin or woven tape, which moves under 1% in a hot wash; untreated cotton tape can shrink 3 to 5%, so allow for it.
Width solves names
The longest expected name decides the safe tape width, not the shortest sample name. Garment size range then sets the tape height and placement.
Letter height matters
Readable name tapes need practical letter height, contrast and breathing space. Aim for 5 mm letters and a clear margin on every side.
Built for washing
Uniform and hostel tapes must survive repeat washing, ironing and sorting. Choose woven polyester over printed cotton for that reason.
What are the standard name tape sizes in mm?
Use these sizes as starting points. A tape can be adjusted by 5 to 10 mm depending on the name length, language, font, garment size and placement. The goal is not to make every name fill the full tape; the goal is to make every name easy to read without looking cramped.
| Use | Recommended size | Letter height |
|---|---|---|
| Short first name | 15 x 60 mm | 5-6 mm |
| First and last name | 15 x 75-90 mm | 5-6 mm |
| School name + class | 20 x 80-100 mm | 5-7 mm |
| Staff / workwear name | 20 x 90-110 mm | 6-8 mm |
| Kidswear compact tape | 12 x 50-65 mm | 4-5 mm |
| Hostel laundry label | 15 x 70-90 mm | 5-6 mm |
| Sports jersey name strip | 20 x 100-130 mm | 7-9 mm |
| Department + employee ID | 20 x 110-140 mm | 6-8 mm |
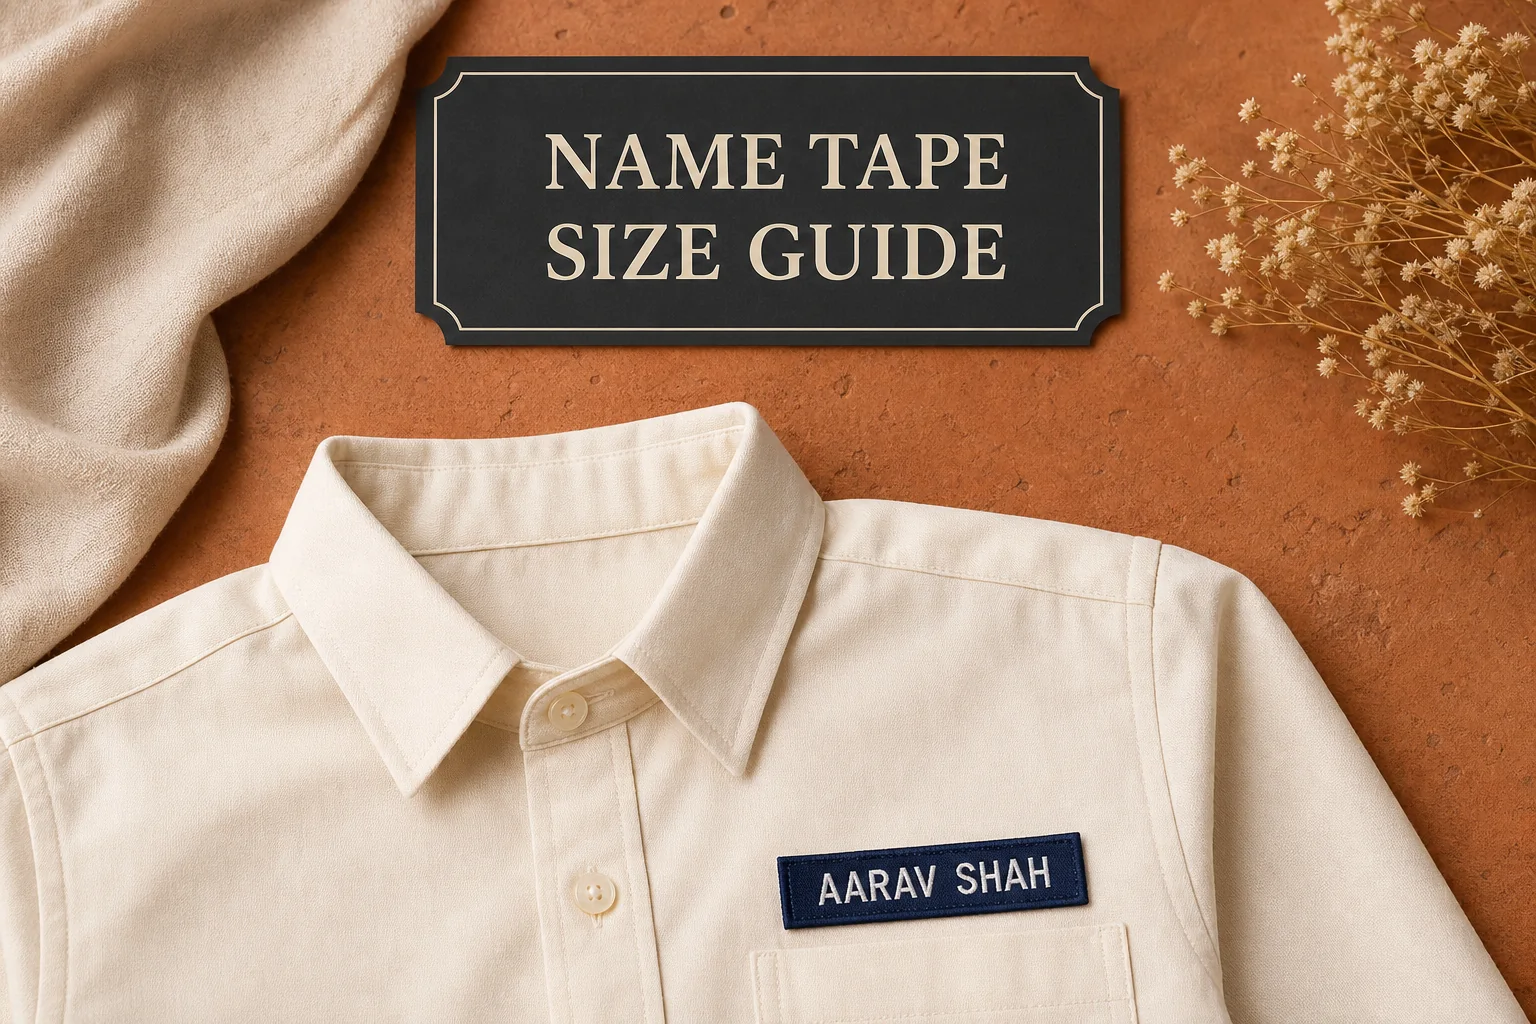
For most school and staff uniforms, 15 x 75 mm to 15 x 90 mm is the safest everyday range. It gives enough width for first-and-last names while staying neat over a shirt pocket. Use 20 mm height when the tape must carry two lines, a class name, a department, an employee number or a school name along with the person's name.
One useful starting point: if you are unsure, brief the supplier for a 15 x 85 mm tape for school names and a 20 x 100 mm tape for staff uniforms. Then test the longest names before approving the final size.
Unsure whether the size works? Set it in the free label designer: it shows your label at true size and warns when text drops under what a loom can weave.
How do you decide the name tape width?
Name tape width should be planned from the longest likely name, not the average name. A tape that looks perfect for "Aarav Shah" may become tight for a longer first-and-last name, a hyphenated surname or a school that includes house and class details. Always test the layout with the longest real names in the order.
- Collect the longest names before finalising the tape size.
- Allow extra width for double names, initials and surnames with spaces.
- Use two lines only when height is increased to at least 20 mm.
- Do not reduce type until it becomes hard to read after washing.
- Keep the same baseline and alignment across the full order.
For variable-name orders, ask for a layout proof that shows three examples: a short name, an average name and the longest name. This catches spacing issues quickly. If only one example is approved, production can still be technically correct while the longest names look squeezed in the final delivery.
One-line versus two-line name tapes
One-line name tapes are cleaner and faster to read. They work best for student names, staff names and chest placement. Two-line tapes help when you need name plus class, name plus department, or name plus employee code. The trade-off is height: a two-line design on a 15 mm tape will nearly always look crowded. Move to 20 mm height or split the information across two separate labels.
How tall should the letters be for readability?
Letter height is as important as tape size. A wide tape with tiny text is not useful. A compact tape with strong contrast and practical letter height can read better than a larger but poorly spaced label. For school shirts and staff uniforms, the sweet spot is usually 5 to 8 mm letter height depending on viewing distance.
- 4-5 mm letters: compact kidswear, inside labels and short ownership labels.
- 5-6 mm letters: most school uniform name tapes and hostel laundry labels.
- 6-8 mm letters: staff uniforms, security uniforms, hospital uniforms and workwear.
- 7-9 mm letters: sports, event staff, front-facing roles and tapes read from a distance.
Use simple, open letterforms. Condensed fonts let more letters fit, but they can reduce clarity once the tape is woven, printed, washed and viewed on a moving person. Script fonts, thin strokes and decorative letters should be avoided for functional name tapes. They may look charming in a mockup, but they make sorting uniforms harder.
One readability rule: if the name can only be read when the garment is held close to the face, the tape is too small, the contrast is too weak, or the font is too decorative.
What size should school uniform name tapes be?
School name tapes are usually used in two ways: visible chest identification and hidden ownership tracking. A visible chest tape helps teachers, house staff and event coordinators identify students quickly. A hidden inside-neck or waistband label helps garments return to the right child after laundry, sports day, hostel washing or classroom mix-ups.
For chest placement over a pocket, keep the tape balanced with the shirt size. A 15 x 75 mm tape is neat on most junior shirts, while 15 x 85 mm or 15 x 90 mm works better for senior students and longer names. If you include class, section or house, use 20 mm height and avoid making the student's name too small.
- Nursery and junior school: 12 x 55 mm to 15 x 70 mm for compact garments.
- Middle school: 15 x 75 mm to 15 x 85 mm for first-and-last names.
- Senior school: 15 x 85 mm to 20 x 100 mm when names or class details are longer.
- House or prefect labels: 20 x 90 mm to 20 x 120 mm if a role title is included.
Schools should decide whether every tape follows one fixed size or whether juniors and seniors get different sizes. One fixed size simplifies ordering and inventory. Two sizes create a cleaner garment fit across age groups. For large schools, two sizes are often worth the extra planning.
Staff, hospital and workwear tapes
Staff name tapes need stronger readability because they are often used for identification during service, work shifts, security, medical duty or facility operations. A small school-style tape may look too delicate on workwear. For staff uniforms, 20 x 90 mm to 20 x 110 mm is usually safer, especially when the tape sits on heavier fabric or must be read by customers and supervisors.
Hospital, hotel, restaurant, security and industrial uniforms also need durability. These garments may be washed more aggressively than school shirts. The tape should keep contrast after repeat washing, and the attachment should not peel, fray or lift at the corners.
- Corporate staff shirts: 20 x 90 mm for name plus department.
- Hospital uniforms: 20 x 100 mm when role or ward details are included.
- Security uniforms: 20 x 100 mm to 25 x 120 mm for stronger visibility.
- Industrial workwear: 20 x 110 mm or larger when employee code matters.
- Hotel and restaurant uniforms: 20 x 90 mm for a clean service look.
For formal corporate uniforms, keep the tape discreet: dark background with light text, neat border, and simple typography. For safety or operational uniforms, prioritise contrast and speed of identification over subtle styling.
Hostel laundry and ownership labels
Hostel, boarding school and institutional laundry labels have a different job from visible name tapes. They are less about appearance and more about getting garments back to the right person after repeated washing. These labels need clear text, durable material and placement that does not irritate the wearer.
Most hostel laundry tapes work well at 15 x 70 mm to 15 x 90 mm. If the label includes a room number, roll number or laundry code, consider 20 mm height. Inside-neck placement is easy to find but can bother sensitive wearers. Side seam, waistband or inside hem placement may be more comfortable.
- Use high-contrast text for quick sorting.
- Add roll number, room number or house only if it helps the laundry workflow.
- Avoid long school names if they make the student's own name harder to read.
- Choose a material that handles hot washing and ironing.
- Place the label where laundry staff can find it consistently.
For boarding schools, consistency is more valuable than decoration. One clear format across all garments makes sorting faster. A beautiful tape that hides in a different place on every garment will slow the laundry team down.
Should name tapes be woven, printed or heat-seal?
The best material depends on quantity, durability and whether every tape is different. Woven tapes give a premium permanent finish but are less flexible when every label has a unique name. Printed tapes handle variable names more easily and are useful when the name list changes often. Heat-seal tapes can work when sewing is difficult or when the buyer wants a flatter finish.
- Woven name tapes: premium, durable and ideal when names are repeated or ordered in organised batches.
- Printed satin tapes: useful for variable names, fine text and faster personalisation.
- Printed taffeta tapes: practical for laundry, hostel and workwear identification.
- Heat-seal name tapes: flat and quick to apply, but must be tested on the garment fabric.
- Cotton tapes: soft, natural and suitable for craft, kidswear or organic-positioned uniforms.
Do not choose the material from appearance alone. A tape that looks perfect on a table may behave differently after washing, ironing and daily wear. If the tape will touch skin, feel the edge. If it will sit on outer workwear, check abrasion and corner lift. If it will be ironed regularly, confirm the print and adhesive can handle the heat.
Where should a name tape go on the garment?
The common visible placement is over the left chest pocket or on the upper chest where a pocket would sit. This location reads clearly and feels familiar on school shirts, staff uniforms and workwear. The tape should sit straight, parallel to the pocket edge and far enough from seams that stitching is easy.
- Above pocket: best for school shirts, hospital uniforms and office uniforms.
- Upper chest without pocket: good for T-shirts, sports kits and event uniforms.
- Inside neck: useful for ownership labels but must be soft and comfortable.
- Waistband: helpful for trousers, shorts, track pants and hostel laundry.
- Side seam: discreet placement for laundry labels and care-style identification.
Placement should be checked on the smallest garment size. A tape that sits neatly over a large shirt pocket may be too close to the armhole on a junior size. If the same tape will be used across many sizes, choose a placement that works on the smallest item first.
Colour, contrast and school identity
Name tapes often need to match school or company colours, but readability must come first. Dark text on a light tape is the clearest option. Light text on a dark tape can look more premium and match blazers or formal shirts, but the text must have enough thickness to stay visible.
- Use school house colours only when they maintain strong contrast.
- Avoid low-contrast combinations like navy on black or cream on yellow.
- Use a border only if it does not crowd the letters.
- Keep brand crests separate when the name tape becomes too busy.
- Lock thread or print colours for repeat orders.
For schools and uniform vendors, repeat consistency matters. If the first order uses a particular navy, maroon or gold, record that shade for the next batch. Parents notice when siblings receive visibly different label colours in different years. A locked colour recipe avoids that drift.
Artwork and data preparation
Name tape orders are often delayed by data problems not production problems. Misspellings, inconsistent capitalisation, missing class sections and last-minute name changes can all slow the job. Prepare the name list as carefully as the artwork.
- Send names in a spreadsheet, one name per row.
- Include class, section, department or roll number in separate columns.
- Confirm capitalisation: Title Case, UPPERCASE or school-specific format.
- Mark duplicate names clearly so they are not treated as errors.
- Freeze the list before production to avoid partial rework.
- Ask for a proof of the longest names before bulk approval.
If names are in multiple languages, check the script support before confirming the order. Hindi, Gujarati, Tamil, Arabic or bilingual name tapes may require different fonts, wider tapes or more careful proofing. Do not assume a design made for English will automatically fit another script.
One production tip: send a clean spreadsheet instead of WhatsApp screenshots. Screenshots create typing risk; spreadsheets reduce spelling errors and make proofs faster.
Stitching and edge finish
Name tapes usually need neat, durable edges because the corners are visible. A tape stitched around all four sides stays secure and looks finished. A tape stitched only at two short ends can work for some woven tapes, but it may lift or curl depending on the fabric and washing process.
- Four-side stitch: best for visible chest tapes and workwear.
- Top-and-bottom stitch: useful when the tape must remain flatter and less boxed-in.
- End stitch: possible for some woven tapes but less secure for heavy washing.
- Heat-seal application: clean appearance, but fabric compatibility must be tested.
Leave stitch-safe space at the edge of the tape. If the border or letters sit too close to the stitch line, the sewing can cover the design. A minimum 2 to 3 mm safe margin around the content is a practical starting point, with more margin for thicker fabrics and heavier sewing thread.
Sample approval checklist
Digital proofs confirm names and layout; a stitched sample confirms the finished look. For a school, hostel, hospital or workwear order, sample approval is worth the small delay because the tape will be repeated across many garments.
- Is the longest name readable and not squeezed?
- Does the tape size look balanced on the smallest garment?
- Is letter height clear at normal viewing distance?
- Do stitch lines avoid the text and border?
- Does the tape stay flat after washing and ironing?
- Are colours consistent with school or company references?
- Is the edge comfortable if the tape touches skin?
- Are all names, spellings and codes approved in writing?
When the order includes many variable names, check the production proof for the full list or at least for every unusual name length. A single sample is not enough if the final batch includes much longer names than the sample.
What affects price and lead time?
Name tape pricing depends on material, size, quantity, number of unique names, colour count, finishing method and whether the names are woven, printed or heat-sealed. A simple repeated staff title is easier to produce than 2,000 individual student names. A larger tape also uses more material and can take more handling time.
- Quantity: larger orders reduce setup cost per piece.
- Unique names: more variable data means more proofing and handling.
- Size: wider and taller tapes use more material.
- Material: woven, satin, taffeta, cotton and heat-seal options price differently.
- Colours: strong single-colour contrast is usually simpler than multi-colour designs.
- Sampling: physical samples add time but reduce bulk risk.
For schools and uniform vendors, plan the name list early. Last-minute additions create small extra runs, which are less efficient than one organised batch. If admission season or staff onboarding creates rolling updates, ask your supplier how they handle add-on names and repeat orders.
Common mistakes to avoid
- Choosing the tape width from a short sample name instead of the longest real name.
- Using a decorative font that becomes hard to read after production.
- Trying to fit name, class, roll number and school crest into a 15 mm tape.
- Placing text too close to the stitch line.
- Using low contrast because it looks subtle in a mockup.
- Approving production without checking spelling in a spreadsheet.
- Using one large tape on very small junior garments.
- Forgetting to test washing, ironing and corner lift.
Most name tape problems are preventable. The tape is either too narrow, too decorative, too low-contrast or approved without a real list check. Treat the name list and sample as production documents, not casual references.
How to brief your supplier
Clear briefs help the supplier recommend the right material and size without guessing. Include the use case, garment type, placement, quantity, tape size, text format and sample expectations. If you are unsure about final size, share the longest names and ask for a size recommendation.
- Label type: name tape for school, staff, hostel, sports or workwear.
- Final size in millimetres, or longest name list for recommendation.
- Material preference: woven, printed satin, taffeta, cotton or heat-seal.
- Placement: above pocket, inside neck, waistband, side seam or sports kit.
- Text format: name only, name plus class, name plus department or name plus code.
- Colour: background, text and border references.
- Spreadsheet with names and any variable details.
- Quantity, garment fabric and sample requirement.
One useful one-line brief is: "Name tape for school shirts, 15 x 85 mm, navy background with white text, first-and-last name only, stitched over left pocket, 1,200 pieces from spreadsheet." That gives production enough information to quote and proof correctly.
Final recommendation
For most school uniforms, start with a 15 x 75 mm to 15 x 90 mm name tape with 5 to 6 mm letters. For staff, hospital, hotel, security and industrial uniforms, move to 20 x 90 mm to 20 x 110 mm with 6 to 8 mm letters. For hostel laundry labels, keep the tape simple, high-contrast and easy to find.
Choose the width from the longest real name, keep enough safe space for stitching, use strong contrast and approve a sample on the actual garment. A good name tape should look neat on day one and still be readable after a season of washing, ironing, sorting and daily wear.
Getting name tapes made at Labelwala
We make woven and printed labels in Ahmedabad, Gujarat, and we have been doing it for 25 years. Woven name tapes for schools, hostels and workwear are one of the jobs we quote most, usually from a spreadsheet of names.
- Minimum order: 1,000 pieces.
- Quotes: we usually reply within 2 hours on a working day.
- Production: 7-10 days once artwork is approved. Rush jobs run 3-5 days.
- Shipping: pan-India to 20+ cities and export orders to 15+ countries.
- Experience: making labels in Ahmedabad since 2000.
- Shrinkage: polyester satin and woven labels move under 1% in a hot wash; untreated cotton tape can shrink 3 to 5%.
We are rated 5.0 on Google from 27 reviews. For name tapes, send the longest name in the list with the brief, and ask for a stitched sample of it before the run.