In brief
A standard T-shirt hem tag is 20 x 40 mm flat, which shows a 20 x 20 mm panel once folded and sewn in, while sweatshirts and denim suit 25 x 50 mm flat. Always give your supplier both the flat and visible size, because only about half of the folded tag shows.
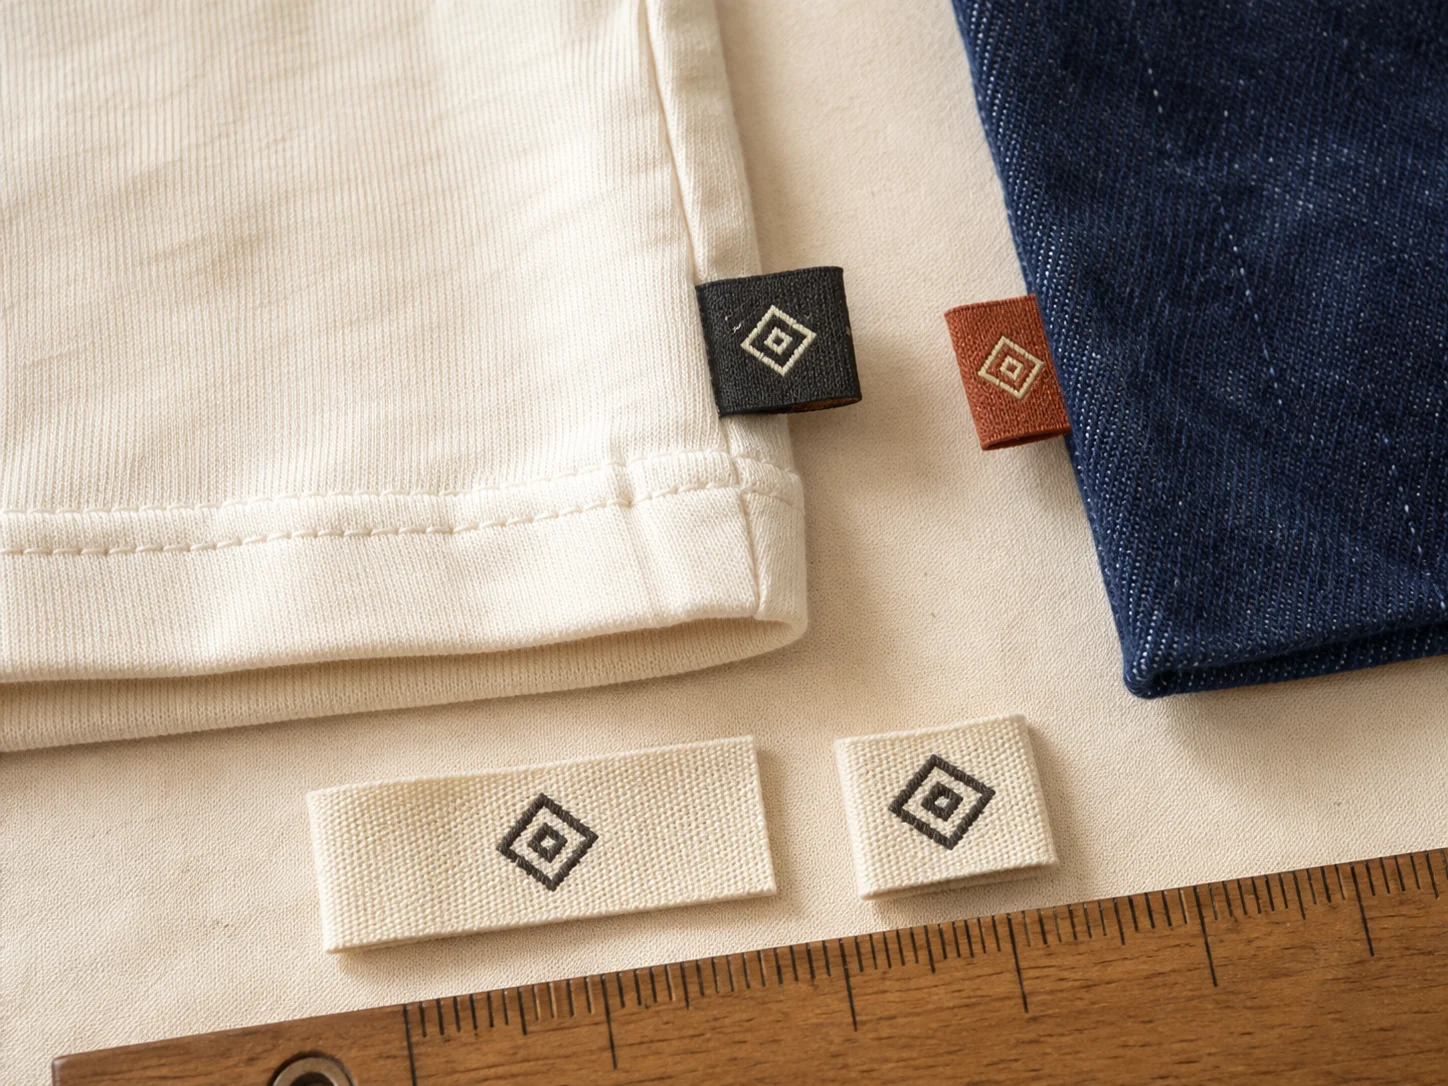
A hem tag is the small folded label you see poking out of a side seam near the bottom of a garment. Some people call it a hem flag, a side tab or a brand tab. It is the same thing: a short strip of woven or printed fabric, folded in half, with one half sewn into the seam.
It is a small detail that does a lot of work. On a plain T-shirt with no chest print, the hem tag is often the only visible branding on the garment. It signals a considered product without shouting. And because it sits at the edge, it reads as a finishing touch rather than a logo placement.
Most hem tag problems come from one thing: people give the supplier one measurement when there are really two. This guide sorts that out first, then covers sizes, placement and fabric. For every other label type, see our full clothing label size guide.
You see half of it
The tag is folded, so the visible flag is about half the flat piece.
Only one side shows
Mark which panel faces out, or you will find out after the run.
Keep it off the hem
Sew it into the side seam above the hem, not through the folded hem itself.
What is the difference between flat and visible size?
This is the single most useful thing to understand about hem tags, so it goes first.
A hem tag is made as a flat strip. It is then folded in half, and one half is sewn into the seam. So you only ever see about half of what you ordered. If you ask for a "20 x 40 mm hem tag" and you meant the bit you can see, you will get a flag half that size.
There are two numbers and they both matter:
- Flat size is the strip before folding. This is what gets made, and what you are charged for.
- Visible size is the flag sticking out of the seam. This is what your customer sees.
Visible size is roughly the flat length halved, minus a few millimetres taken by the seam. A 40 mm flat strip folds to 20 mm, and about 3 to 5 mm of that disappears into the seam allowance. So the flag you actually see is nearer 15 to 17 mm.
Say both numbers. Write "20 x 40 mm flat, showing a 20 x 20 mm panel" on your order. That leaves no room for confusion, and it is the fastest way to get a quote back without a follow-up question.
Not sure the size works? Set it in the free label designer: it shows your label at true size and warns when text drops below what a loom can weave.
What are the standard hem tag sizes?
These are the sizes that come up most often. The flat size is what you order; the panel is what shows once it is sewn in.
| Type | Flat size | Visible panel |
|---|---|---|
| Mini flag | 15 x 30 mm | 15 x 15 mm |
| Standard T-shirt tag | 20 x 40 mm | 20 x 20 mm |
| Sweatshirt or denim tag | 25 x 50 mm | 25 x 25 mm |
| Tall brand tab | 20 x 60 mm | 20 x 30 mm |
| Bag or accessory tab | 25 x 60 mm | 25 x 30 mm |
| Wide statement tab | 30 x 60 mm | 30 x 30 mm |
For a normal T-shirt, 20 x 40 mm flat is the one to start with. It gives a 20 mm square flag. That is big enough for a short wordmark or a simple mark, and small enough to look like a detail rather than a label.
Go up to 25 x 50 mm for heavier garments. A 20 mm flag looks lost on a thick sweatshirt seam or a denim side seam, because the fabric around it is bulkier and the seam itself is wider. Scale the tag with the garment.
Where should a hem tag go on the garment?
The standard position is the wearer's left side seam, just above the bottom hem. How far above depends on how deep the hem is on that garment.
- T-shirts and lightweight tops: around 20 to 40 mm above the hem edge.
- Sweatshirts, hoodies and jackets: 50 mm or more, because the hem band is much deeper.
- Wearer's left: the usual convention. Pick one side and use it across your whole range.
- Denim and trousers: normally the back pocket or the waistband instead.
- Bags and pouches: a side or base seam.
The rule behind those numbers is simple: clear the folded hem. A hem is two or three layers of fabric turned up and stitched. Sewing a label into that stack makes a hard lump that will not press flat, and it puts the tag right where the garment gets most wear. Keep the tag in the side seam above the hem, where there are only two layers.
Measure the actual hem depth on your garment instead of copying a number. A 15 mm hem and a 40 mm hem need very different clearances, and the only way to know is to look at the sample.
Also check the position on your smallest size. On a cropped top or a kids' T-shirt, a placement that suits an adult large can land halfway up the garment. Set the position on the smallest size first, then apply it across the range.
Which side of a hem tag should face out?
A folded tag has two panels. Only one of them is visible. This sounds obvious, and it is still one of the most common production errors.
The problem is that a hem tag can be sewn in either way round, and both look correct on the sewing machine. The operator sees a folded strip with a logo somewhere on it. Unless the artwork says which side faces out, it is a coin flip.
- Mark the outward-facing panel clearly on your artwork file.
- Say whether the fold sits at the top or the bottom of the visible flag.
- Decide whether the back panel is blank, or carries something too.
- Check this on the sewn sample, not just the flat sample.
Some brands print the logo on both panels. It costs a little more, it removes the problem entirely, and the tag still looks right if it flips in the wash. On a small tag the extra cost is usually minor, so it is worth asking about if your run is large.
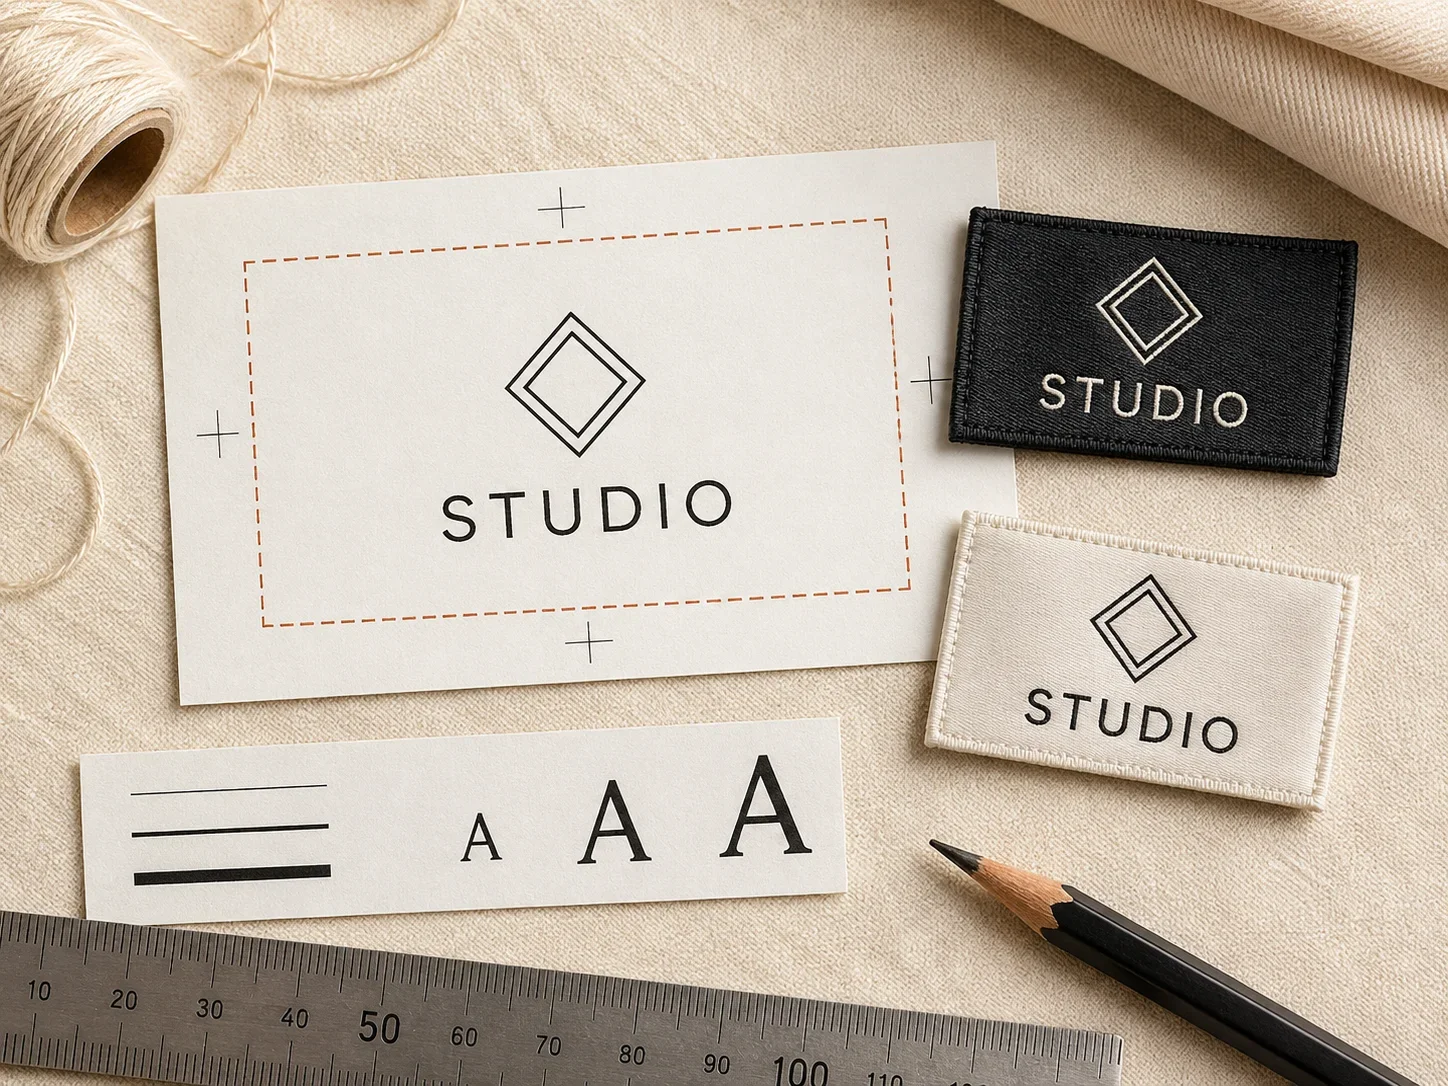
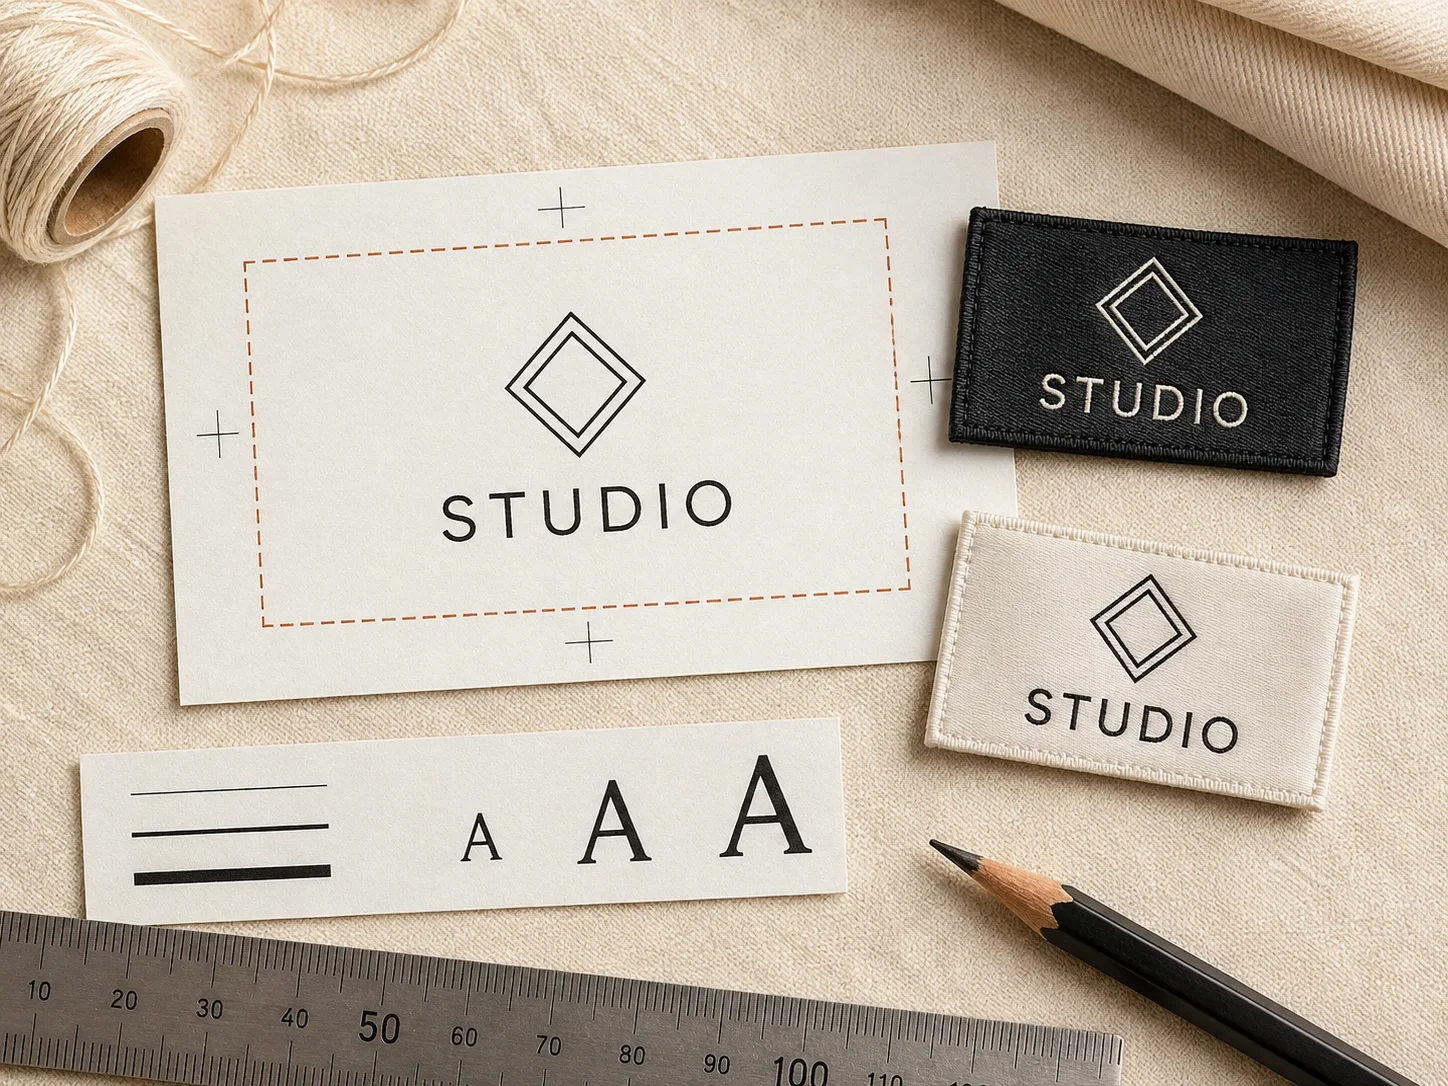
Artwork on a small panel
A 20 mm square panel is small. Once you take off the safe margins you have roughly 14 to 16 mm of usable space. That is not much, and it is the reason most hem tags carry a mark rather than a full logo lockup.
- Leave 3 mm clear of the fold and 2 mm clear of the stitched edge.
- Keep text at 3 mm minimum height for printed, 4 mm for woven.
- Use one element: a wordmark, a monogram or a symbol. Not all three.
- Drop taglines and secondary text. They will not read at this size.
- Send vector artwork with the fonts converted to outlines.
If your logo has fine detail, this is where it disappears. A woven tag cannot make a line thinner than a few threads, so hairlines and small serifs fill in and turn muddy. Either simplify the logo for this size, or use a printed satin tag, which holds finer detail.
Print your logo at actual size on paper before you approve anything. On screen at 400 per cent everything looks fine. At 20 mm on a desk you will see straight away what has to go.
Which material works best for a hem tag?
Hem tags sit on the outside of the garment, so they get more rubbing and sunlight than a neck label does. Durability matters more here than softness, because nothing is touching skin.
- Woven damask: the most hard-wearing and the most premium-looking. The usual choice for outerwear and denim.
- Woven taffeta: good value, crisp, and holds its shape well at small sizes.
- Printed satin: the finest detail and a slight sheen. Good when the logo is complex.
- Printed cotton or canvas: matte and natural-looking. Suits workwear and organic ranges.
- Leather or synthetic leather: used on denim and bags. Stiffer, and needs a different sewing setup.
For a hem tag, woven is usually the better choice. It sits on the outside where it catches wear, and a woven design cannot rub off because it is built into the fabric. Printed tags can look excellent, but the print sits on the surface and will show wear sooner on a garment edge.
Contrast against the garment matters here too. A cream tag on a cream T-shirt is nearly invisible from two metres away, which rather defeats the point. Hold your tag colour against the actual garment fabric before you decide.
Sizing by garment type
The same tag looks different on different garments, so set the size per garment type rather than using one size everywhere.
- T-shirts and lightweight tops: 20 x 40 mm flat. The seam is thin, so a small tag looks right.
- Sweatshirts and hoodies: 25 x 50 mm flat. Thicker fabric needs a bigger tag to stay visible.
- Denim: 25 x 50 mm flat, or a leather patch. Denim seams are heavy, so the tag needs weight to match.
- Shirts and blouses: 15 x 30 mm flat. Lighter fabric suits a smaller, more discreet flag.
- Kidswear: 15 x 30 mm flat. Scale down with the garment.
- Bags and accessories: 25 x 60 mm flat with stronger stitching, because these get pulled.
Think about how the fabric behaves as well as how thick it is. A stiff tag on a soft drapey fabric will stick out and flap about. A soft tag on heavy denim will look flimsy. Match the weight of the tag to the weight of the cloth.
How is a hem tag sewn in, and does it hold up?
A hem tag is caught in the side seam when the garment is put together. It is sewn once, along with the seam, so it does not add a separate operation. That is part of why hem tags are cheap to add.
What it does mean is that the tag has to be positioned before the seam is closed. If the position is wrong, fixing it means unpicking the seam. So confirm the placement on a sewn sample, not a flat one.
- Make sure enough of the tag goes into the seam, 8 to 10 mm is normal.
- Too little and it can pull out with wear.
- Too much and you are paying for fabric nobody sees.
- Check the tag does not twist when the seam is pressed.
- Check it lies flat and does not curl at the corners after washing.
Curling is the most common complaint after a few washes, and it is usually a material problem rather than a sewing one. A stiff tag on a soft garment will curl at the free edge. If your sample curls after one wash, change the material rather than fiddling with the stitching.
Getting hem tags made at Labelwala
We make woven and printed labels in Ahmedabad, Gujarat, and we have been doing it for 25 years. Hem tags are usually quoted together with a neck label and a care label as one set, because most brands order all three at the same time.
- Minimum order: 1,000 pieces.
- Quotes: we usually reply within 2 hours on a working day.
- Production: 7-10 days once the artwork is approved. Rush jobs run 3-5 days.
- Delivery: we ship throughout India, with timing following destination and consignment size.
Two things make a hem tag quote quick and accurate. Tell us the flat size and the panel you want to see, so there is no confusion about which number you mean. And mark the outward-facing panel on your artwork, because that is the detail most often left off, and it is the one that causes reruns.
If you are not sure what size suits your garment, send us a photo of it with a ruler next to the side seam. That tells us more than a description, and we can suggest a size that will look right on the actual product.
We are rated 5.0 on Google from 27 reviews. Ask for a sample before your first run. A hem tag is small enough that a sewn sample is the only way to really judge it.
Common mistakes
- Giving one measurement when there are two, and getting a flag half the size you wanted.
- Not marking which panel faces out.
- Sewing the tag into the folded bottom hem instead of the side seam.
- Using a logo with fine detail that fills in at 20 mm.
- Picking a tag colour that disappears against the garment.
- Using the same size on a T-shirt and a hoodie.
- Approving a flat sample instead of a sewn one.
- Leaving too little tag inside the seam, so it pulls out.
- Choosing a stiff material that curls after washing.
- Putting the tag on a different side on different styles.
The flat-versus-visible mix-up is the expensive one. It is not caught until the tags arrive, and by then they are made. Writing both numbers on the order takes five seconds and removes the risk completely.
Sample checklist
Ask for the tag sewn into an actual garment, or at least into a scrap of the right fabric. A loose tag tells you very little about how it will look in place.
- Is the visible panel the size you expected?
- Is the correct side facing out?
- Is the logo readable from about a metre away?
- Does the tag show up against the garment fabric?
- Is it the right distance above the hem, with the hem layers cleared?
- Does it lie flat, without twisting or curling?
- Is enough of it inside the seam to hold?
- Does it still look right after one wash?
- Does the size suit the garment weight?
Wash the sample. A hem tag sits on the outside of the garment and takes more wear than any other label, so one wash cycle tells you more than any amount of checking on the desk.
What to send your supplier
- Flat size in mm, and the visible panel size you want.
- Fold type, usually a centre fold for a hem tag.
- Which panel faces out, marked on the artwork.
- Material: woven damask, woven taffeta, printed satin or printed cotton.
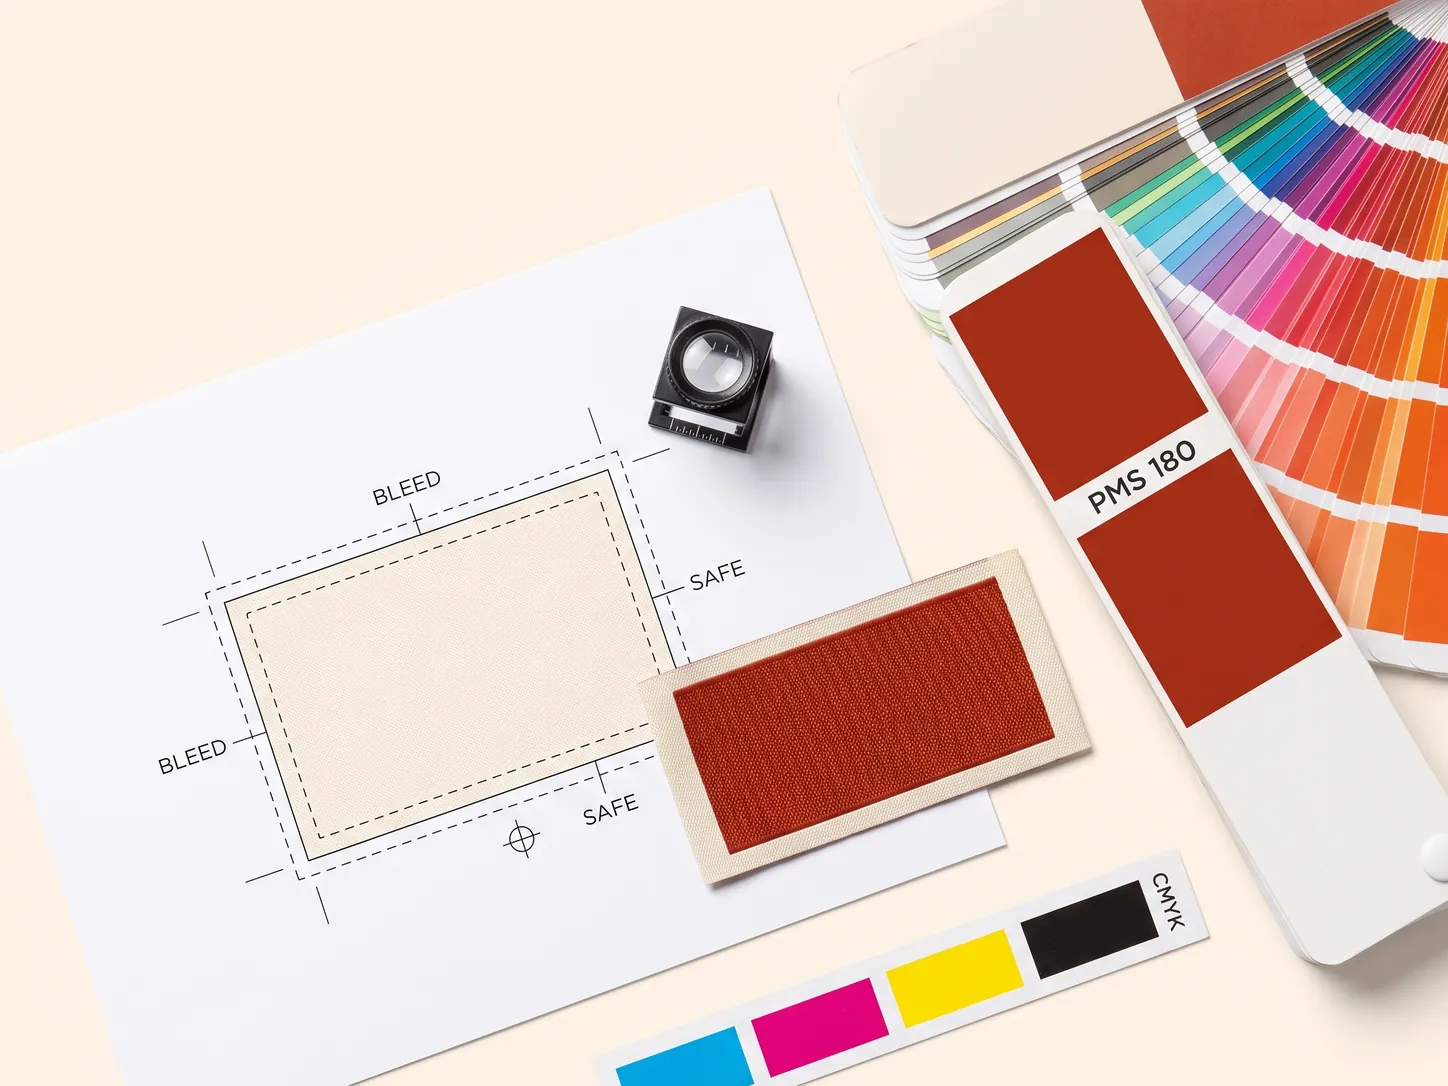
- Background and logo colours, with references if you have them.
- Where it goes, and how far above the hem.
- The garment fabric and its colour.
- Quantity.
- Whether you want a sewn sample first.
A brief that works: "Hem tags, 20 x 40 mm flat showing a 20 x 20 mm panel, centre fold, woven damask, black background with cream logo, front panel marked on artwork, sewn into the left side seam 30 mm above the hem on a cream cotton T-shirt, 2,000 pieces."
What we would recommend
For a standard T-shirt, go with 20 x 40 mm flat, centre fold, woven, showing a 20 x 20 mm panel, sewn into the left side seam clear of the folded hem. That size looks right on most lightweight garments and holds a simple mark clearly.
Move up to 25 x 50 mm flat for sweatshirts, hoodies, denim and bags. Drop to 15 x 30 mm flat for shirts, blouses and kidswear.
Whatever size you pick, write both numbers on the order, mark the outward panel on the artwork, and approve a sewn sample rather than a loose one. Those three habits prevent almost every hem tag problem there is.