In brief
Most wash-care labels are 20 to 35 mm wide: a 25 × 60 mm centre-fold satin label suits an adult T-shirt, 30 × 70 mm suits a shirt, kurta or dress, and 20 × 50 mm suits kidswear. Long multi-language instructions need a flat or loop-fold label of 25 × 100 to 140 mm.
Labelwala has made printed care labels in Ahmedabad since 2000, quotes within 2 hours on a working day, and ships to more than 20 cities across India and more than 15 countries.
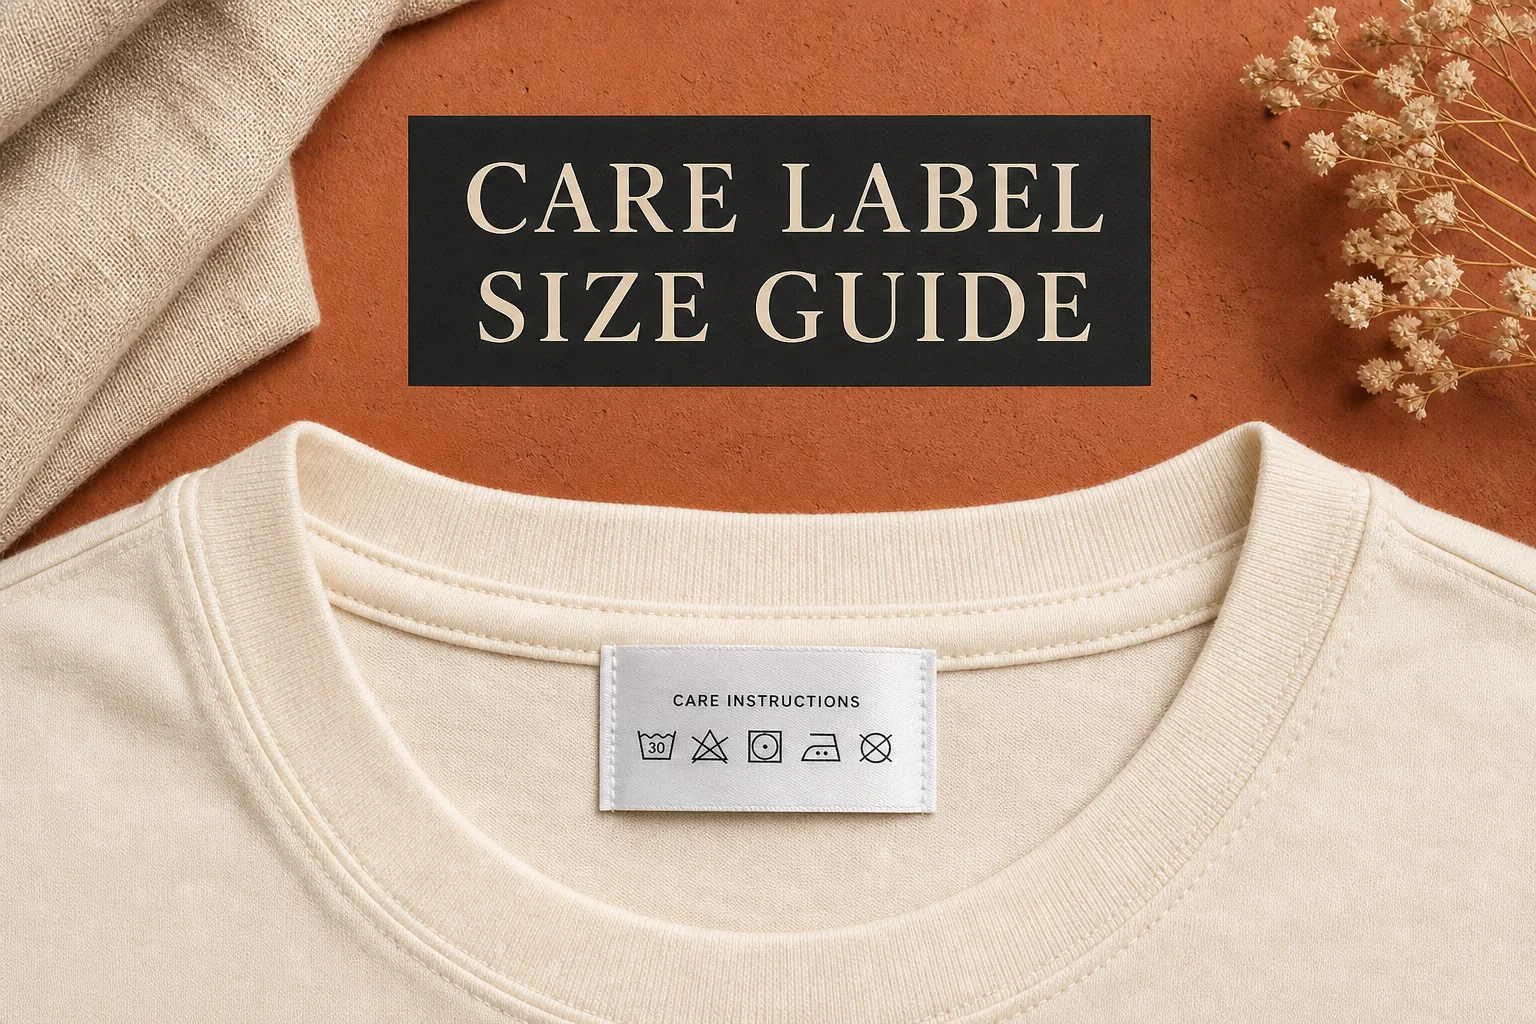
Every wash-care label needs enough usable space for its copy, but its finished size should still feel comfortable against the garment. For most adult apparel, a 25-30 mm wide satin label is the reliable starting point. Its final length depends on whether you use one panel, a centre fold or a loop fold.
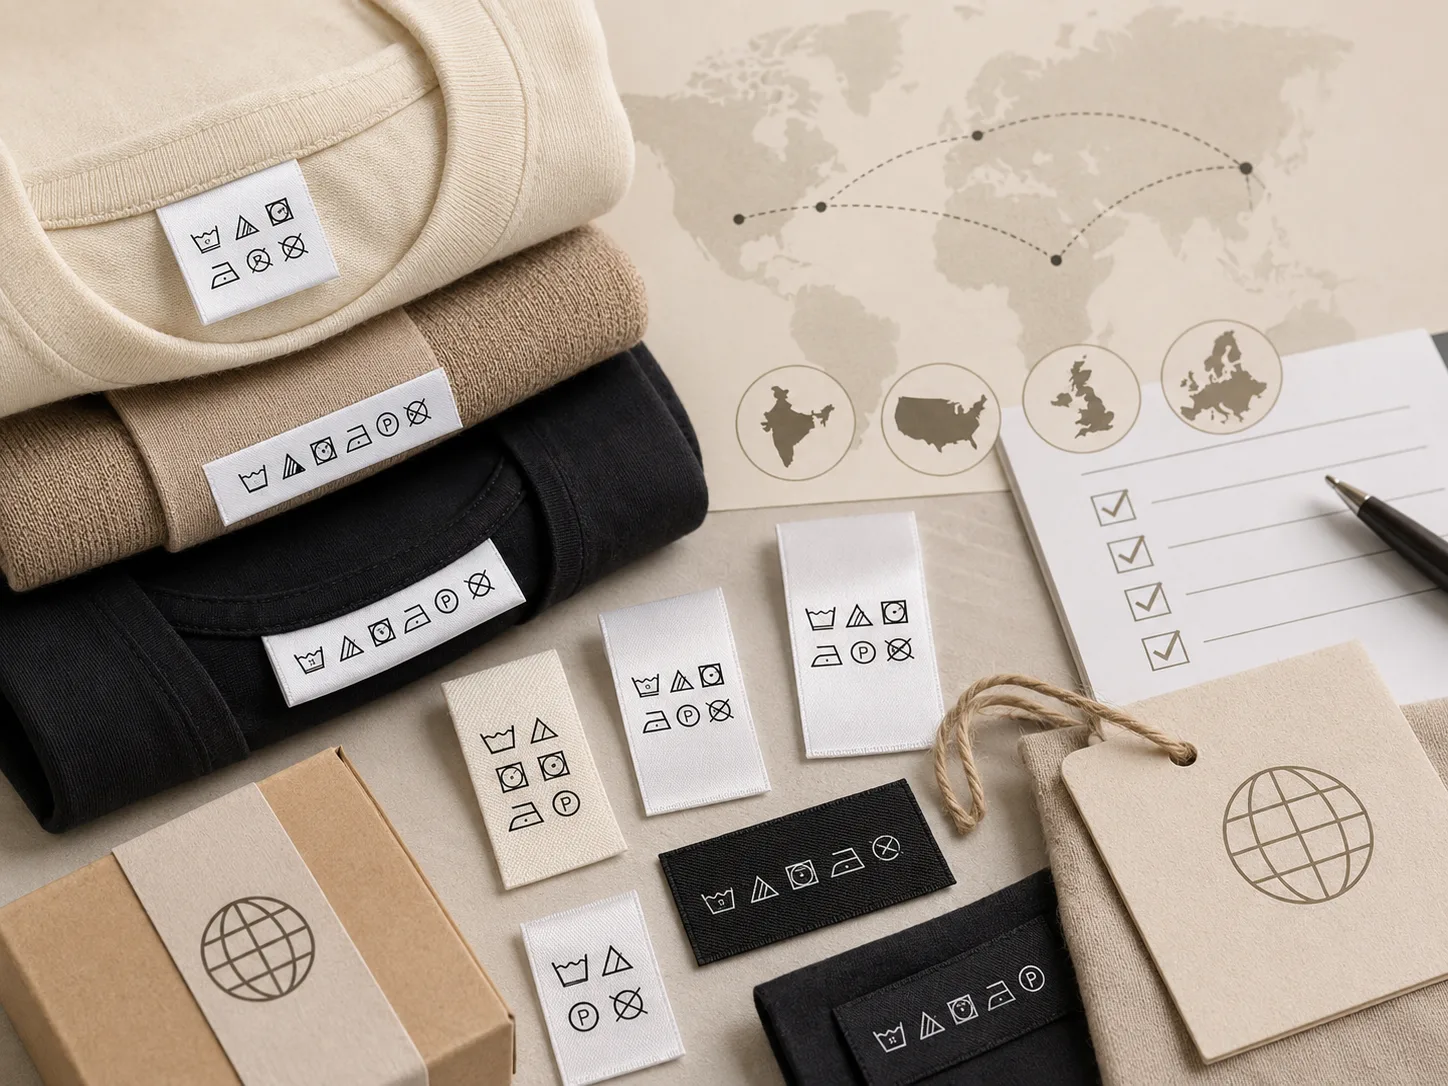
Our guide is about physical dimensions. For the wider reference across every label type, see the complete clothing label size guide. For what wash symbols mean, see our fabric care-symbol guide. For market-specific information, review care-label requirements for India and exports. Care symbols follow ISO 3758, last revised in 2012, and a fibre line such as 60% cotton 40% polyester still has to be printed in words. Sizes here assume polyester satin or woven tape, which moves under 1% in a hot wash; untreated cotton tape can shrink 3 to 5%, so allow for it.
What are the standard care label sizes in mm?
Order size is the flat size supplied to the factory. Finished size is the panel a customer sees after folding and sewing. Use these as production starting points, then approve a physical sample.
| Garment / use | Flat order size | Finished visible panel | Best construction |
|---|---|---|---|
| Adult T-shirt / sweatshirt | 25 × 60 mm | 25 × 30 mm per panel | Centre fold |
| Shirt, kurta or dress | 30 × 70 mm | 30 × 35 mm per panel | Centre fold |
| Kidswear / compact garment | 20 × 50 mm | 20 × 25 mm per panel | Centre fold; concise copy |
| Long multi-language instructions | 25 × 100-140 mm | 25 × 100-140 mm | Flat sew-in or loop fold |
| Lingerie / lightweight apparel | 20 × 60 mm | 20 × 30 mm per panel | Soft centre-fold satin |
Never shrink the type to fit. If the copy needs more than two short panels, use a longer flat or loop-fold label. Tiny symbols and text become difficult to read and can blur during printing.
Unsure whether the size works? Set it in the free label designer: it shows your label at true size and warns when text drops under what a loom can weave.
How do you choose the right care label width?
Width controls readability and comfort. A 20 mm label works for short, single-language instructions. A 25 mm width suits most T-shirts and everyday apparel. Move to 30-35 mm when you need several care symbols, a denser fibre statement or more than one language.
Keep a safe margin around printing
Leave 2-3 mm clear at each edge and keep critical text away from the fold and stitch lines. This safe area protects information when the label is folded, trimmed and sewn into the garment.
Flat, centre-fold or loop-fold care labels?
- Flat labels are best for long instructions, translations or legal copy because the entire length stays readable.
- Centre-fold labels are a compact everyday option for neck or side-seam placement and create two neat panels.
- Loop-fold labels give you additional panels in a small sewn-in footprint when the copy is extensive.
What must fit on a wash-care label?
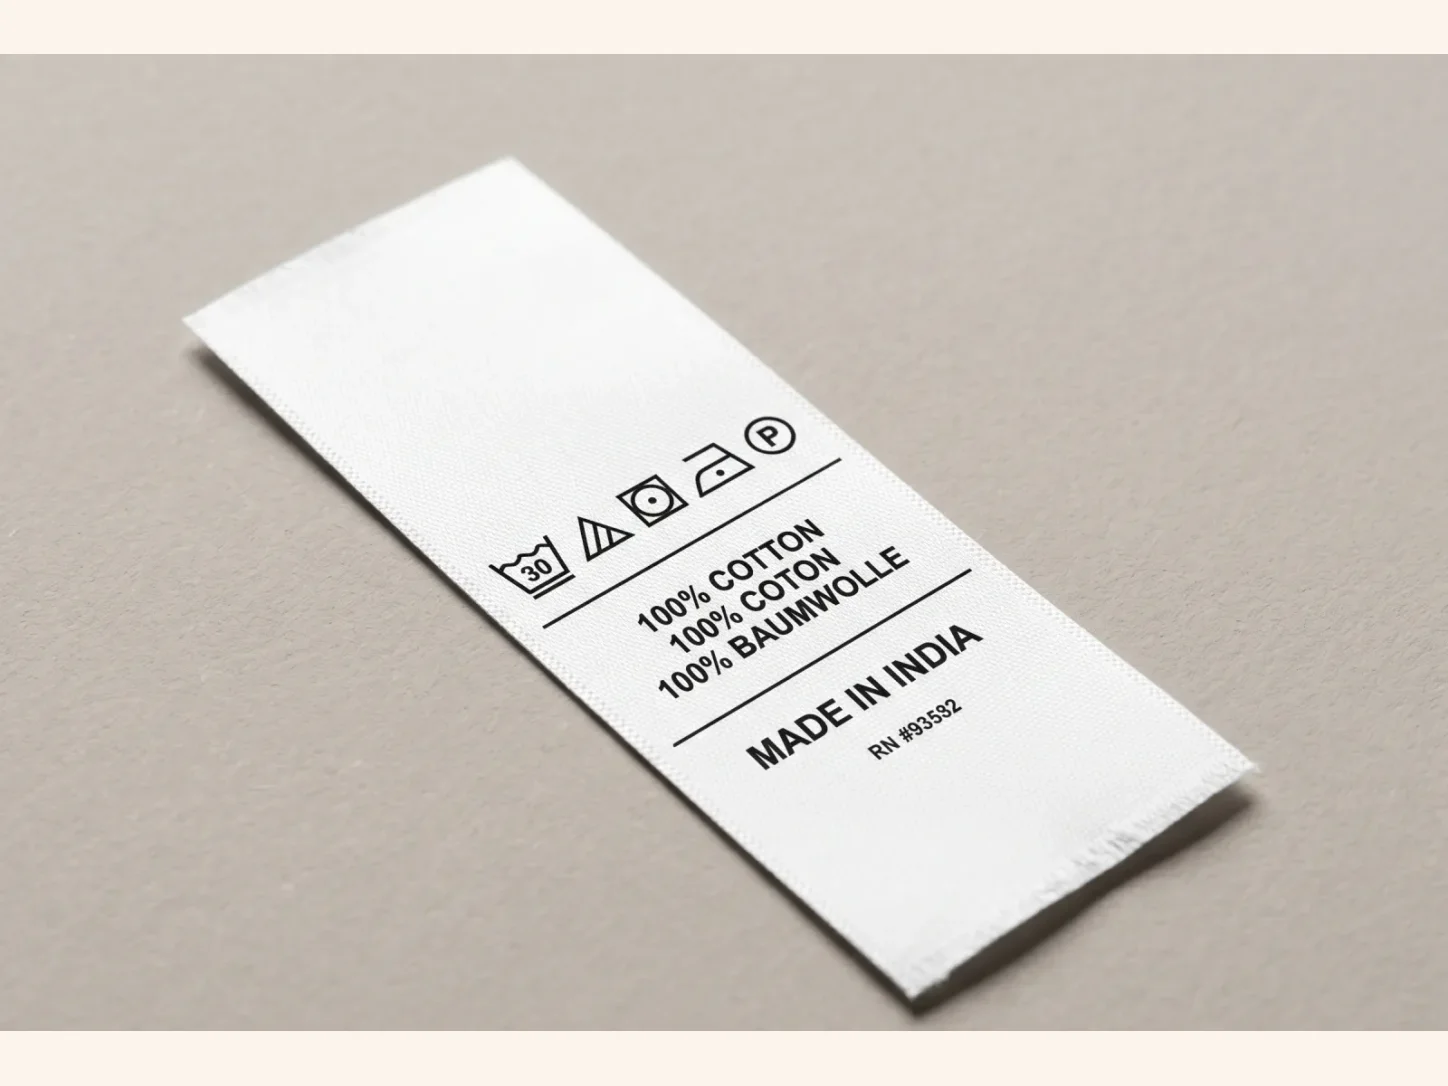
Plan size from the actual information you need, not an arbitrary label format. Depending on your product and destination market, this can include fibre composition, washing and drying instructions, size, country of origin and manufacturer or importer details. Confirm applicable regulations before placing a bulk order.
Care-label ordering checklist
- Choose the flat label size, then confirm the finished size after folding.
- Provide every line of copy in final order, including language versions.
- Mark fold and stitch areas so symbols stay visible.
- Request a physical sample on the intended garment fabric.
- Check softness, legibility and wash durability before approving production.
Why plan the copy before choosing the label?
The common mistake is choosing a small care label first and trying to force the legal and practical information into it afterwards. Start with the content instead. Write the fibre composition, care instructions, origin statement and any importer details exactly as they need to appear. Count language versions too. A domestic T-shirt with one language may fit neatly on a 25 × 60 mm centre-fold label. The same garment sold into several markets may need a longer flat label or a book fold.
Symbols save space, but they do not solve every copy problem. A short wash instruction can sit under a row of symbols. A more detailed fabric warning, such as “wash separately” or “do not iron print”, needs real room. Give it that room. Customers notice care copy most when a garment is already in trouble, so it should not require a magnifying glass. The symbols themselves follow ISO 3758, last revised in 2012, and the fibre line still has to be printed in words, such as 60% cotton 40% polyester.
Choose the material with the garment in mind
Satin for comfort-led garments
Satin is popular inside T-shirts, dresses, lingerie and children’s clothing because it feels softer against skin. It works well for short, clear care information. A satin label can still hold detailed printing, but it may feel bulky if it becomes too long or has too many folds.
Taffeta for dense instructions
Taffeta has a firmer hand and a flatter, sharper print surface. It suits export labels, workwear and garments that need several symbols or longer fibre statements. It is less forgiving against sensitive skin, so placement matters. Side-seam placement is often more comfortable than the back neck when the label is long.
Printed versus woven care labels
Most care labels are printed, not woven. Fine care symbols, small text and multiple languages are easier to reproduce in print. A woven label can carry simple care information, but it is usually better reserved for the brand label while a printed label handles the technical details.
How does placement change the practical size?
Labels that look modest on a flat table can feel large once they sit inside a close-fitting garment. Back-neck placement works for compact labels and simple care copy. A side seam can take a longer label without interrupting the neck area. For kidswear, check that the label does not sit directly against a sensitive point at the back neck. Small design decisions like this prevent complaints later.
- Back neck: best for short centre-fold labels and simple domestic care copy.
- Side seam: better for longer labels, multiple languages and export information.
- Below the main neck label: useful when the brand label and care label should remain together, but avoid stacking too much bulk.
- Inner waist or hem: useful for garments where a neck label would irritate the wearer.
Sample checks that catch expensive mistakes
Do not approve a care label only from a digital proof. Fold it, sew it into the intended fabric, then read it at arm’s length. Check whether the symbols remain clear after the fold, whether the first line is hidden by a seam and whether the fabric edges curl after washing. If the label is uncomfortable, a customer will cut it out. At that point, the required information and your branding have both gone.
- Read the smallest line under normal indoor light.
- Check that the fold does not divide a word or cover a symbol.
- Wash-test the label with the garment if durability is important.
- Ask someone unfamiliar with the artwork to find the fibre content and care symbols quickly.
Examples from common garment categories
Basic cotton T-shirt
Most simple adult T-shirts need fibre content, a small set of wash symbols, size and origin information. A 25 × 60 mm centre-fold satin label is often enough. Keep the brand label separate if it has a larger logo. Combining both can make the neck area thicker than it needs to be.
Denim and outerwear
Denim, jackets and heavier overshirts can take a larger or firmer care label. The garment has more structure and the customer expects more product information. A 25 × 100 mm taffeta label, placed in the side seam, gives room for detailed fabric composition and wash instructions without crowding the back neck.
Kidswear and babywear
Comfort comes first. Use soft satin, short copy and a placement that does not rub. If export information makes the label long, use a book fold in a side seam rather than adding a stiff stack under the neck label. Test the garment from the wearer’s perspective, not only from the factory’s sewing perspective.
Activewear
Activewear often has blends, performance finishes and special drying advice. The label may need more information than a cotton tee, but it should still stay lightweight. A longer narrow taffeta label in the side seam usually works better than a bulky folded label at the neck.
When does a label need more than one panel?
Centre folds are tidy, but they have limits. If each face becomes crowded, move to a flat label or a loop construction. A flat label keeps every line visible at once. A loop fold creates additional panels without creating a long strip that hangs under the seam. The best option depends on the sewing operation and how much information must remain accessible after the garment is worn.
Do not split related information randomly between panels. Keep fibre composition together. Keep the key washing symbols together. Put translations in a clear sequence. A customer should not need to flip a label repeatedly to work out whether the garment can go in a dryer.
How does label size affect cost and production?
Longer care labels use more material and take more time to print, cut and fold. That does not mean the smallest label is the cheapest choice in practice. If a label is too small, the factory may need a second label, a revised print run or a new sample. The economical choice is the smallest format that still fits the required information clearly.
Ask for the quote in terms of flat size, material and fold style. “25 × 60 mm centre fold” is specific. “Small care label” is not. The same wording helps the artwork team, the printer and the sewing line work from the same expectation.
Prepare artwork for a care-label sample
- Set the artwork to the actual flat label size in millimetres.
- Show fold lines and the visible finished panels.
- Keep critical symbols at least 2-3 mm from cut and stitch areas.
- Use clear, high-contrast type rather than pale grey or very thin lettering.
- Send the text in its final language order; last-minute copy changes often create layout mistakes.
Care-label artwork is rarely exciting, but it is where production details matter. A clean file prevents symbols from being cut off, lines from landing in a fold and a label from being ordered at the wrong finished size.
Before you approve bulk production
Read the sewn sample as if you had just bought the garment. Can you find the care label quickly? Does it feel comfortable? Is the smallest text still clear after the label is folded? Does the material suit the garment? Check these questions after a wash too, especially for activewear, children’s clothing and dark fabrics with light printing.
Once the sample is approved, keep it with the production specification. It becomes the useful reference for repeat orders, new sizes and future factories. That small bit of discipline saves a lot of back-and-forth when the next collection begins.
Questions to settle with the factory
Before sending the order, settle the details that affect the final size. Ask whether the quoted measurement is the flat cut size or the visible size after folding. Confirm the fold allowance at both ends. Check whether the factory needs a bleed area for printing and whether the sewing team will stitch through part of the panel. These are small questions, but they change where the copy can safely sit.
- What is the exact flat cut size?
- How much of the label turns under at each fold?
- Which panel faces outward after sewing?
- Will the stitch line cover any printed text or symbol?
- Is the sample printed on the same material used for bulk production?
A practical final rule
If you are choosing between two sizes, order the sample in the larger one first. It is easier to remove empty space from a clear label than to rescue a cramped one. Once the layout, material and placement are right, you can reduce the format if the garment needs a lighter touch. Legibility comes first. The rest follows.
Keep a master specification for repeat orders
Care labels are often reordered long after the original product launch. By then, the first artwork file may be buried in an old email and the person who approved the sample may no longer be involved. A short master specification avoids guesswork. Keep the flat dimensions, the finished visible dimensions, material, print colours, fold type, placement and an image of the approved sample together.
Separate specifications are especially useful when one brand makes several product categories. A cotton T-shirt, a fleece sweatshirt and a lightweight dress may use the same logo but not the same care-label format. Give each construction its own named specification. “Adult tee care label, 25 × 60 mm centre fold” is more useful than “standard care label”.
Repeat production is where small inconsistencies become expensive. One batch may use a shorter fold, another a stiffer material, another a different text order. A clear specification keeps the label familiar to the customer and makes quality control far easier for the factory.
Getting care labels made at Labelwala
We make woven and printed labels in Ahmedabad, Gujarat, and we have been doing it for 25 years. Care labels are the single most common thing we quote, usually alongside a neck label as one set.
- Minimum order: 1,000 pieces.
- Shipping: pan-India to 20+ cities and export orders to 15+ countries.
- Experience: making labels in Ahmedabad since 2000.
- Shrinkage: polyester satin and woven labels move under 1% in a hot wash; untreated cotton tape can shrink 3 to 5%.
- Quotes: we usually reply within 2 hours on a working day.
- Production: 7-10 days once the artwork is approved. Rush jobs run 3-5 days.
- Care symbols: we set these to ISO 3758. The wash scale runs 30, 40, 50, 60, 70 and 95°C. There is no 90°C step, though 90°C is a real industrial laundry temperature and gets written on labels by mistake.
- Delivery: anywhere in India, on a timeline set by the destination and the consignment size.
Send the complete care wording rather than a summary, in every language you need. The length of the copy decides the label size, so seeing all of it lets us quote a size that actually fits instead of one you have to revise later.
We are rated 5.0 on Google from 27 reviews. For anything with small text or multiple languages, ask for a physical sample before the full run.
Why the finished label matters more than the file
A care label is successful only when it works on a worn garment. The text needs to stay readable after a wash, the edges need to sit flat and the label needs to be easy to find without becoming irritating. That is why a sewn sample matters. Artwork tells you what can fit. The finished sample tells you whether the information actually works for the person wearing the garment.